Mold remediation projects / Kitchen Sinkbase Project
PROJECT PHOTOGRAPHS
Kitchen Sinkbase Project.
From concealed damage beneath the sink to a newly fitted cabinet base and liner.
← All mold remediation projectsINSIDE THE PROJECT
Restoring the sink-base interior.
Follow the work beneath the kitchen sink: initial damage, removal of deteriorated base material, containment and drying equipment, then fitting the replacement base and liner.
A closer look at the process
Twenty project views follow the December 26–29, 2025 photo sequence. Close-ups show the work around existing plumbing and filtration equipment.
Project photographs
The containment overview has been digitally straightened and enhanced for clarity, as identified in its caption.
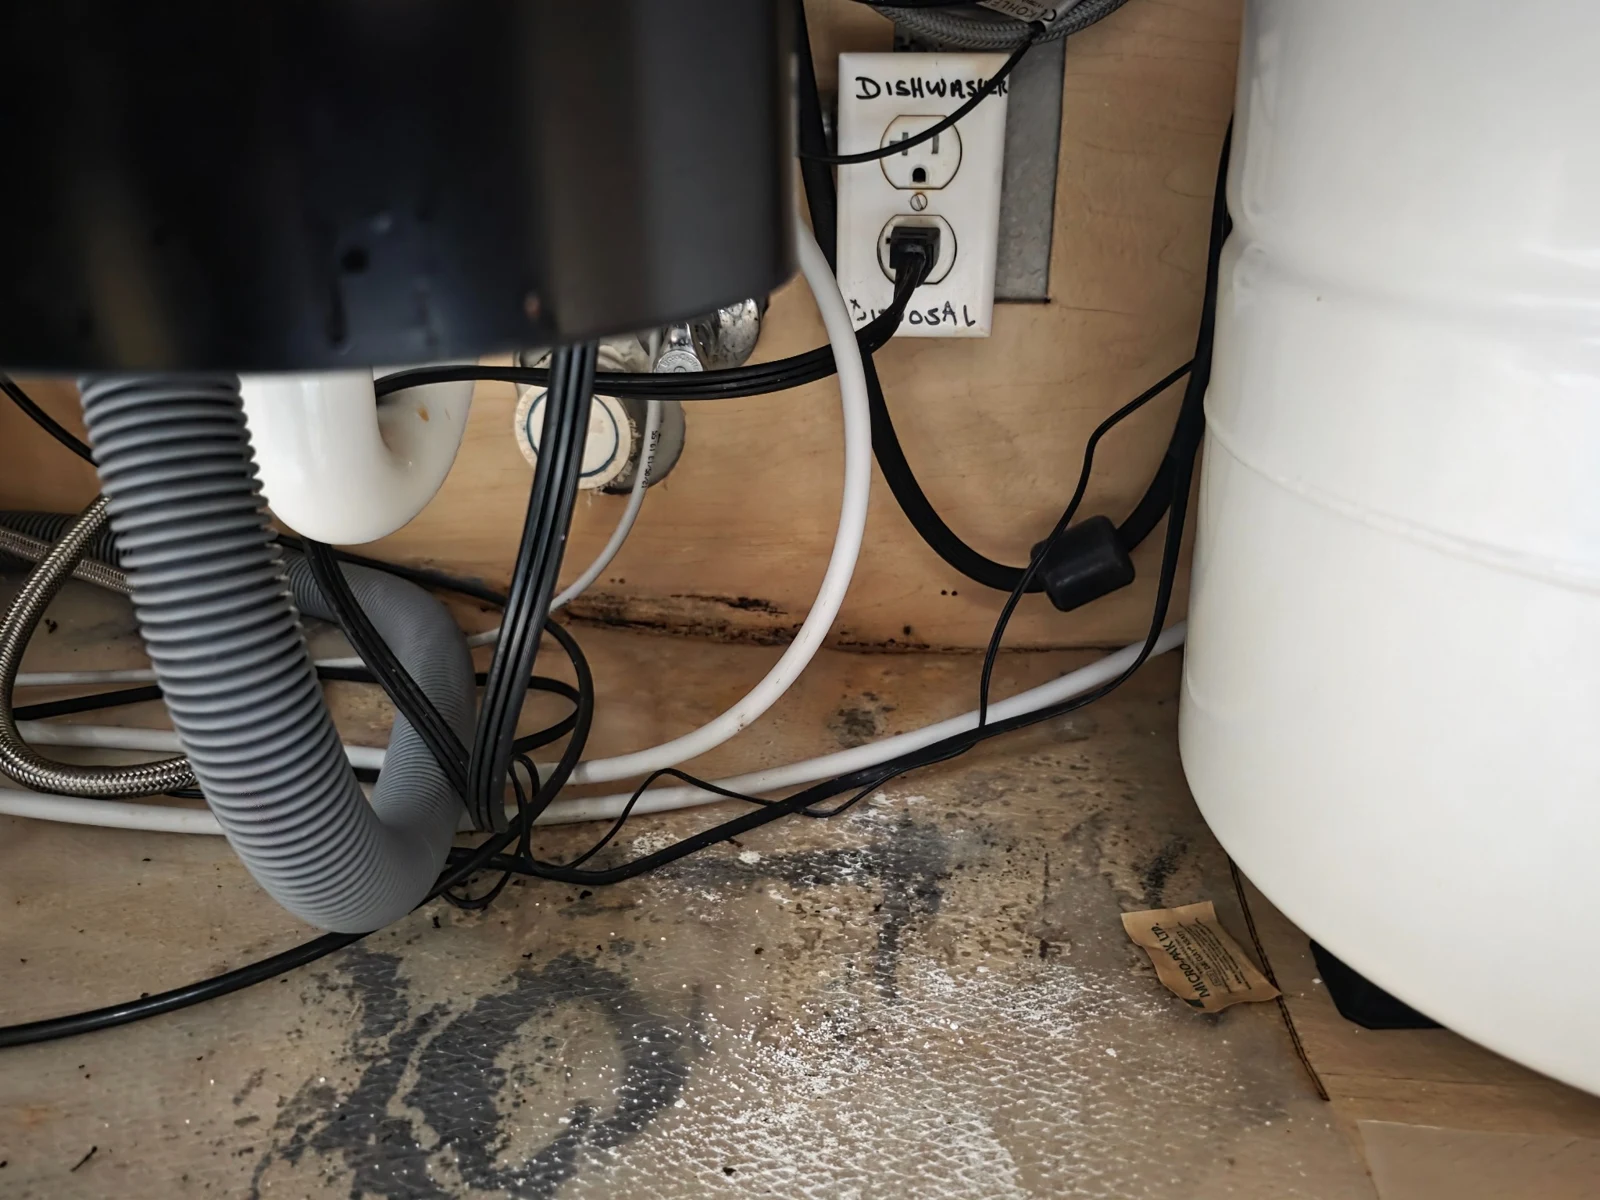
01 · Initial sink-base condition
Initial discoloration and deterioration beneath the sink.
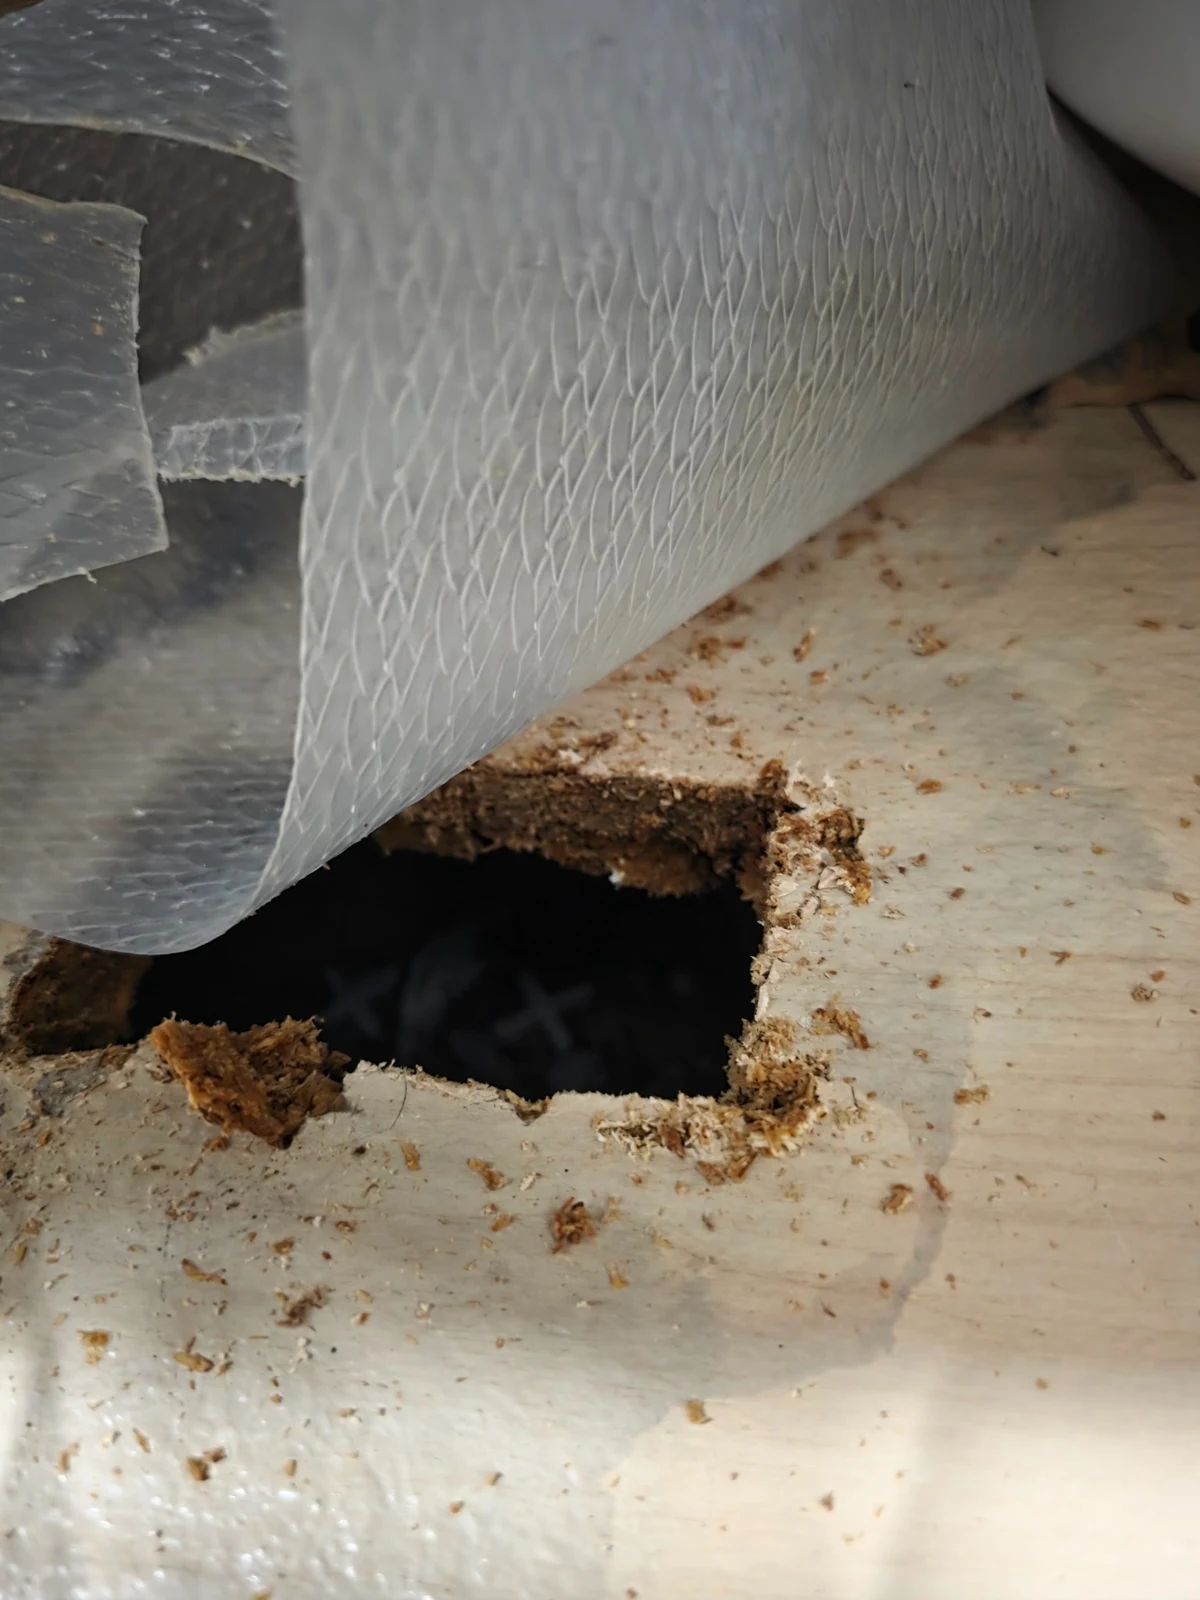
02 · Damaged base detail
A closer view of a deteriorated opening in the cabinet base.
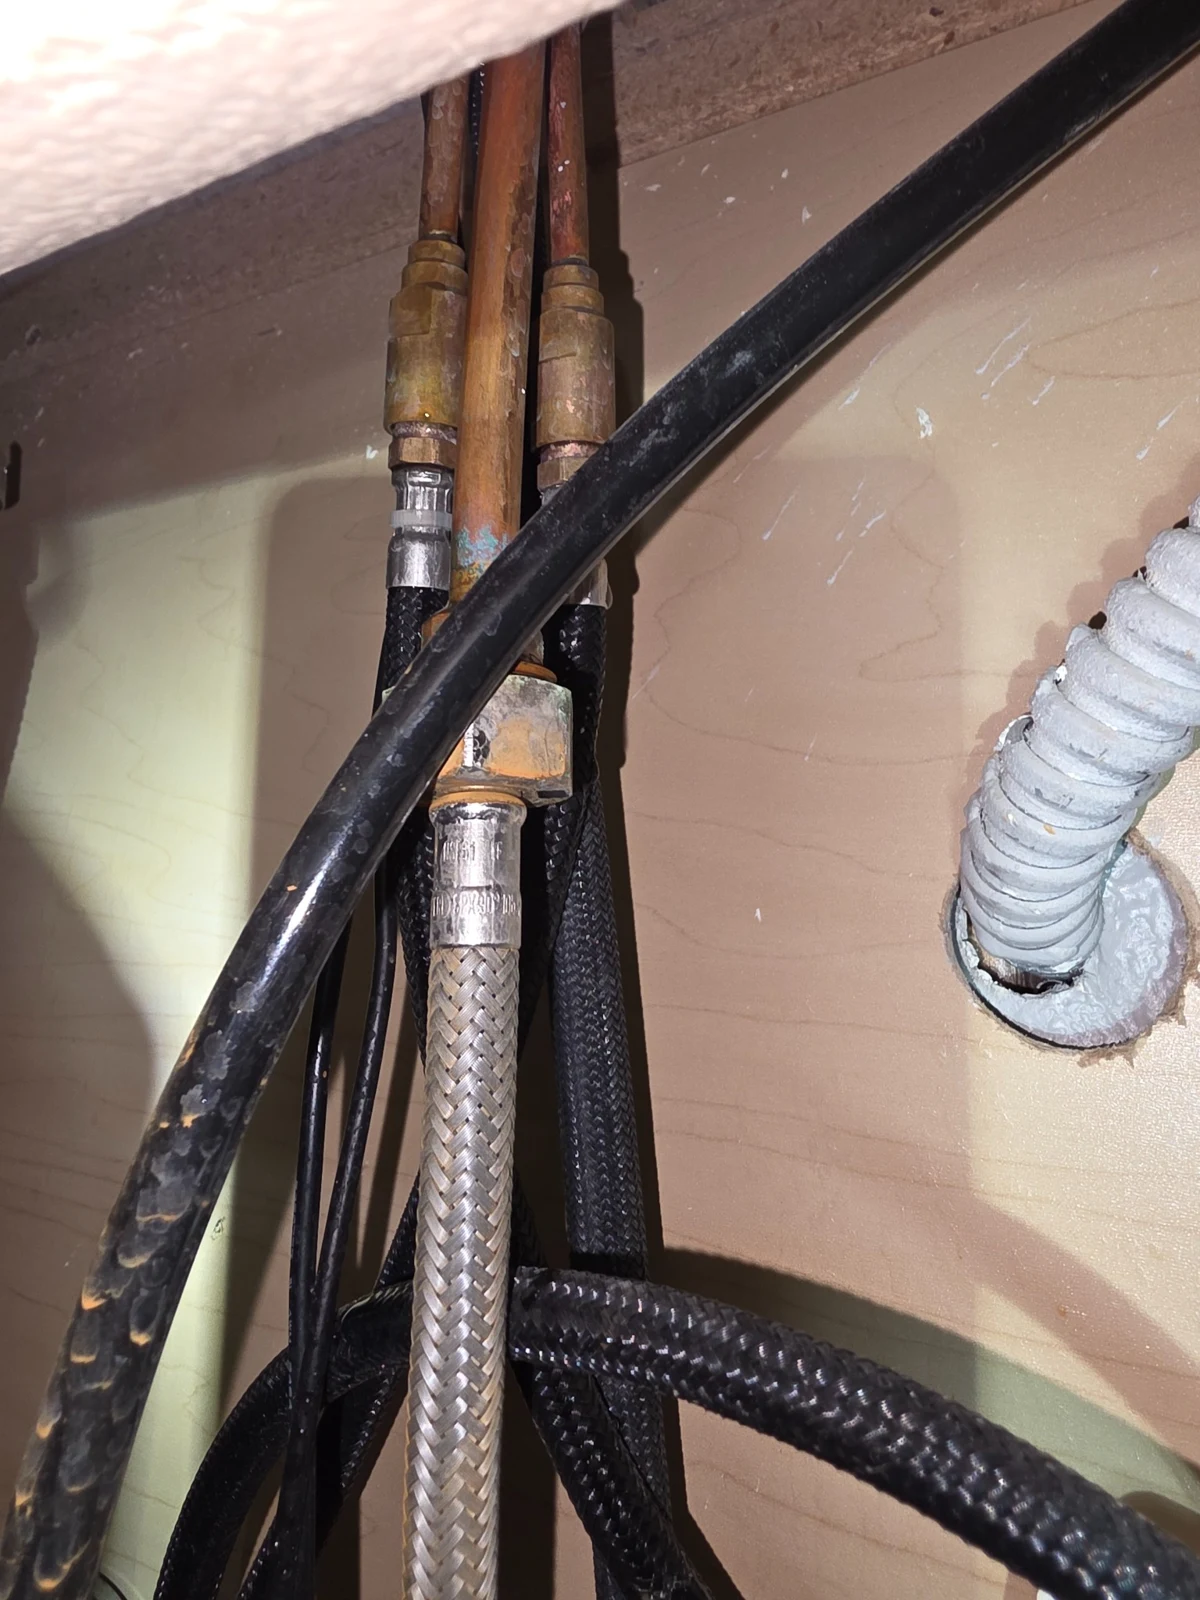
03 · Plumbing access
Access around the existing plumbing and supply lines.
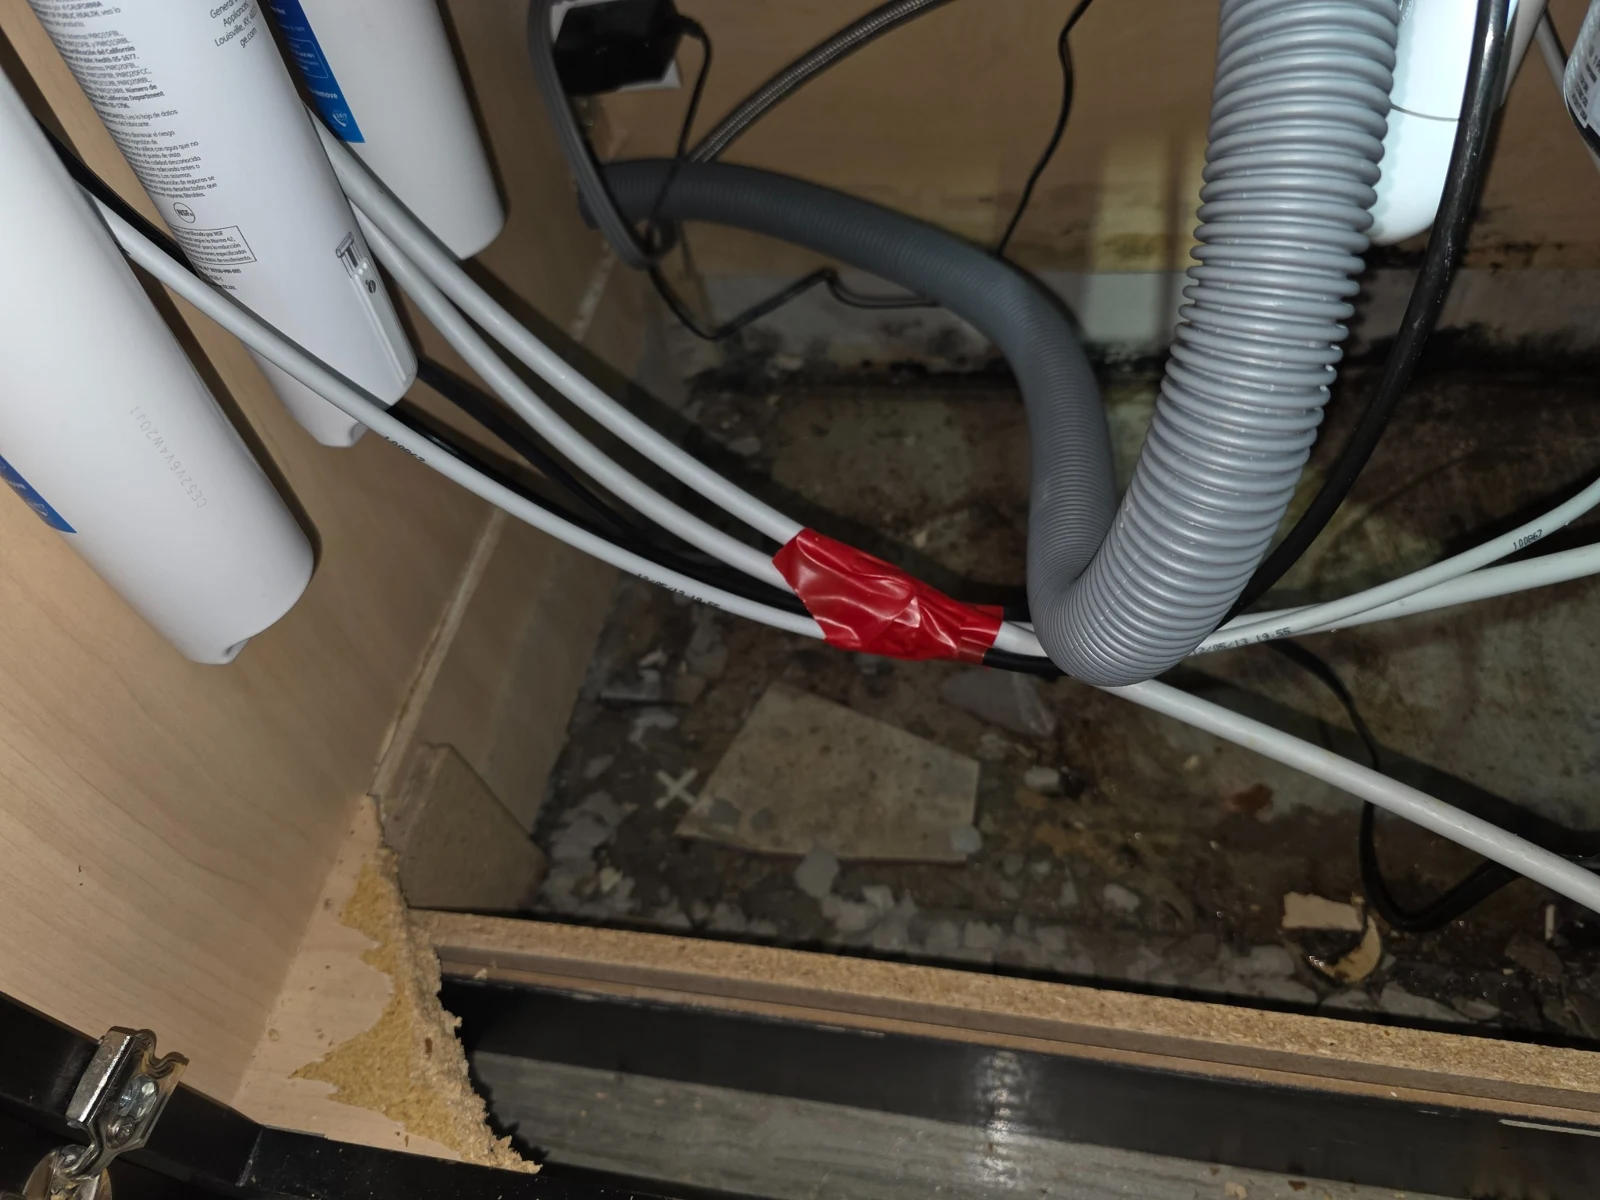
04 · Opening the cabinet base
Removal work exposes the area below the cabinet base.
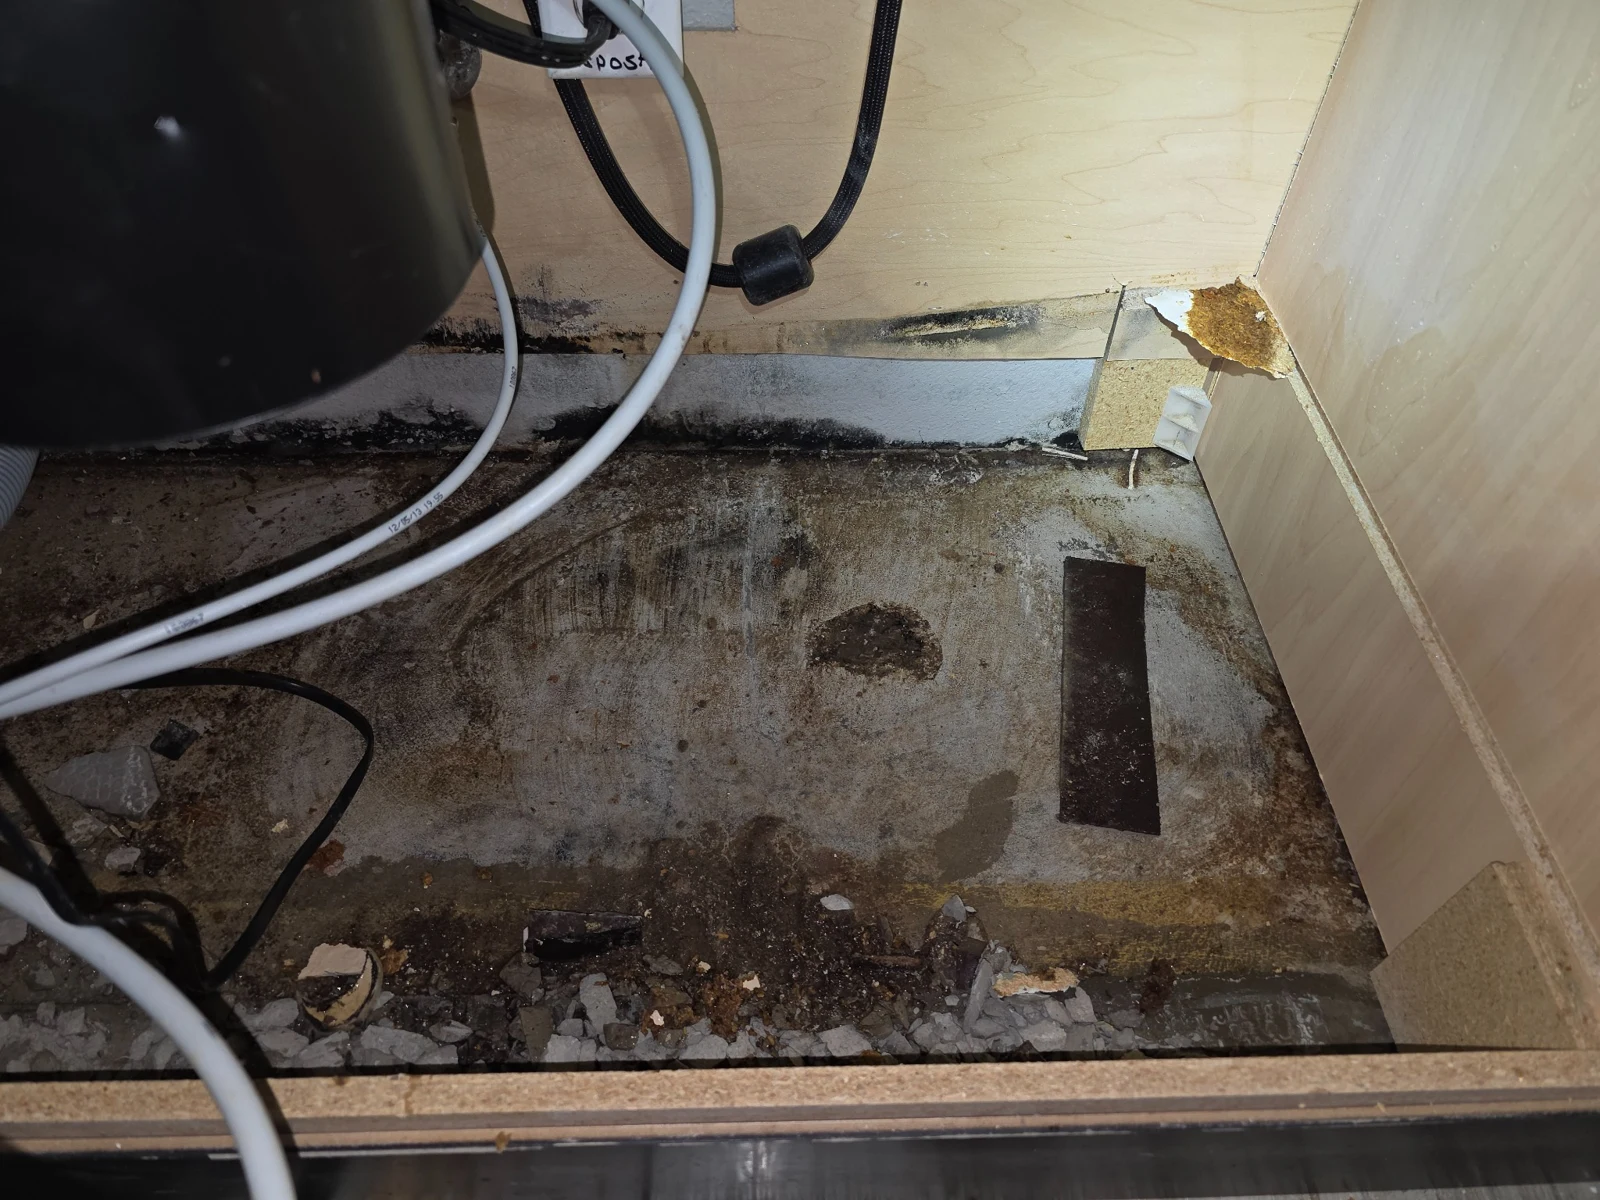
05 · Exposed area beneath the base
A wider view of the exposed area beneath the sink.
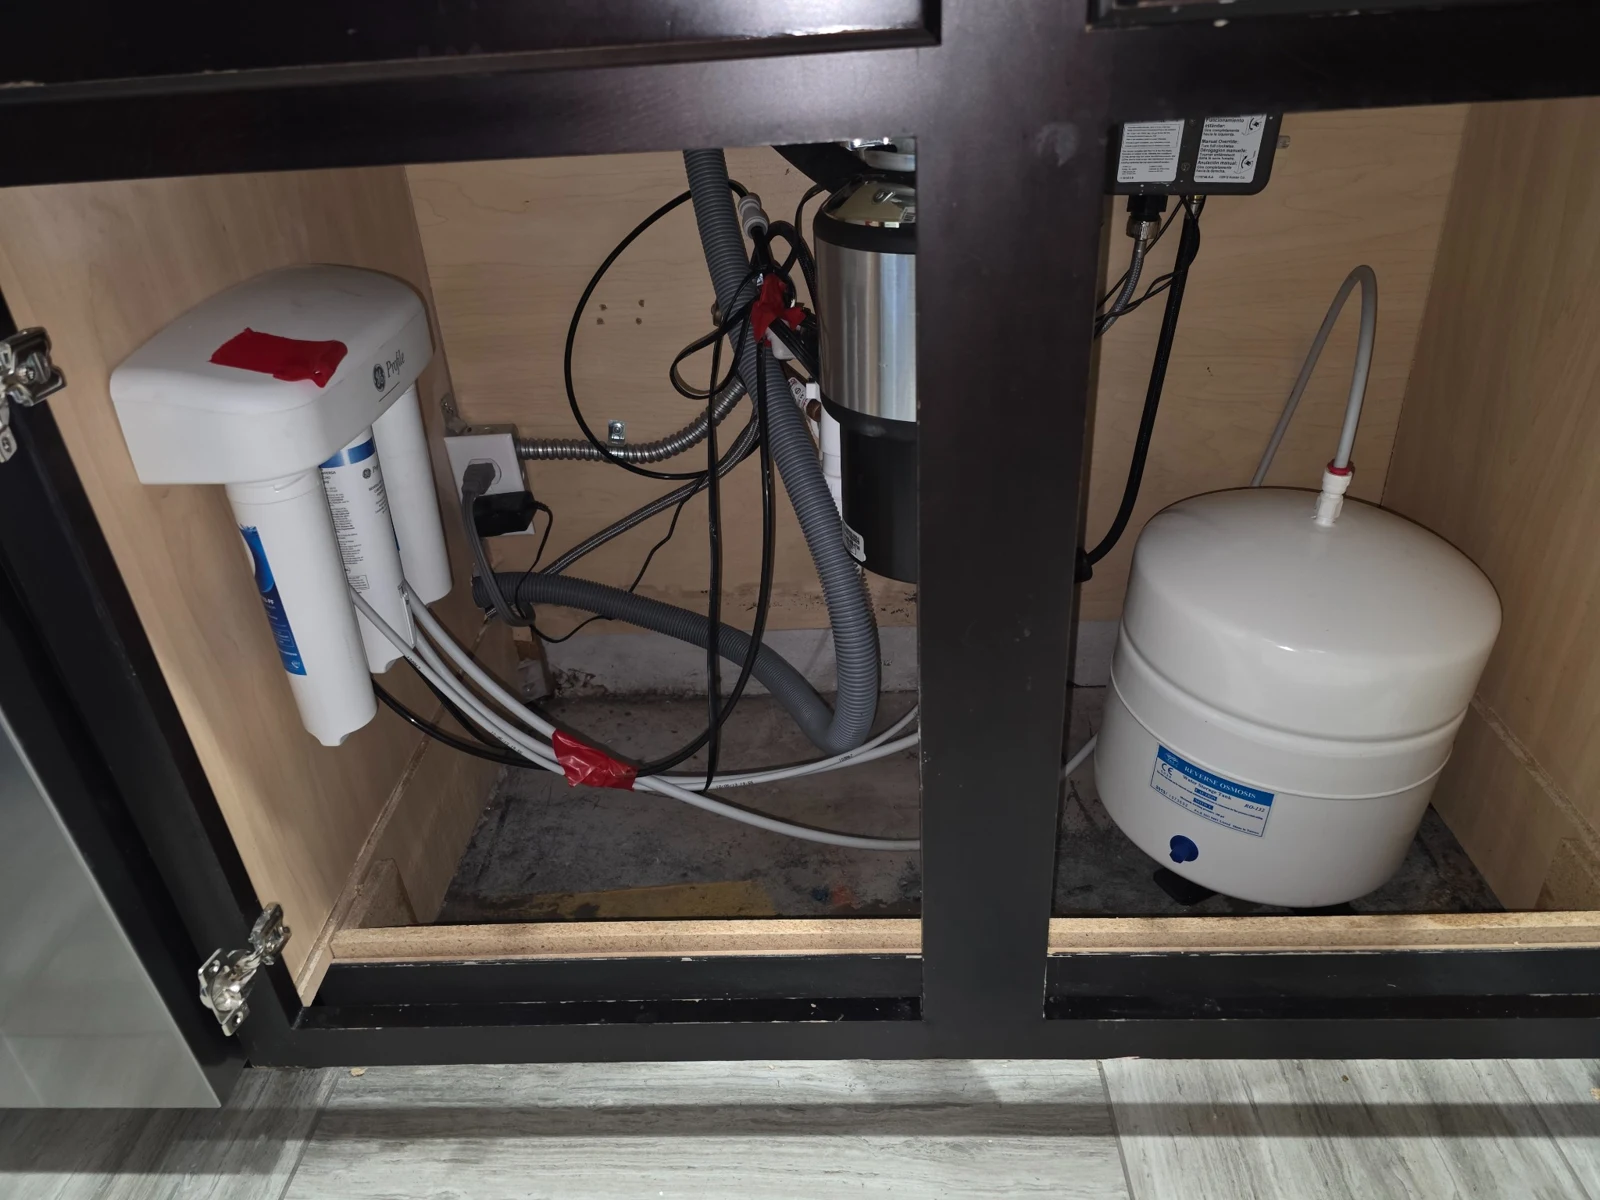
06 · Sink-base work area
The opened sink base with plumbing and filtration components in place.
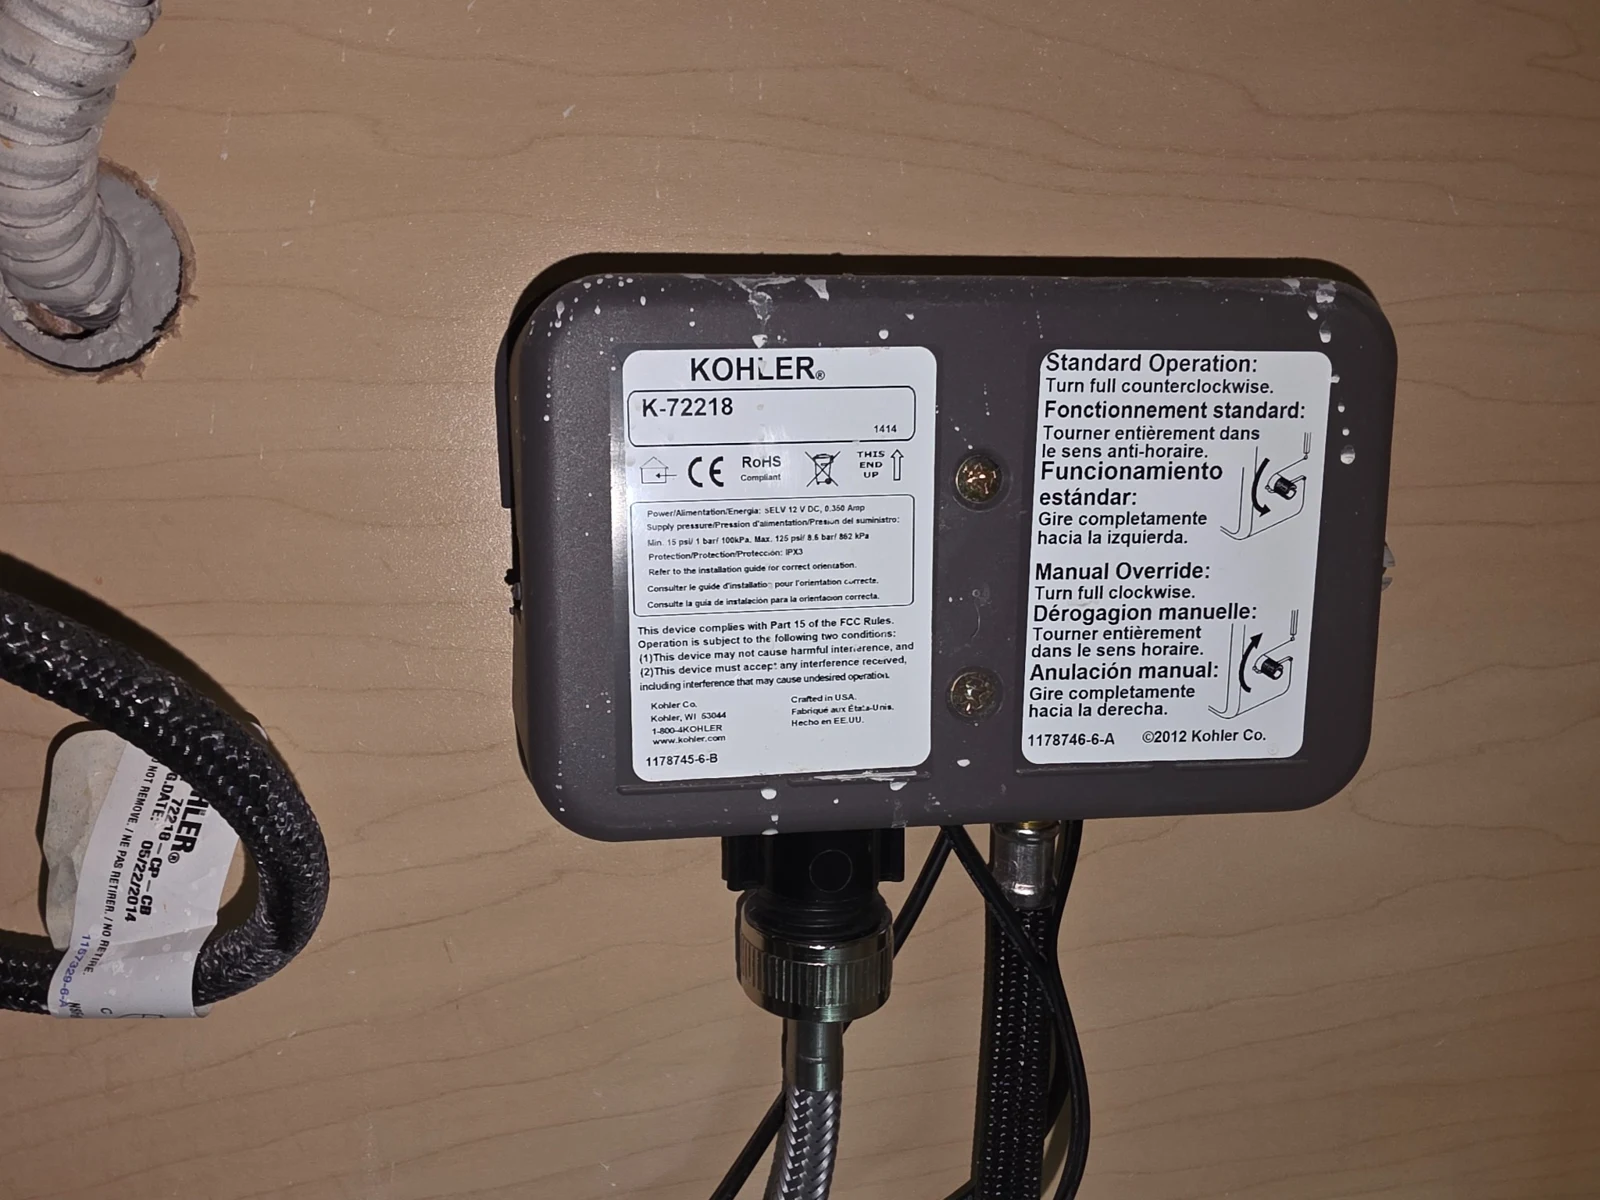
07 · Existing equipment connections
Existing equipment mounted inside the cabinet.
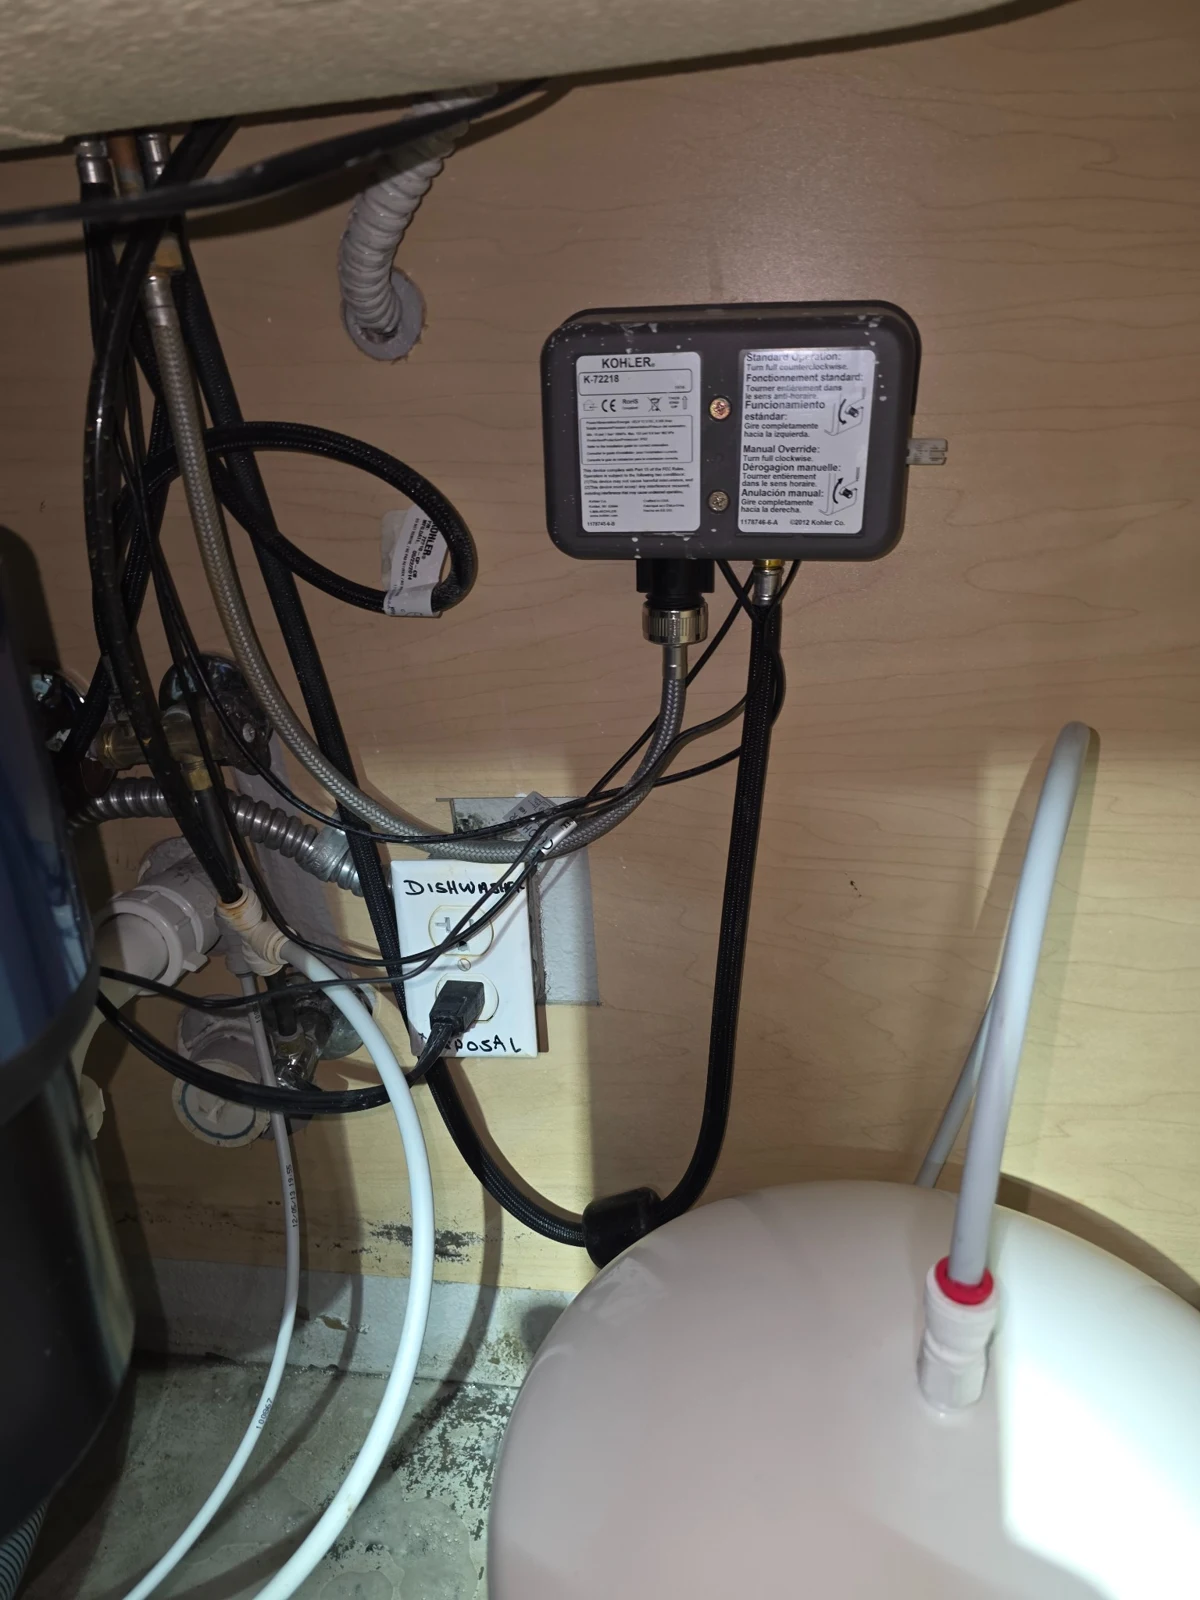
08 · Plumbing and filtration layout
Connections and equipment within the sink cabinet.
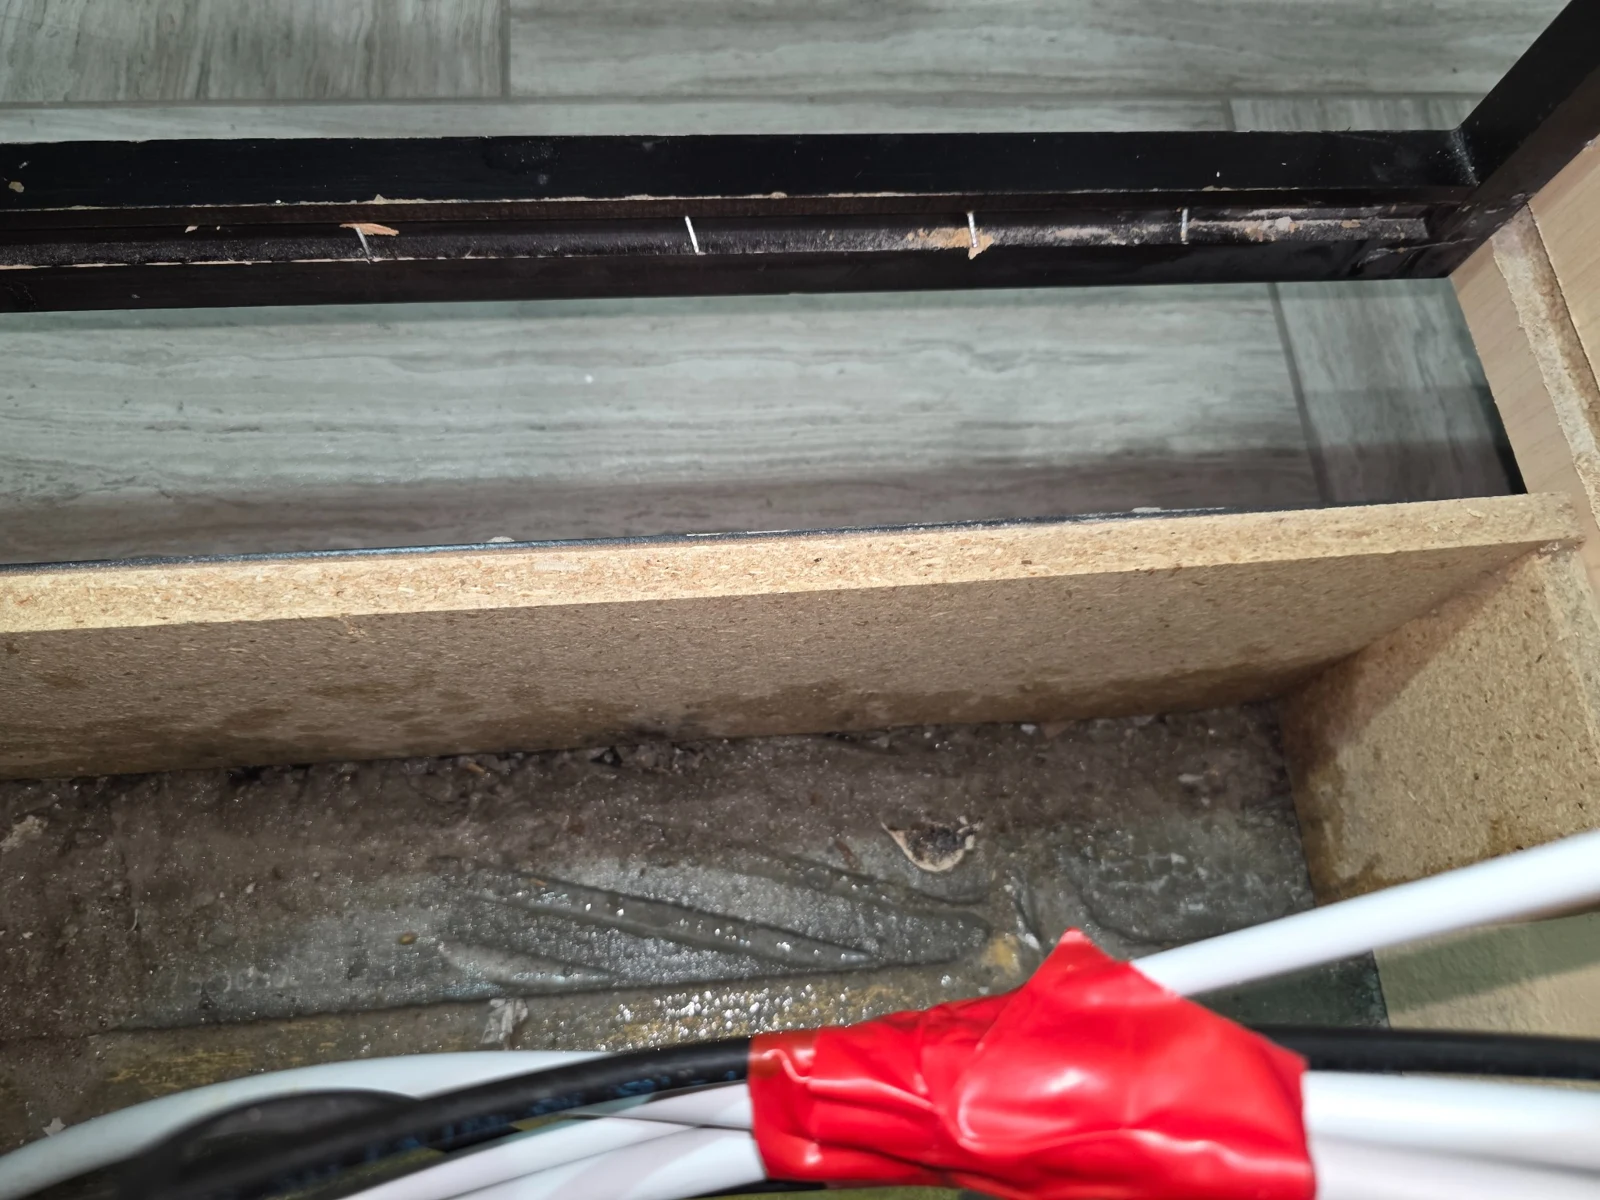
09 · Front edge and base access
Detail of the front edge and exposed base area.
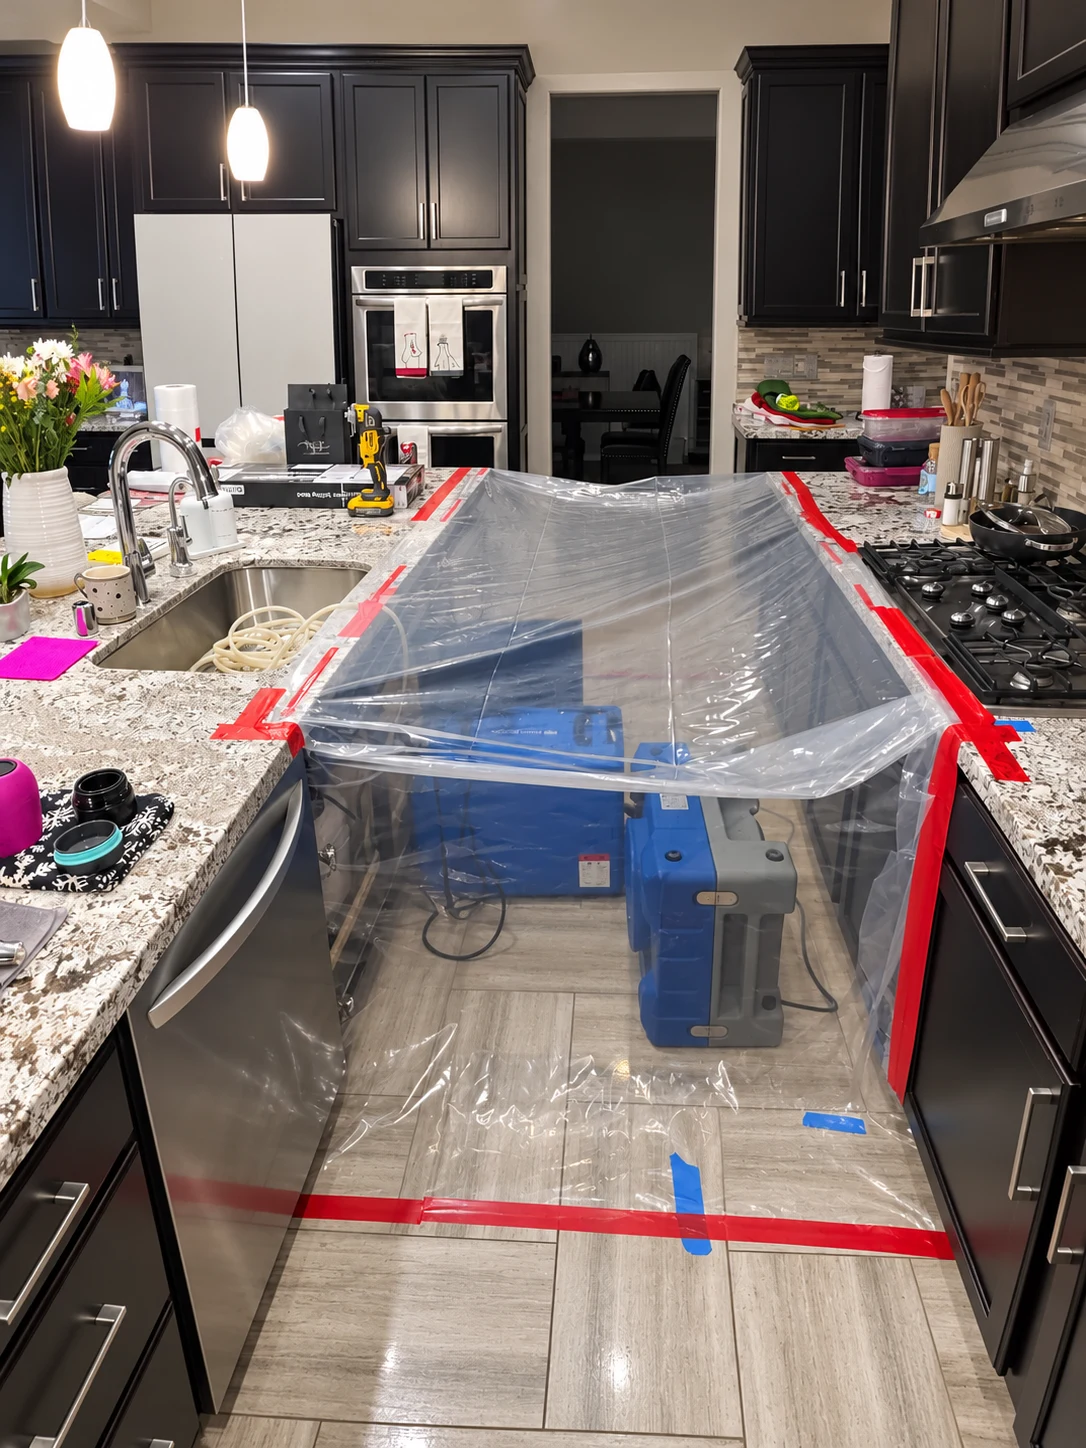
10 · Containment and drying equipment
Plastic containment around drying equipment. Digitally edited for straightening and image clarity.
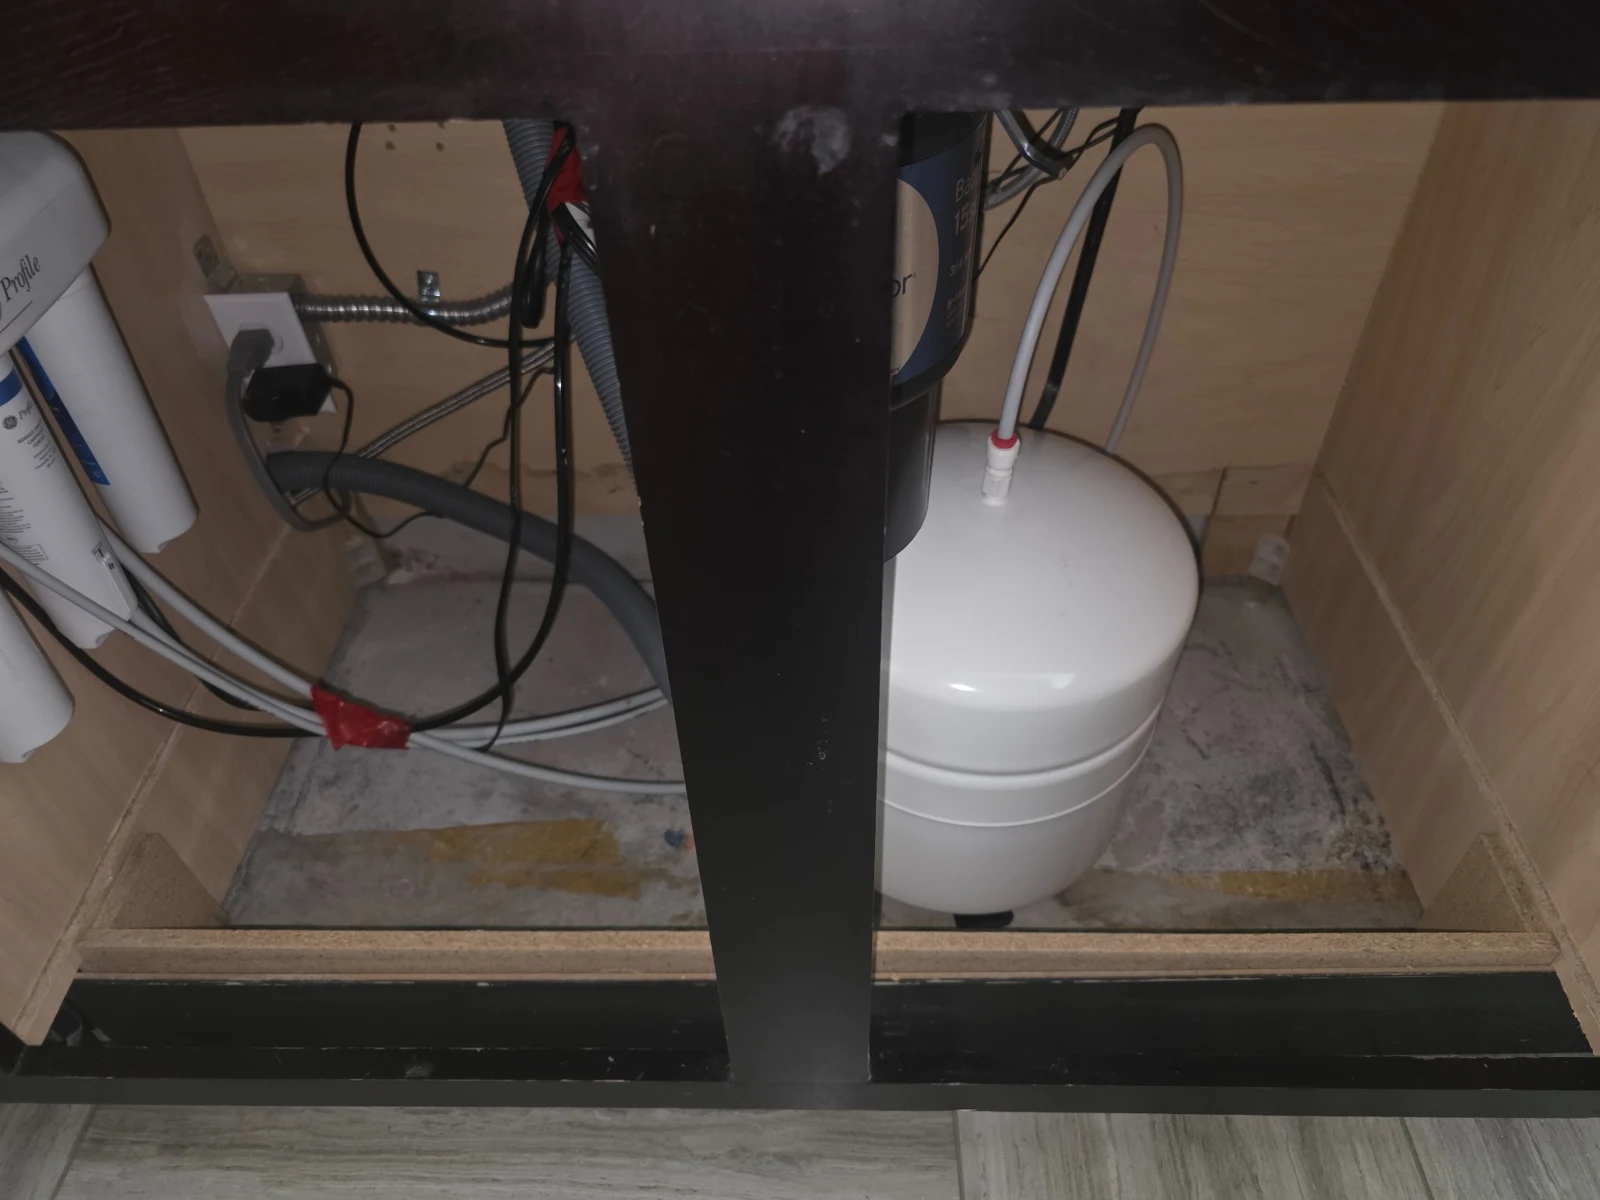
11 · Follow-up sink-base view
The sink-base interior at the start of the follow-up photo sequence.
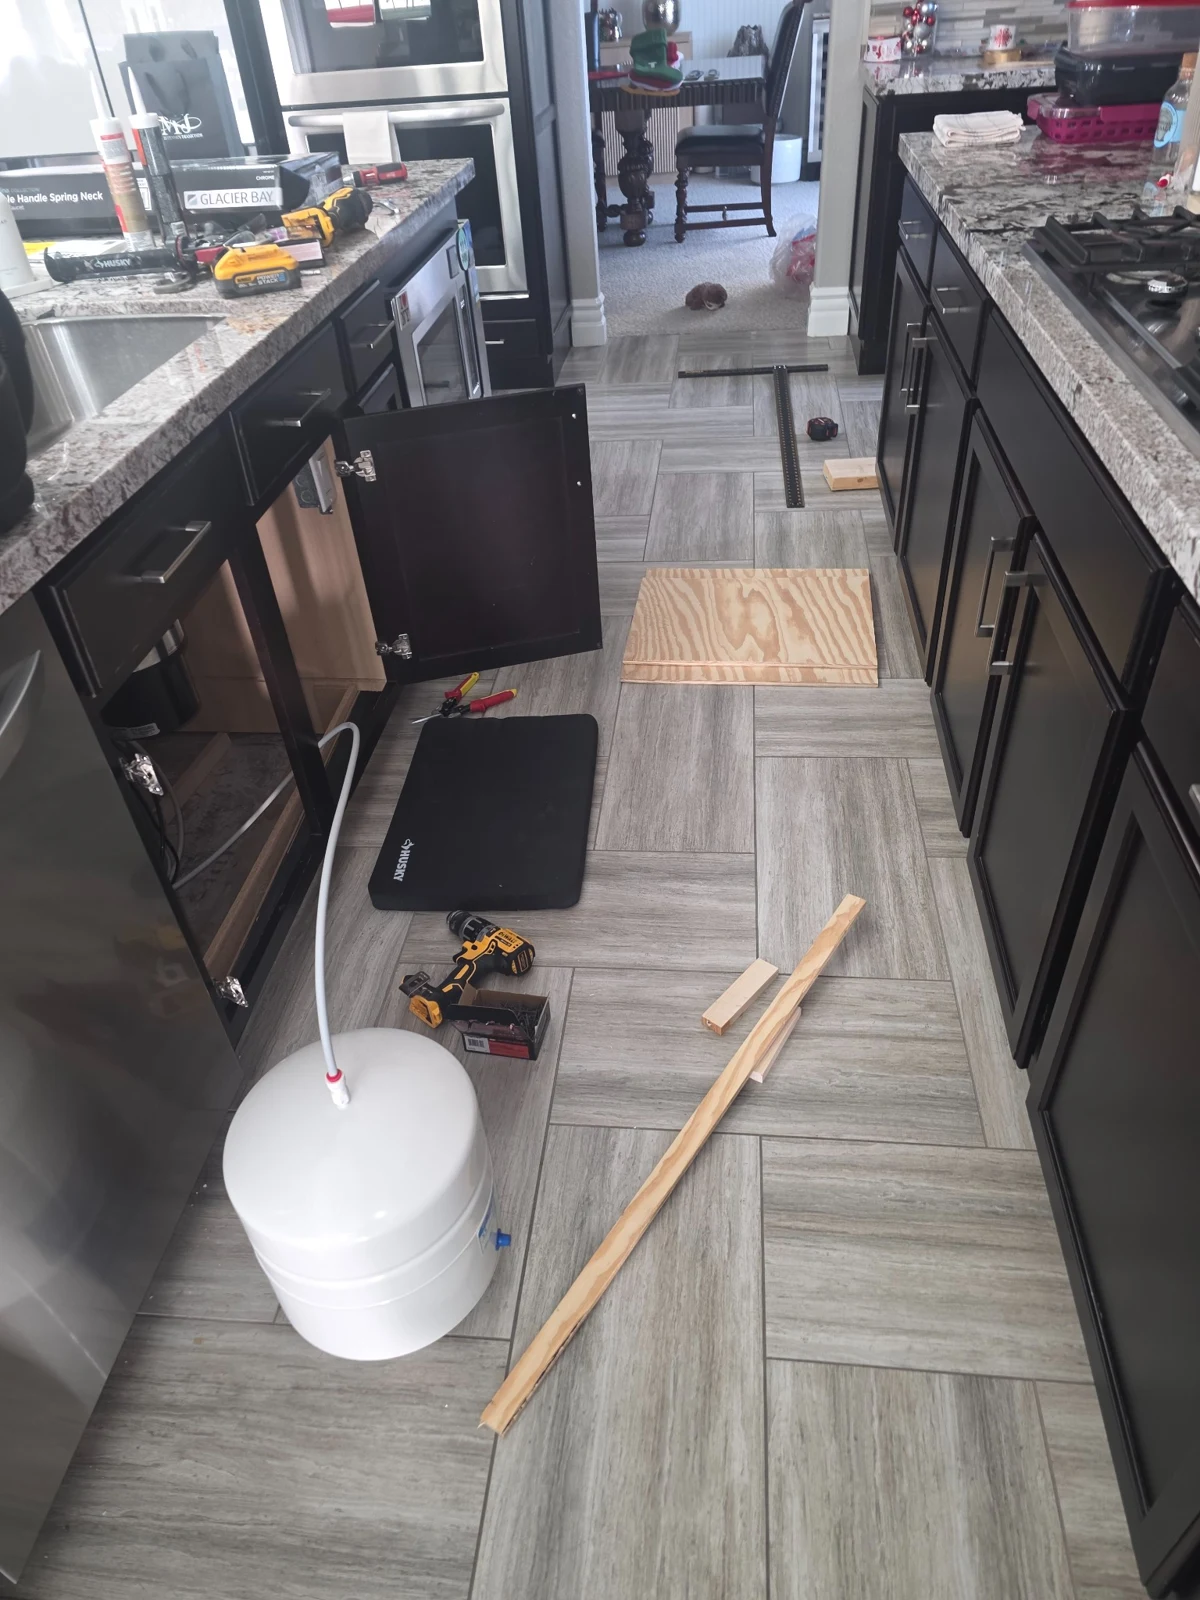
12 · Preparing replacement materials
Replacement materials and tools beside the kitchen work area.
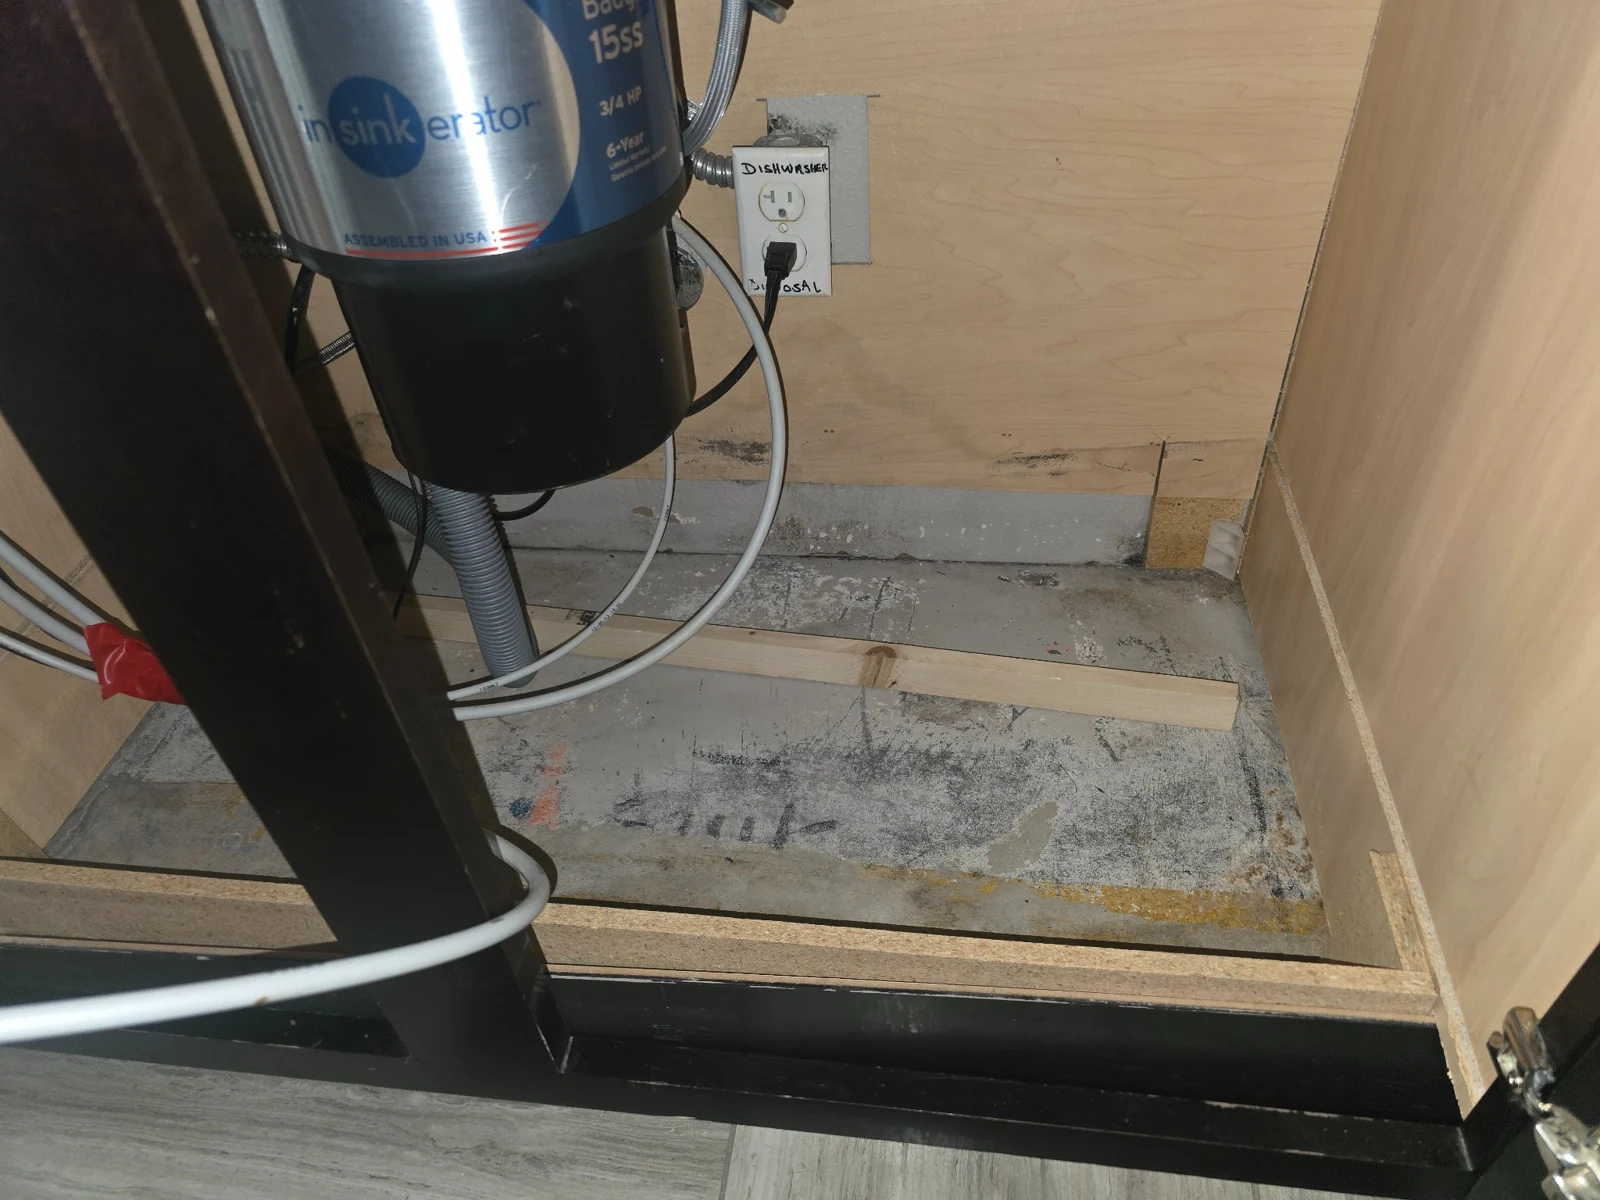
13 · Cabinet interior after removal
The accessible cabinet interior before the replacement base is fitted.
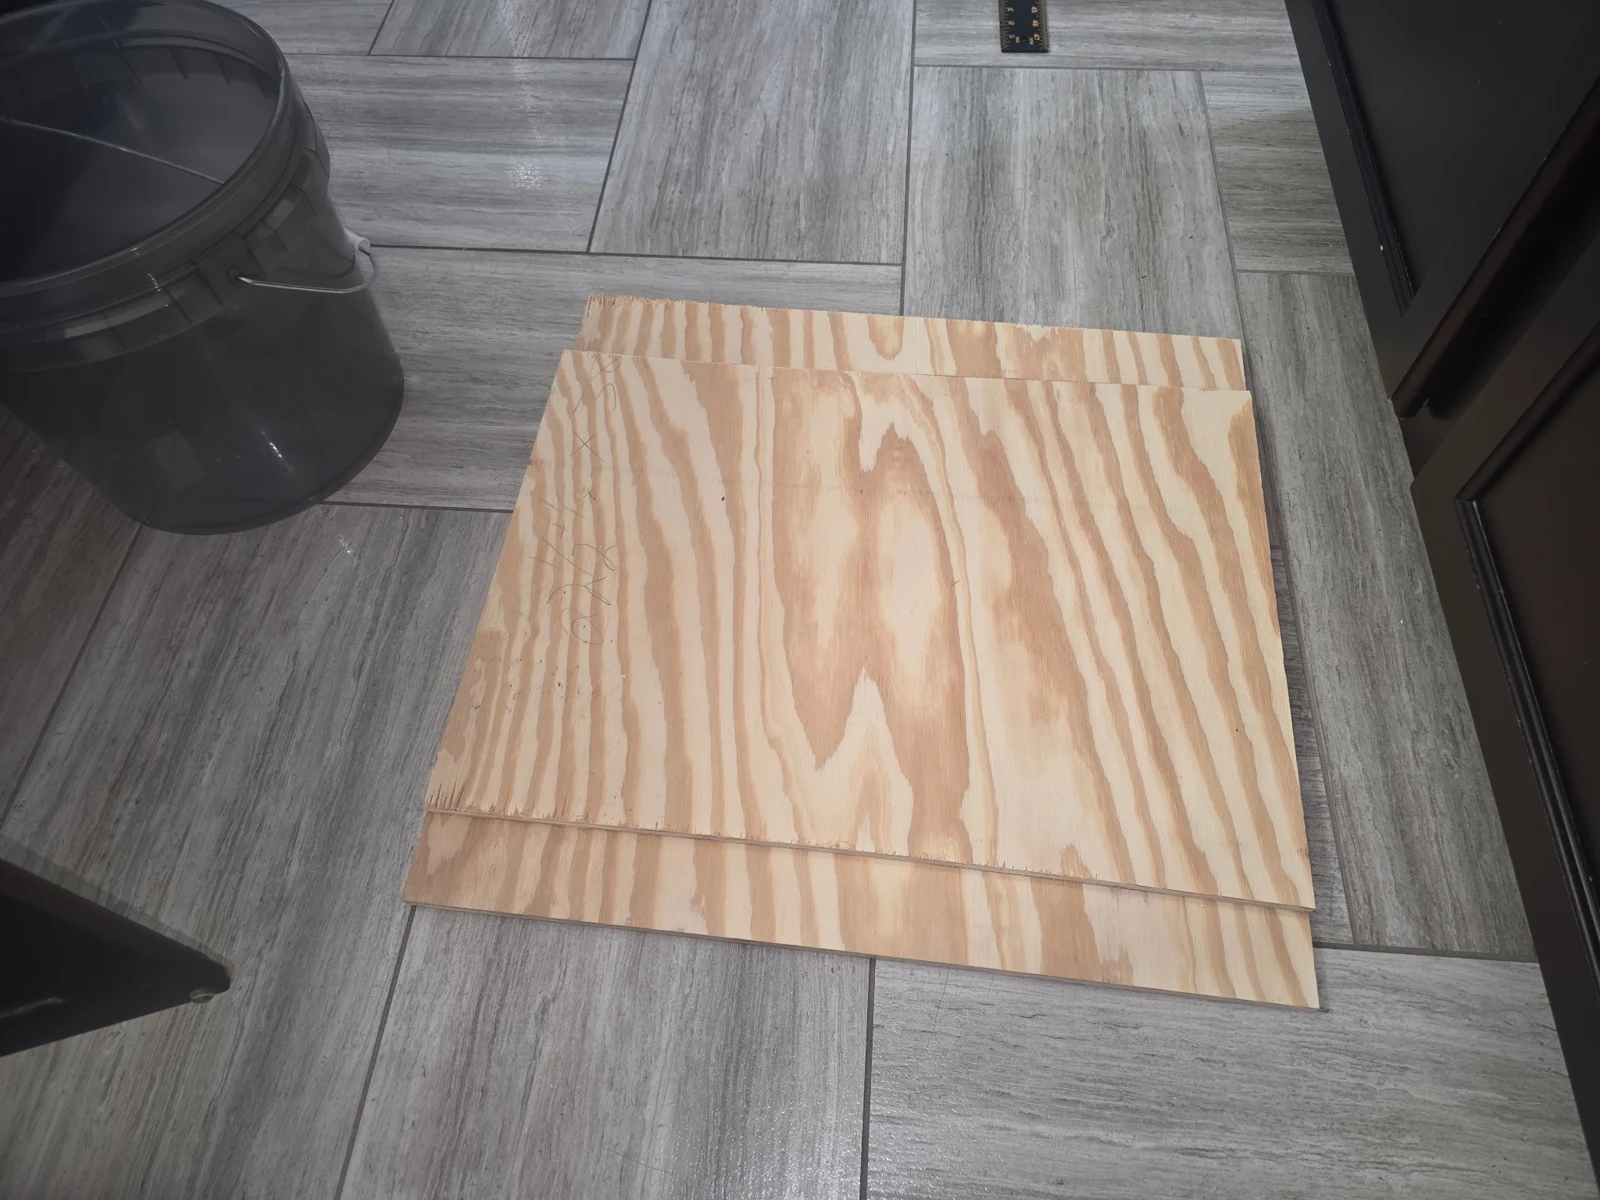
14 · Replacement base panel
A cut plywood panel prepared for the cabinet base.
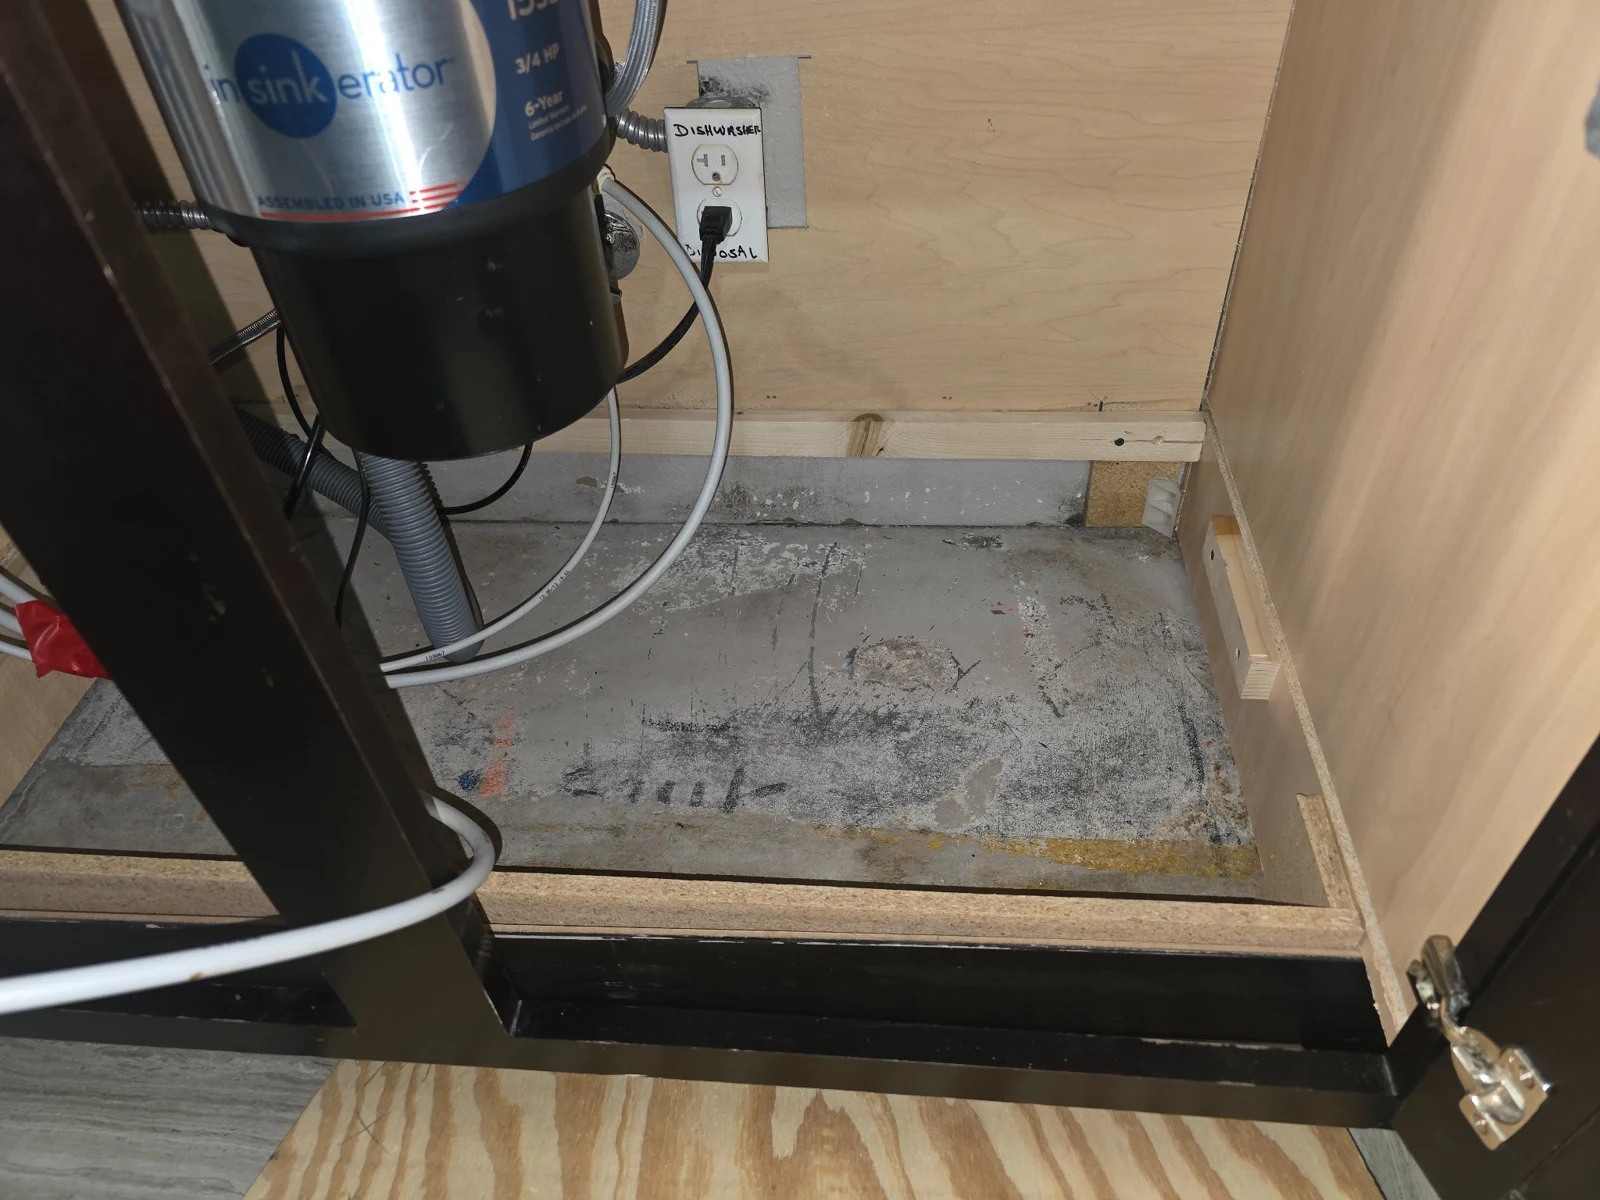
15 · Base opening detail
Closer view of the base opening around existing plumbing.
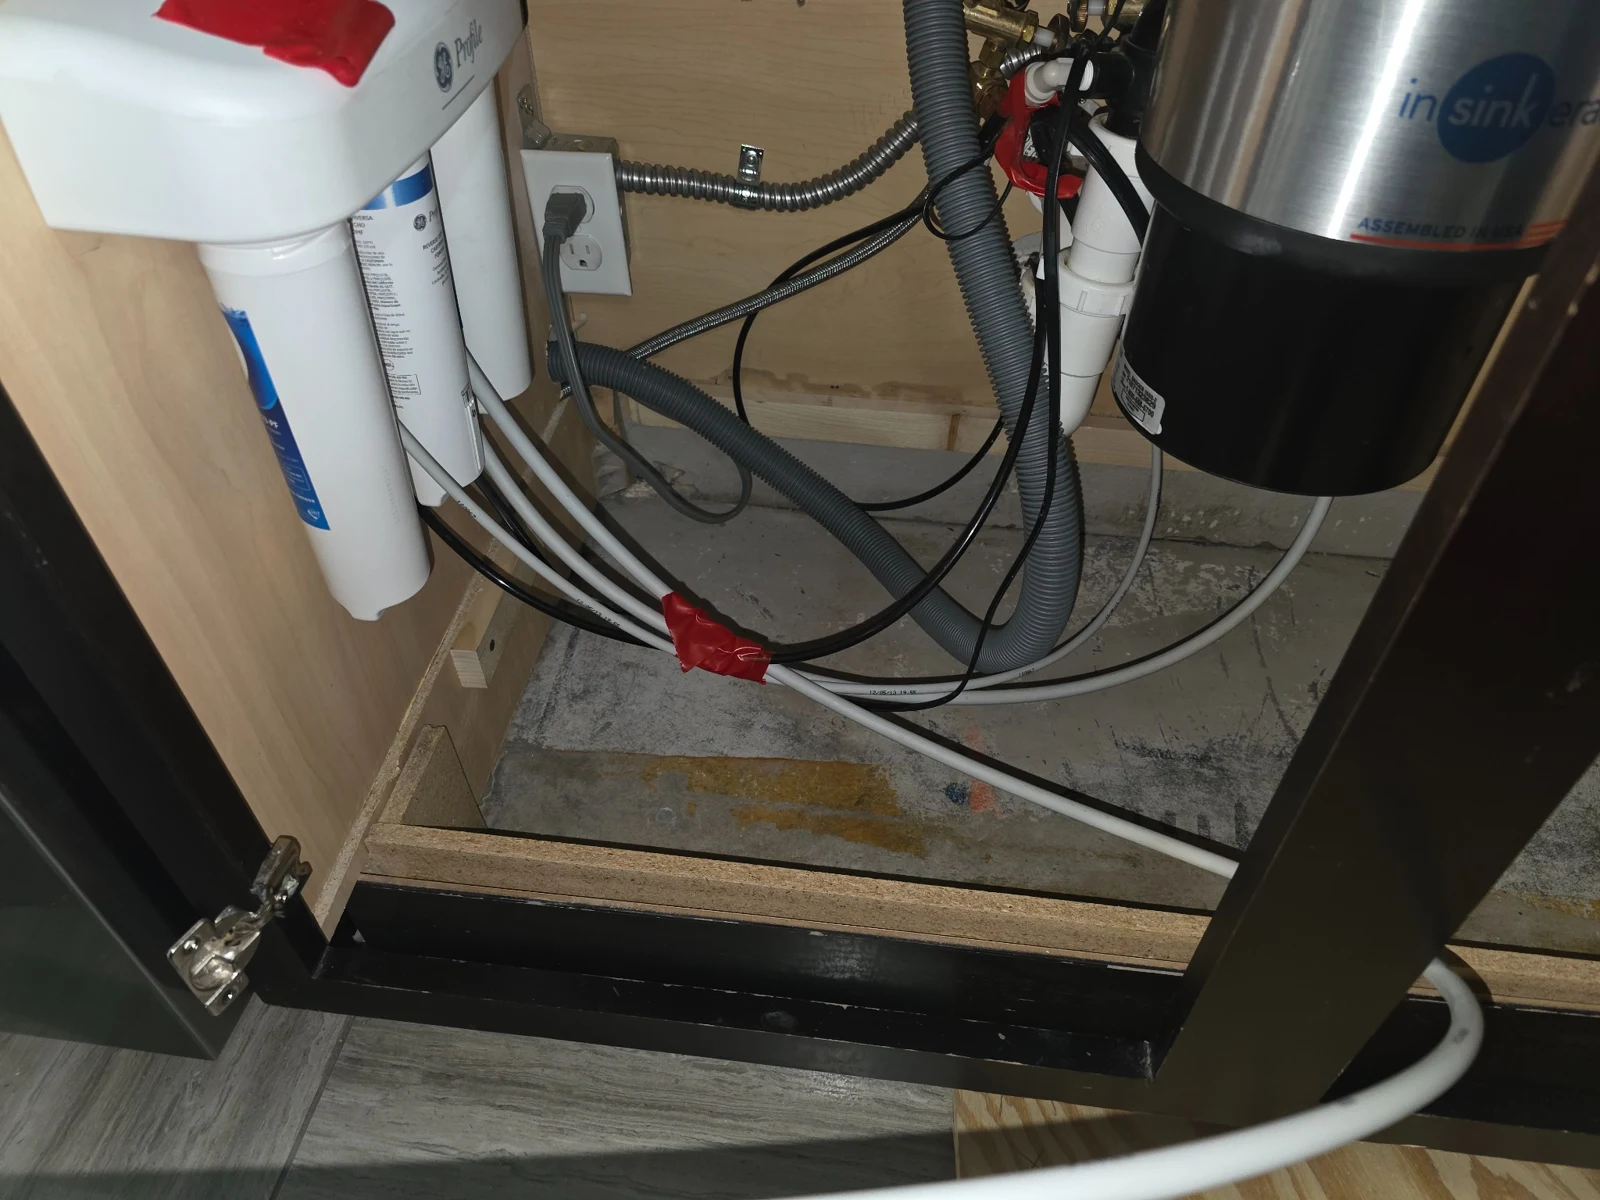
16 · Plumbing retained during the work
Existing filtration and plumbing components alongside the opened base.
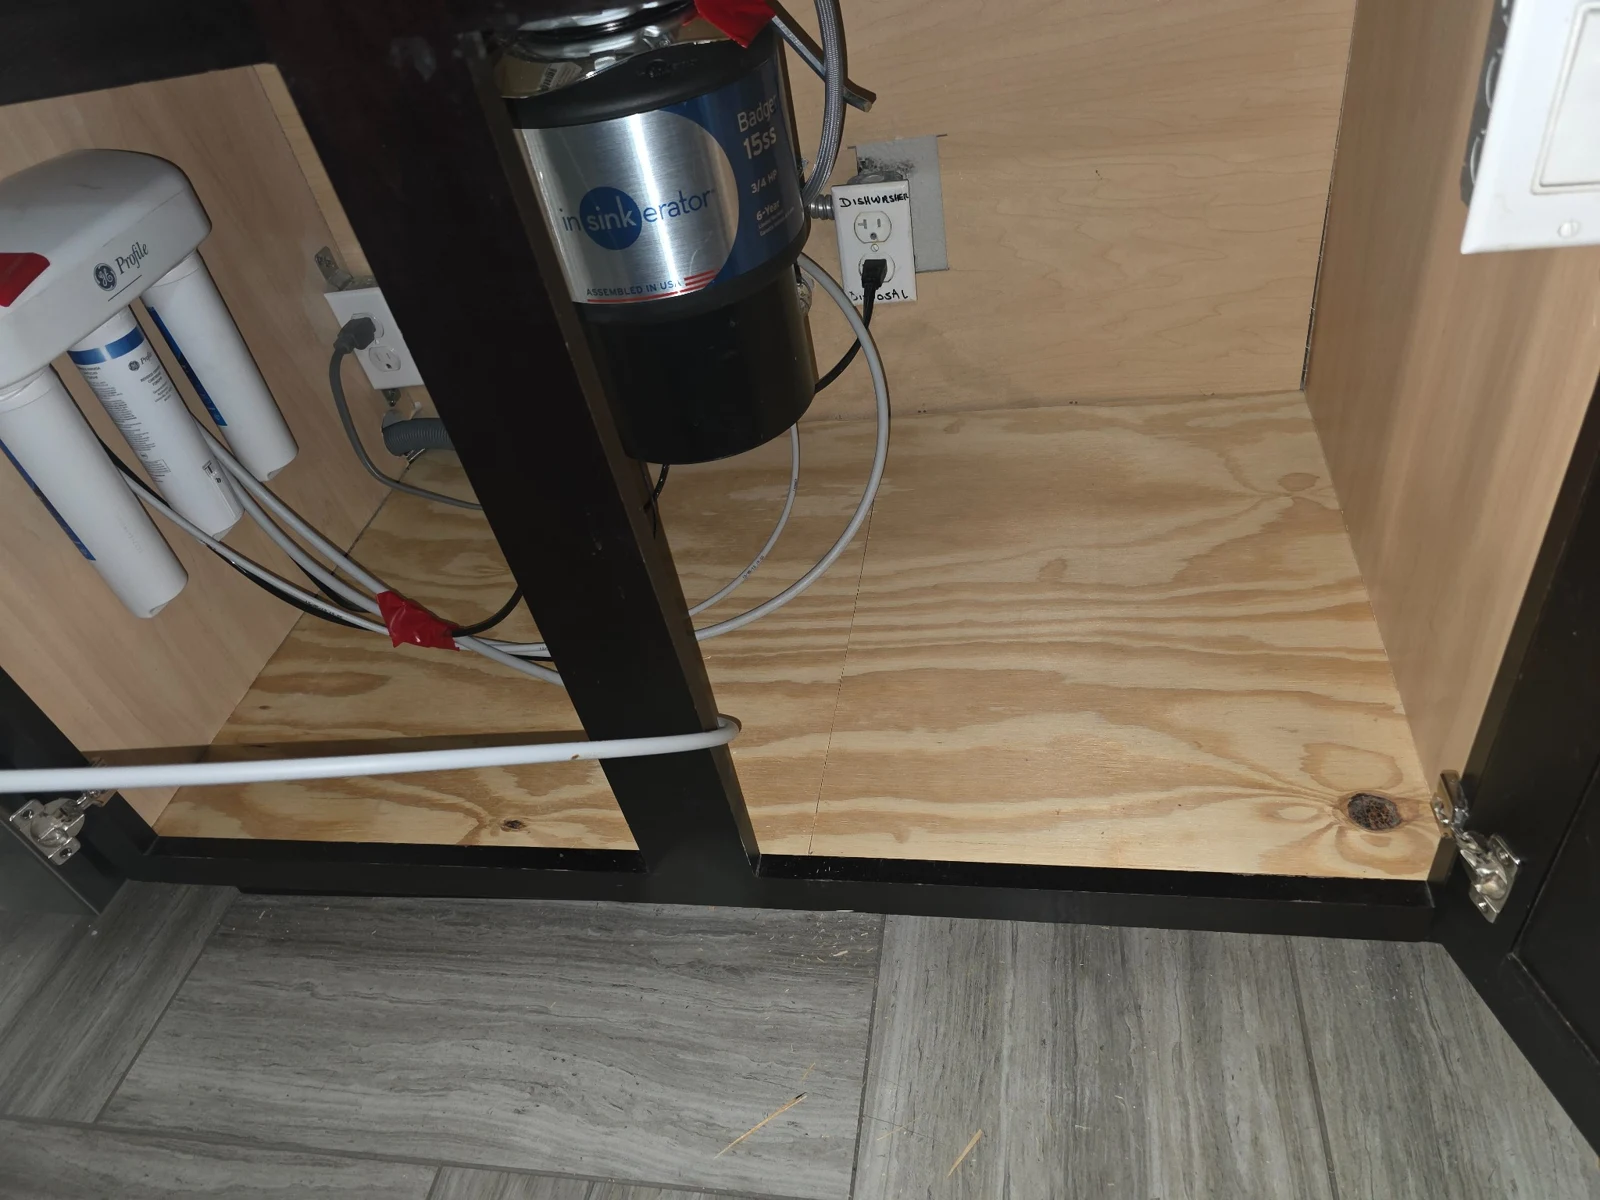
17 · New base panel installed
The replacement plywood base fitted inside the cabinet.
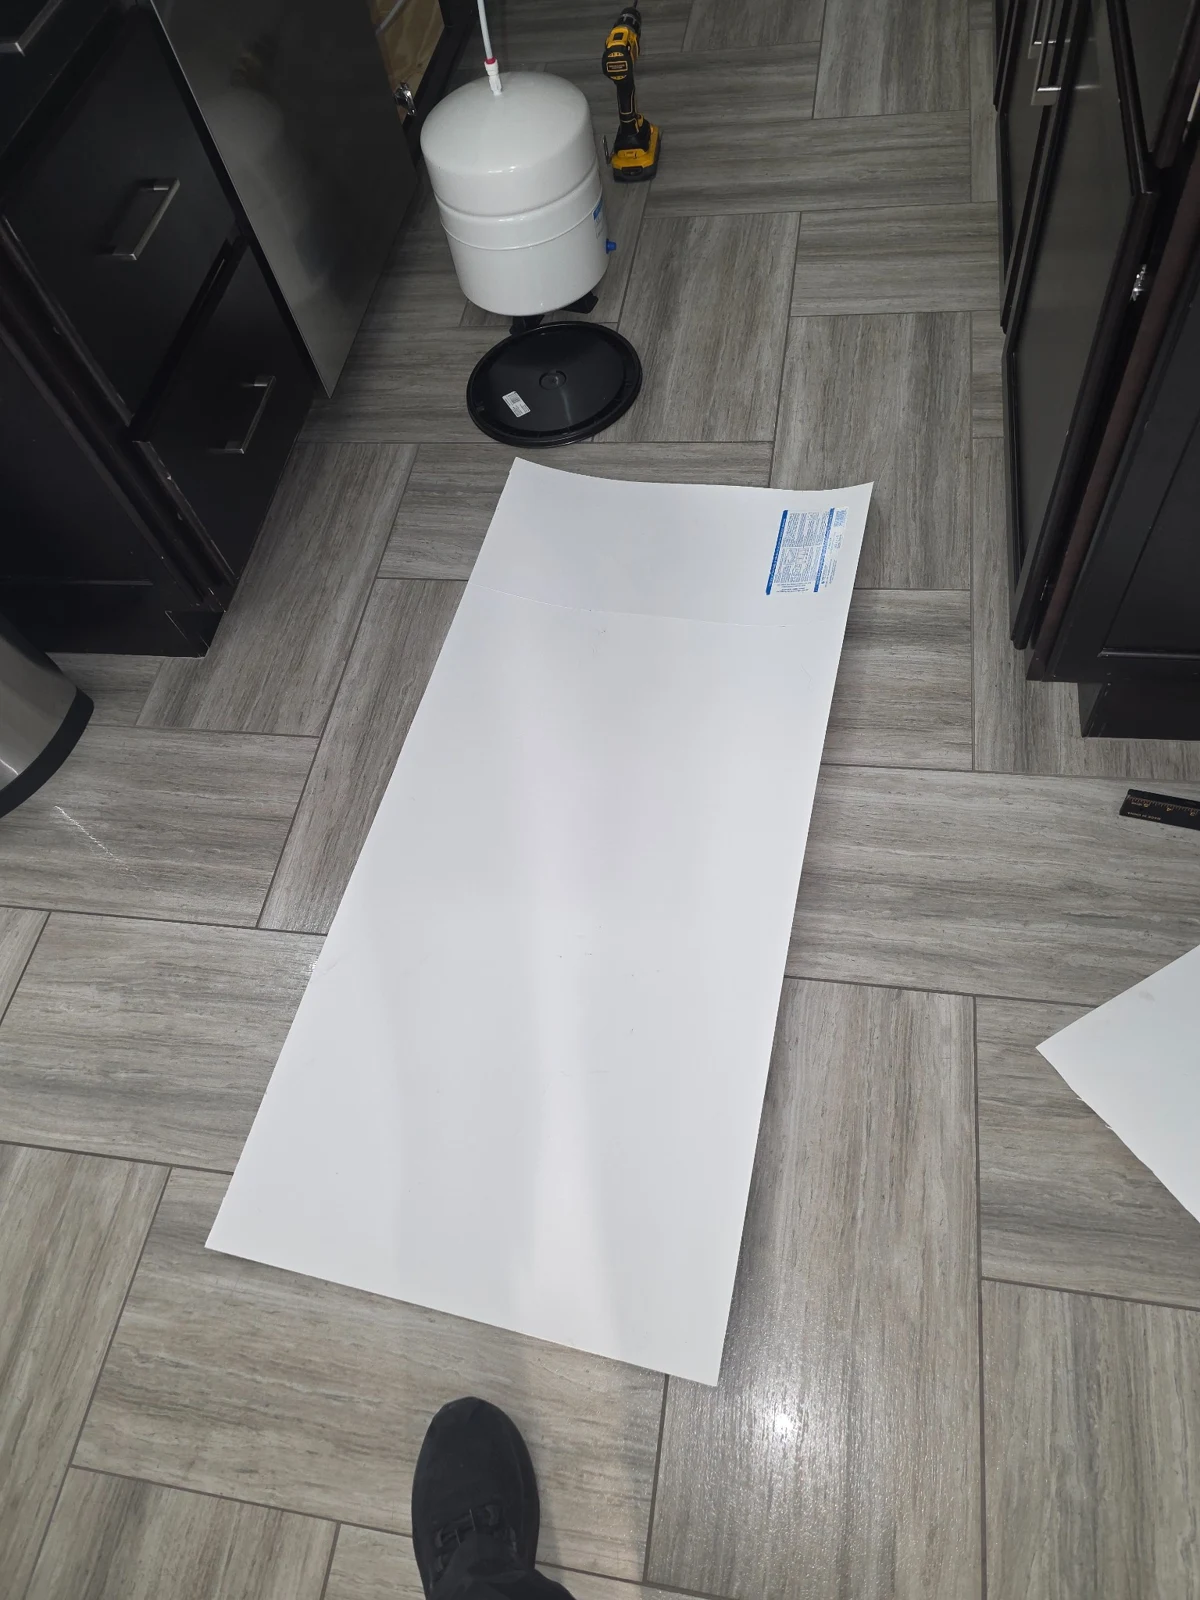
18 · Preparing the white liner
White lining material prepared for the cabinet interior.
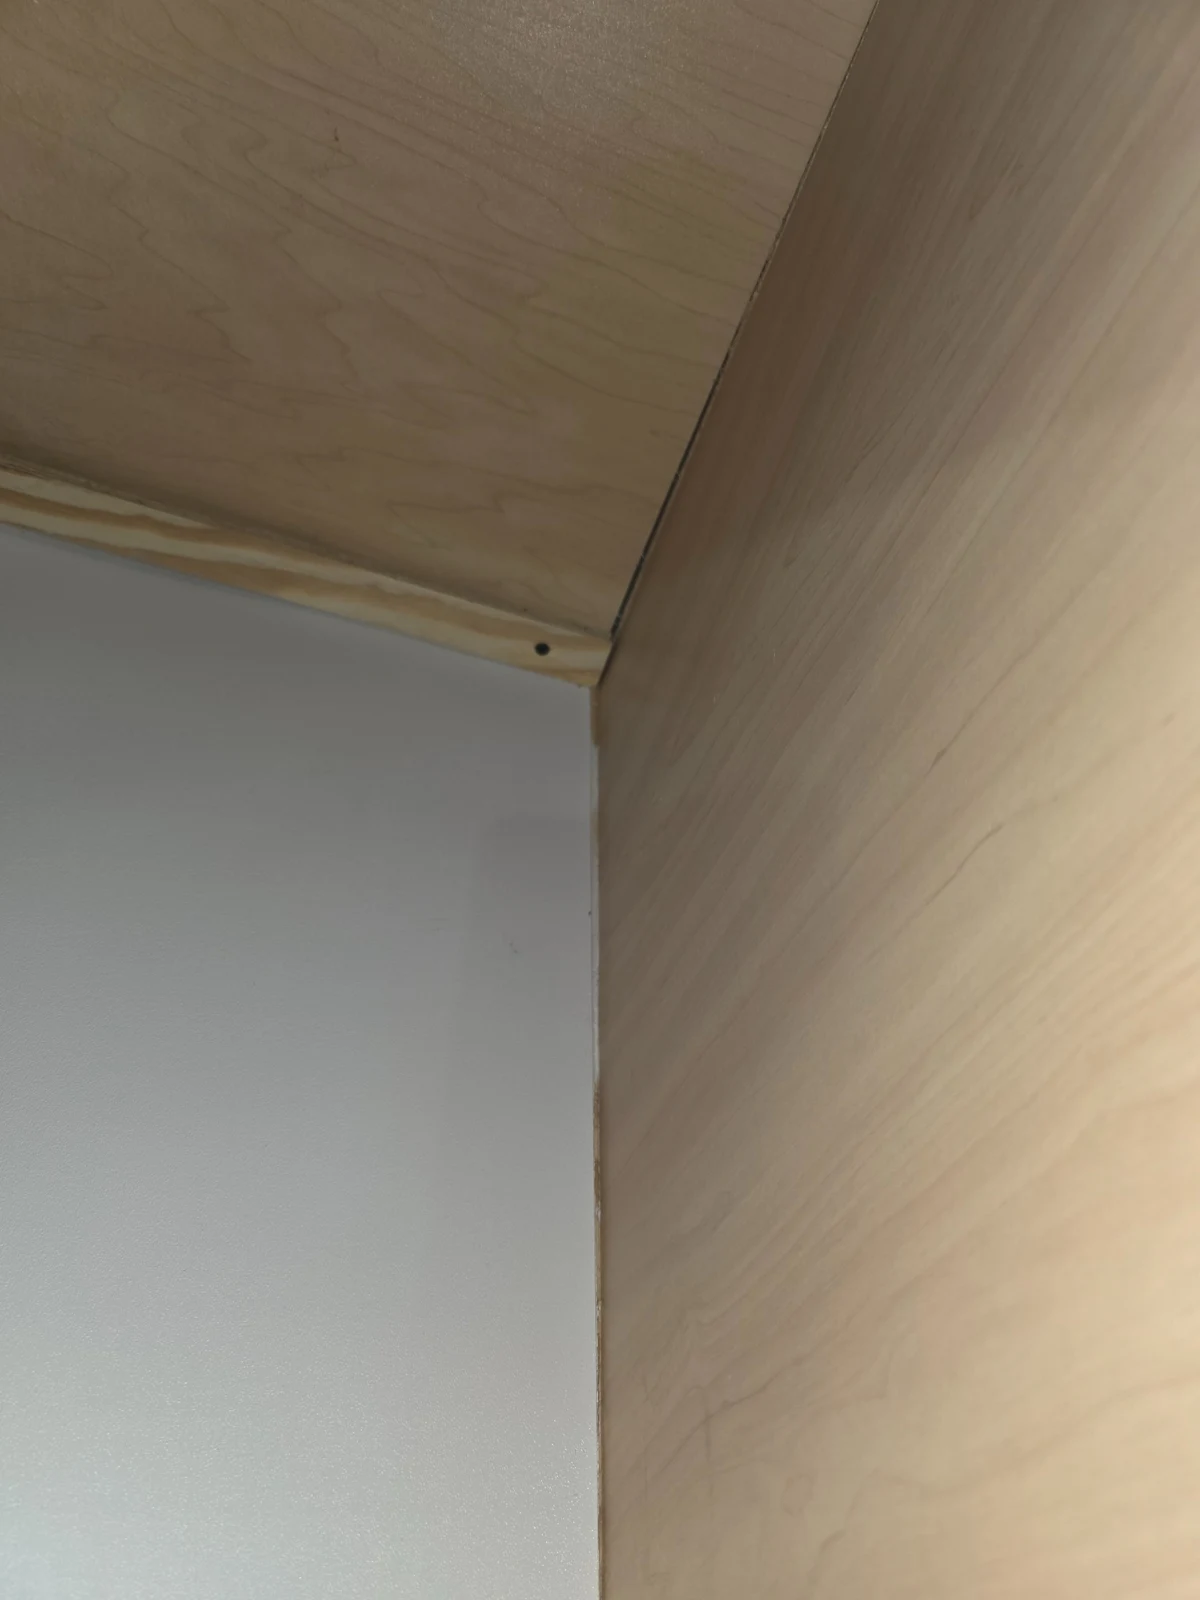
19 · Liner edge detail
Close-up of the fitted white liner and cabinet edge.
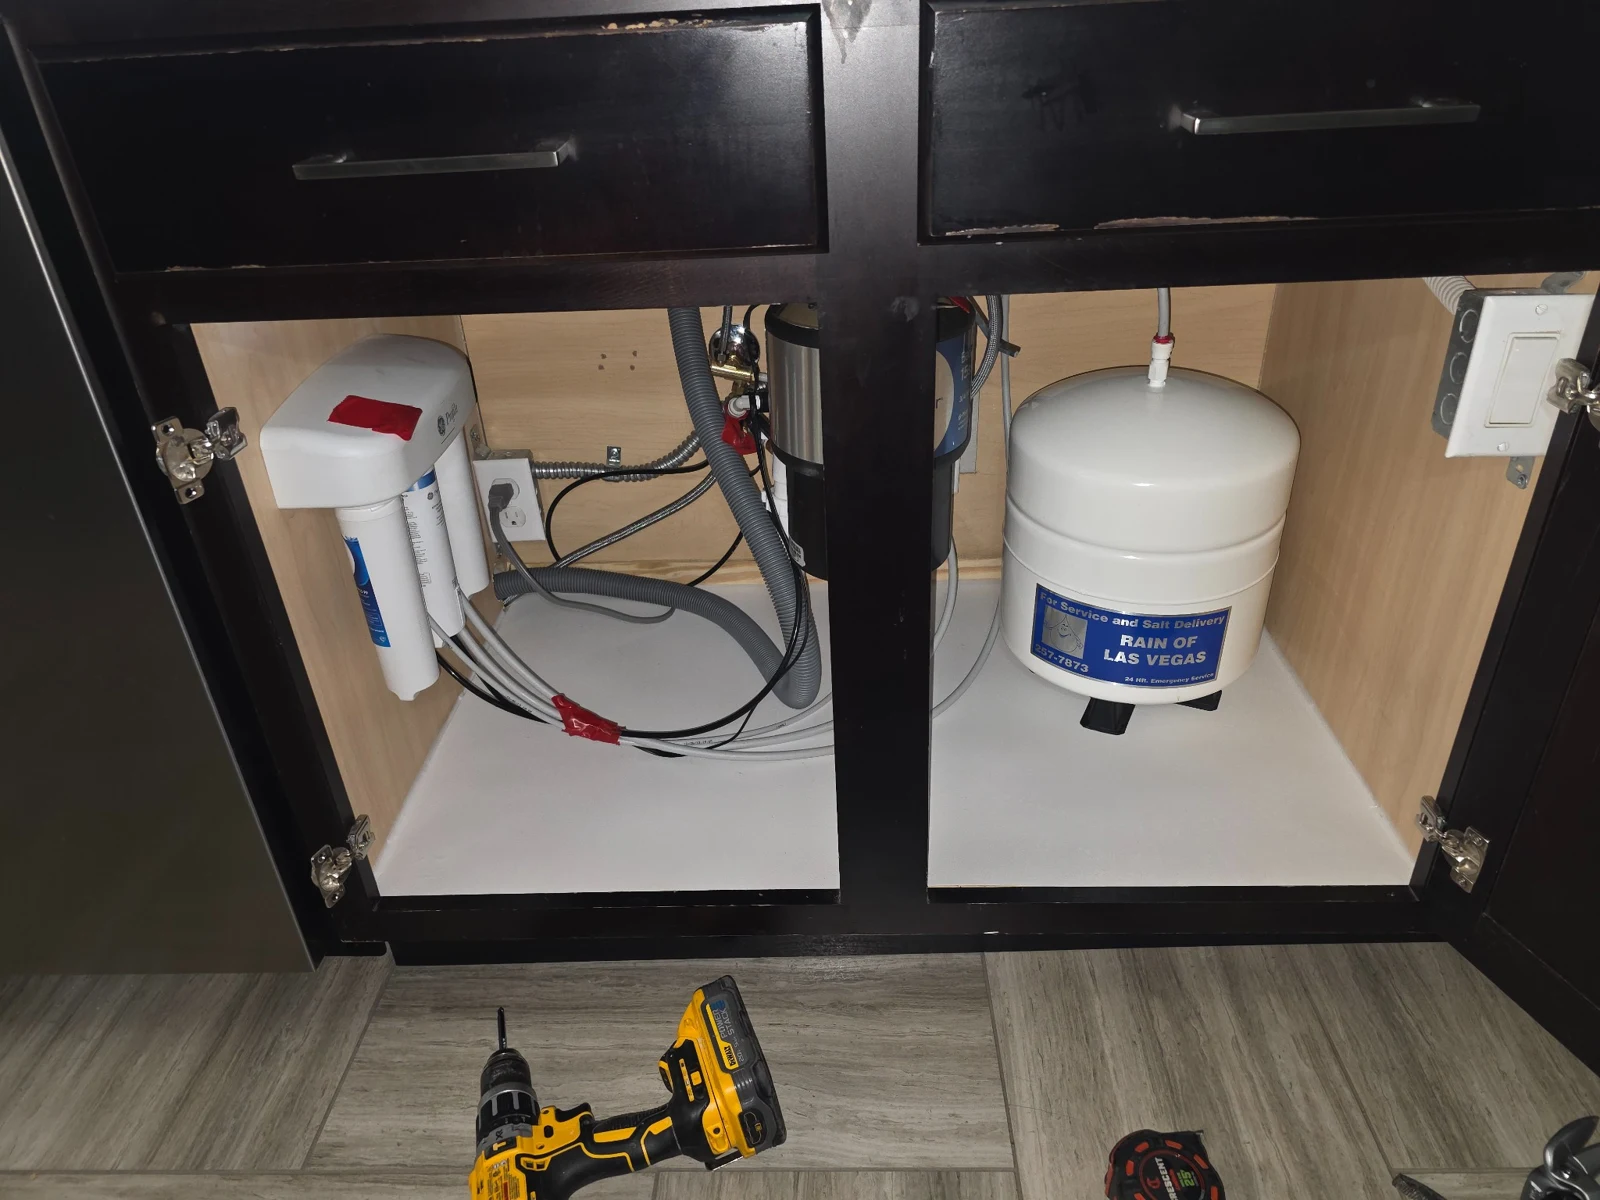
20 · Finished sink-base interior
The sink-base interior with its white liner fitted around the existing equipment.
HAVE A SIMILAR PROPERTY CONCERN?