Mold remediation projects / Closet mold remediation & repairs
PROJECT PHOTOGRAPHS
Closet mold remediation & repairs.
Follow this past closet project from concealed wall damage through containment, remediation, wall repairs and the finished room.
← All mold remediation projectsINSIDE THE PROJECT
From concealed damage
to a finished closet.
This closet project involved access to affected wall cavities, protective containment and removal work. The photographs then follow reconstruction through insulation, replacement drywall, finishing and the return of the closet shelving.
A protected work area
Plastic containment enclosed the closet entrance, with floor protection along the access route. The early photographs show the setup, protective equipment and opened walls.
Repairs and completion
The later photographs show the insulation and drywall work, joint finishing, painting and reinstalled shelving. These stages form part of this past project.
See the work in sequence
Explore twenty-six photographs and a video, or use the stage buttons to focus on a particular part of the project. Open any photograph for a closer look.
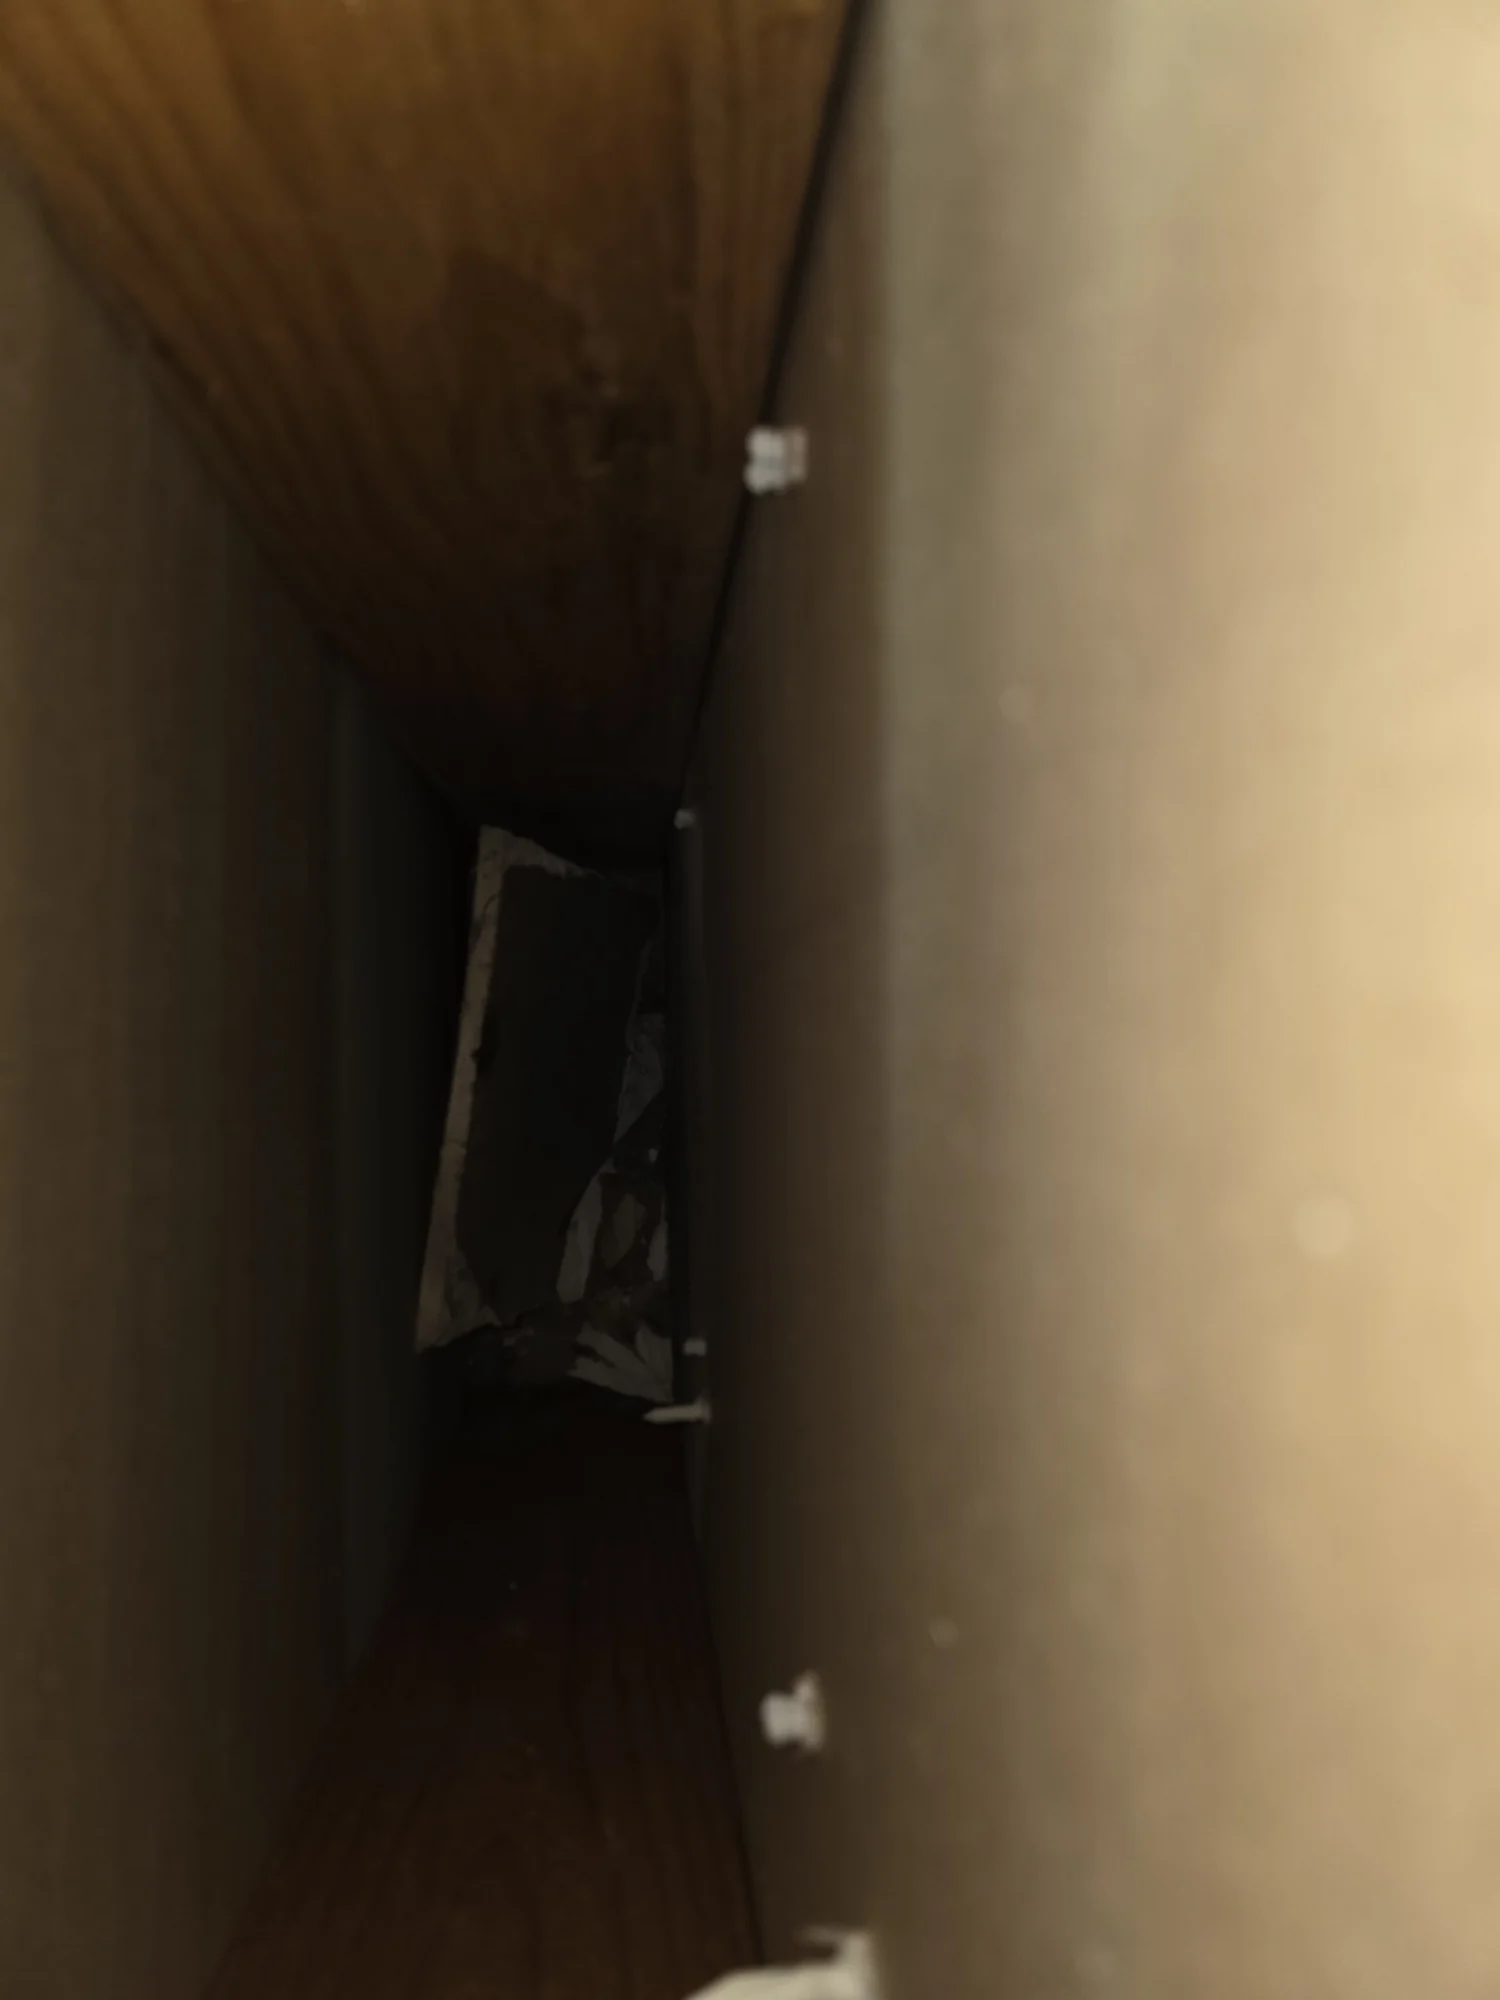
Concealed wall cavity
A close view inside the wall cavity during the initial investigation.
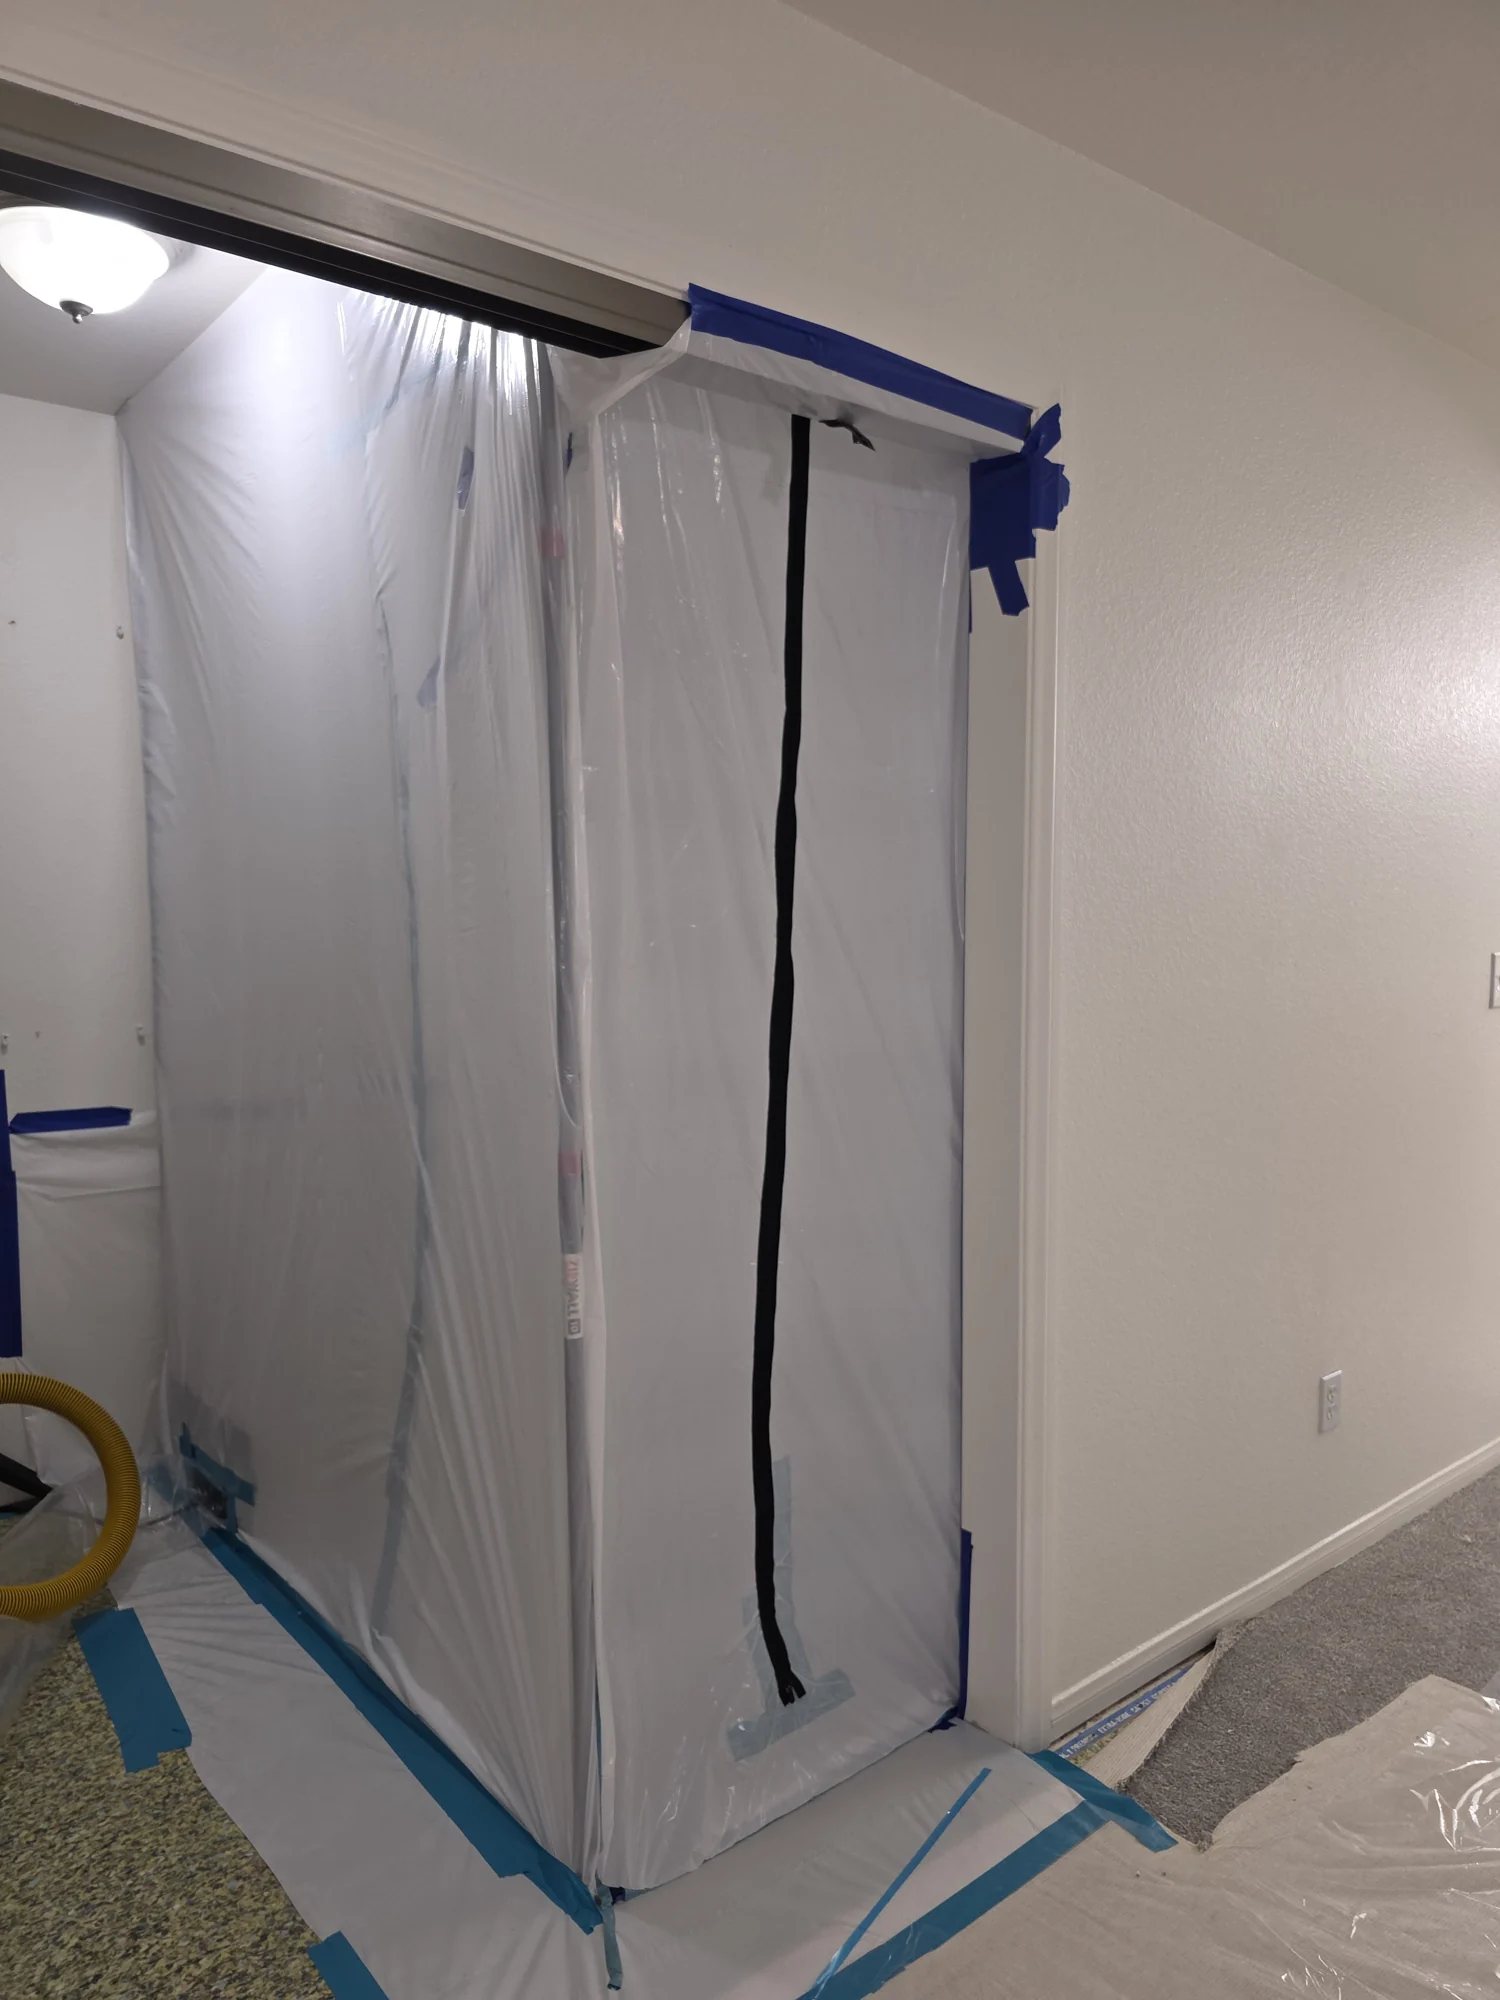
Closet doorway containment
Plastic containment and a zipper entry enclose the closet work area.
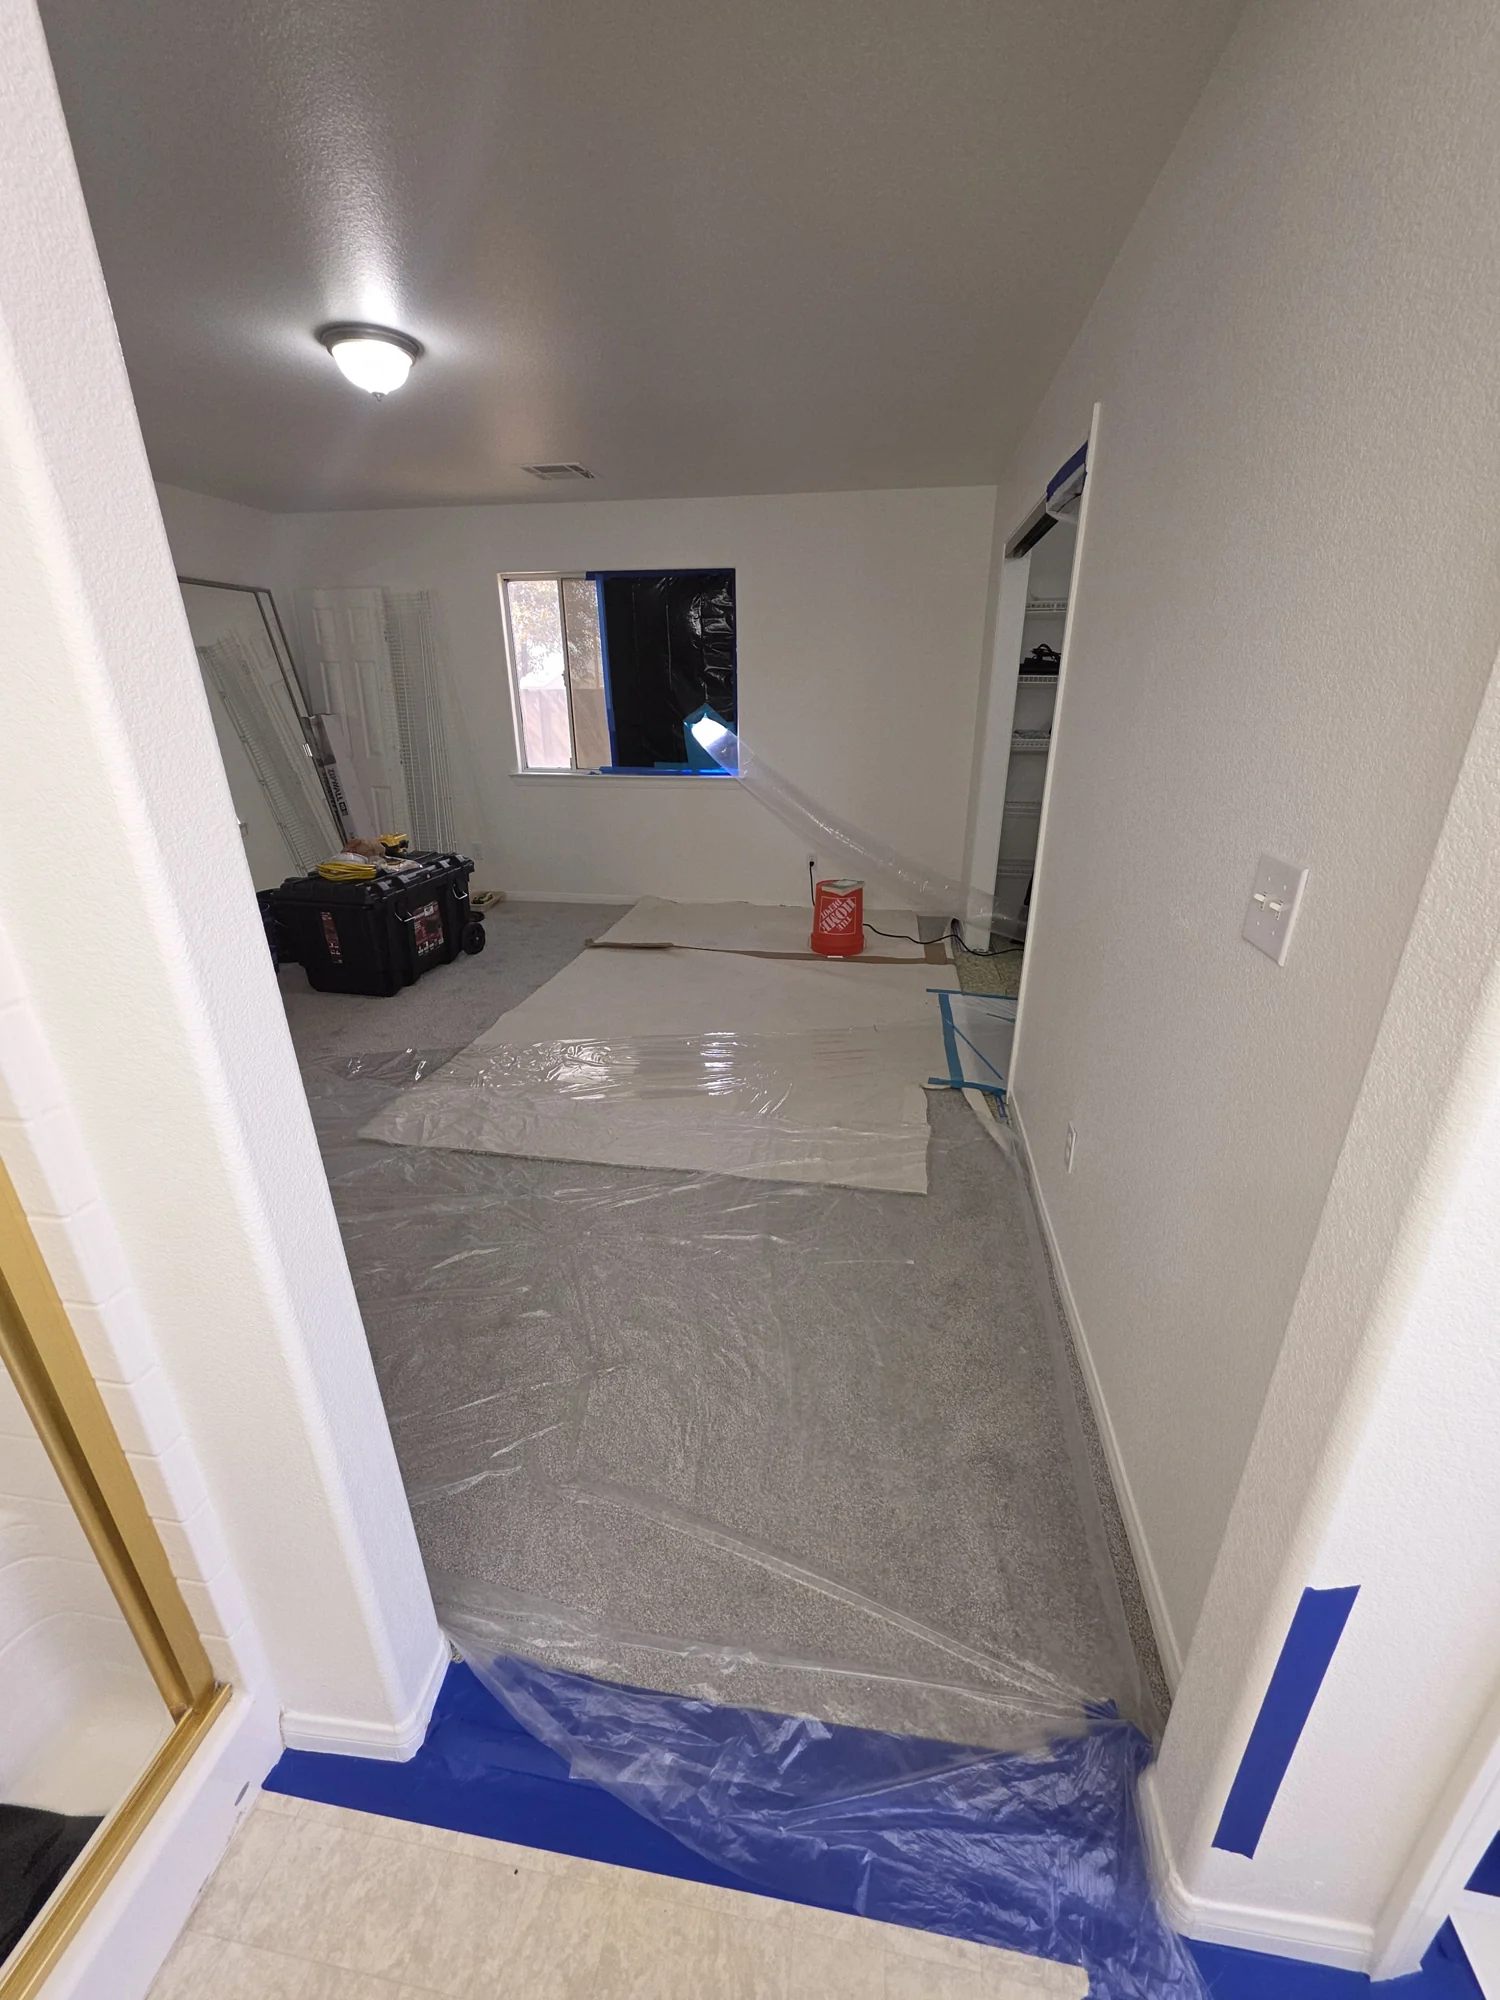
Protected access route
Protective sheeting covers the route leading to the work area.
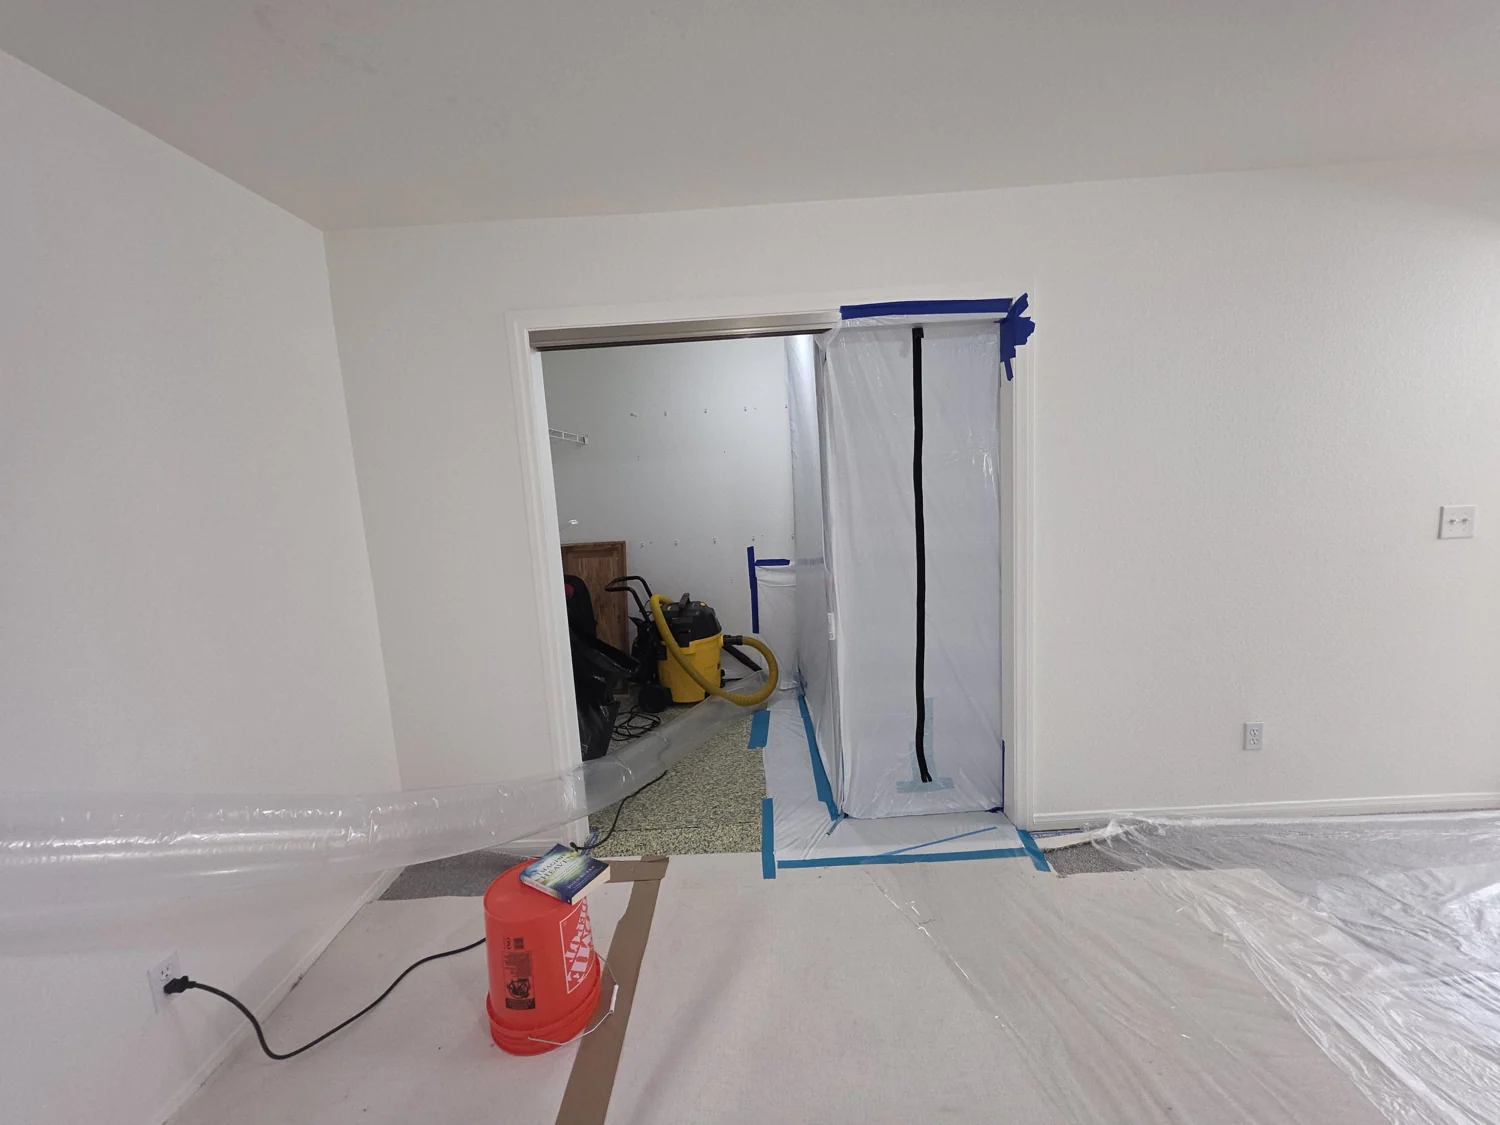
Work-area setup
The contained closet entrance and protected floor during setup.
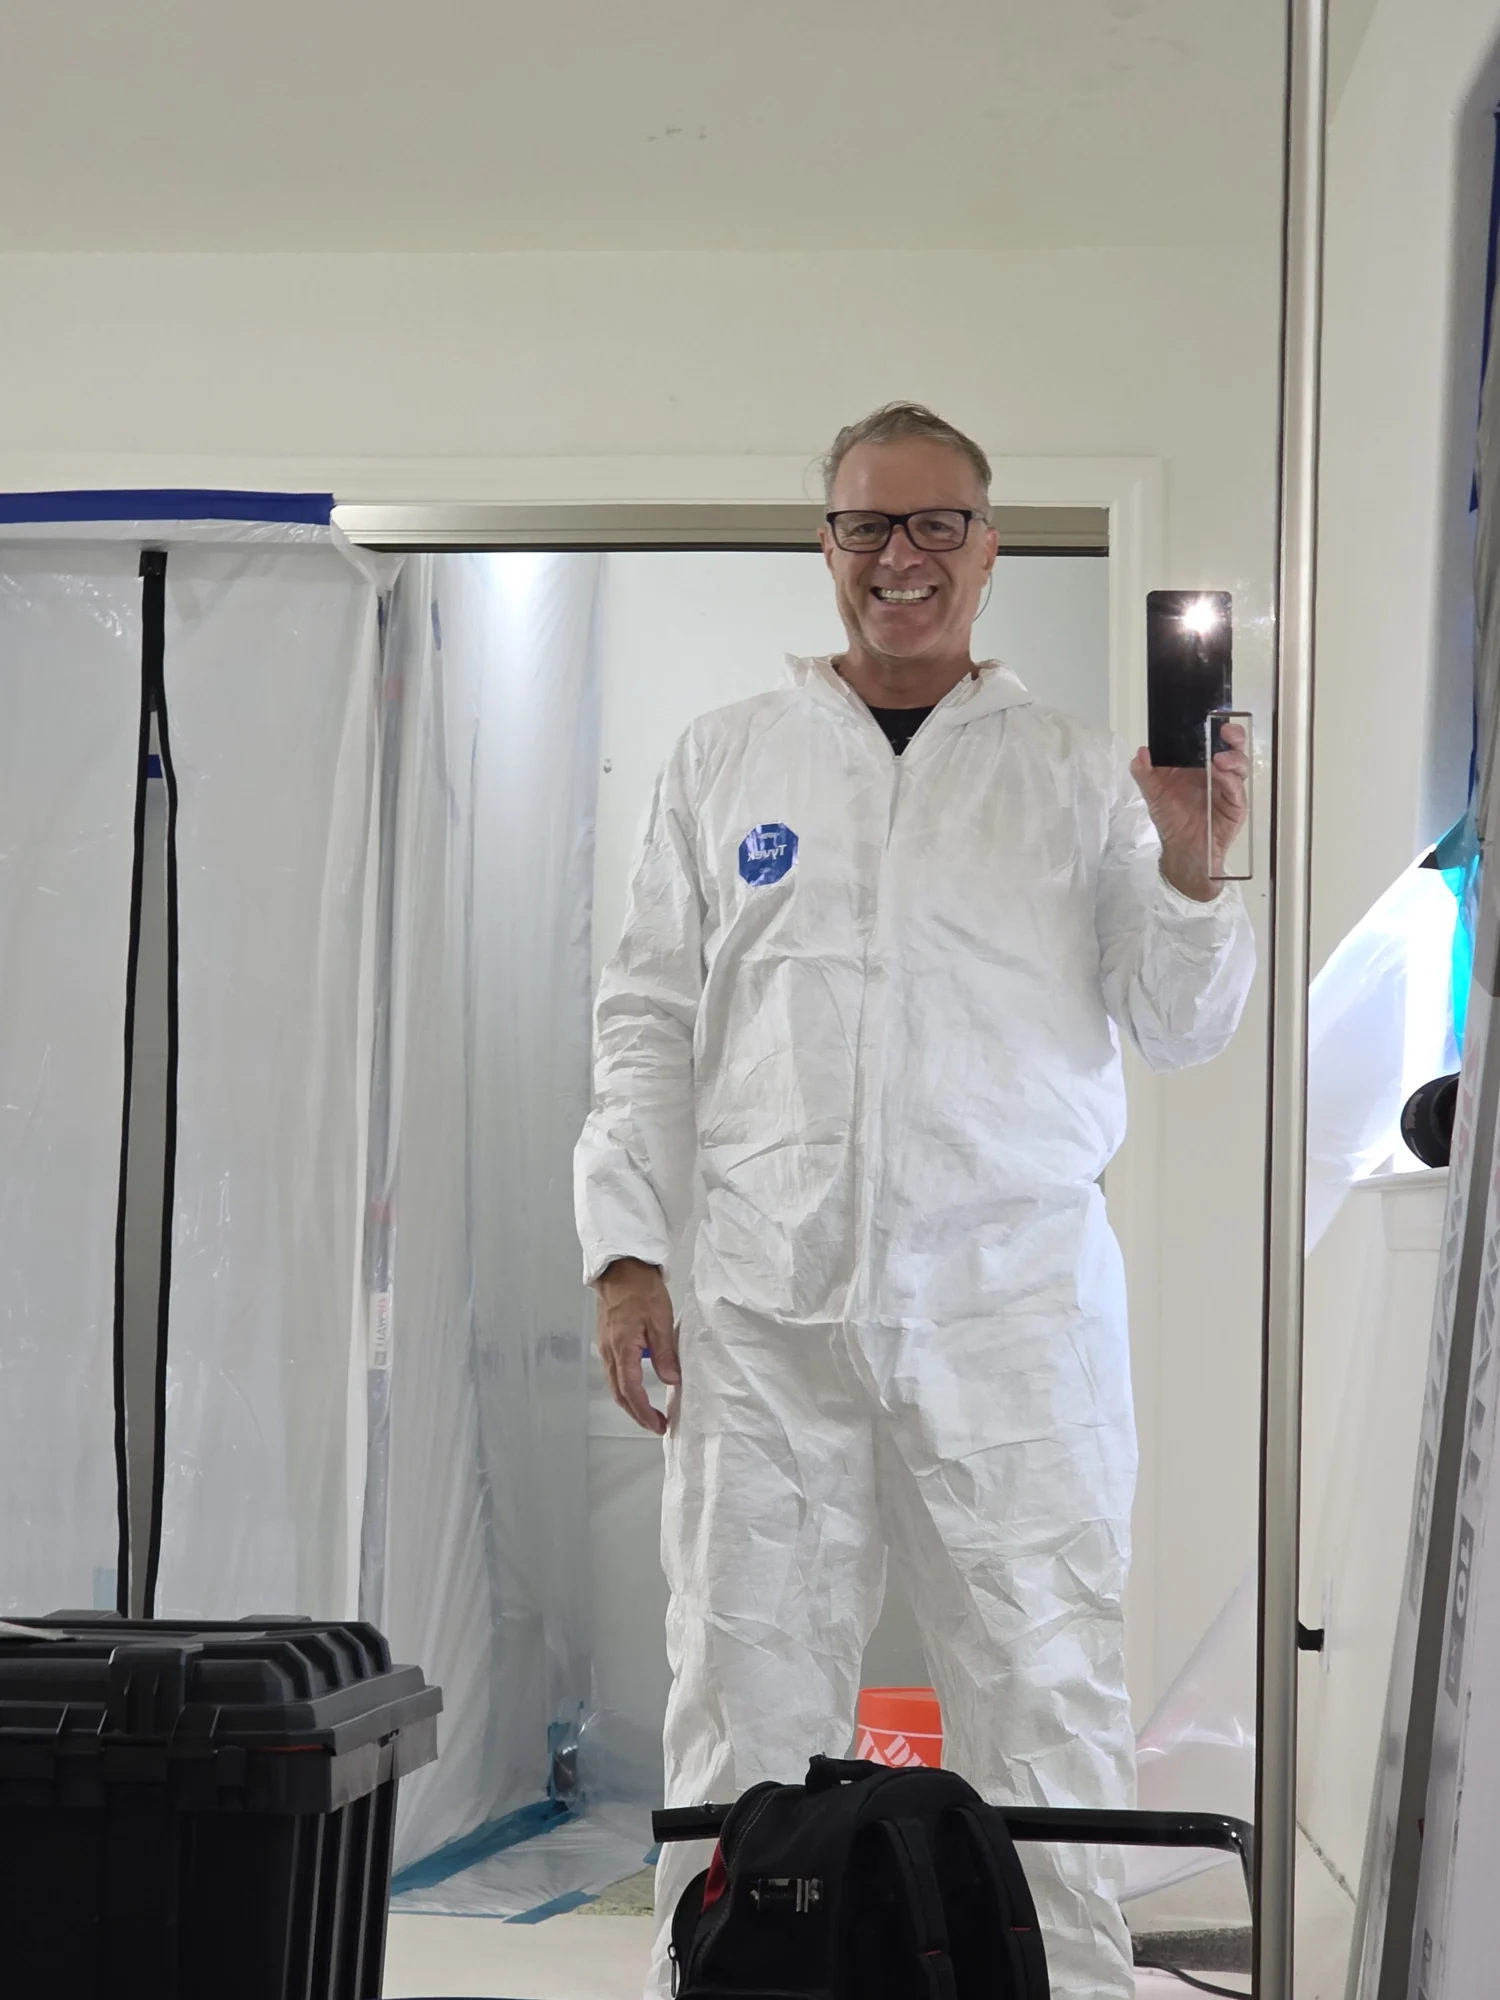
Personal protective equipment
Marc in protective coveralls and gloves inside the work area.
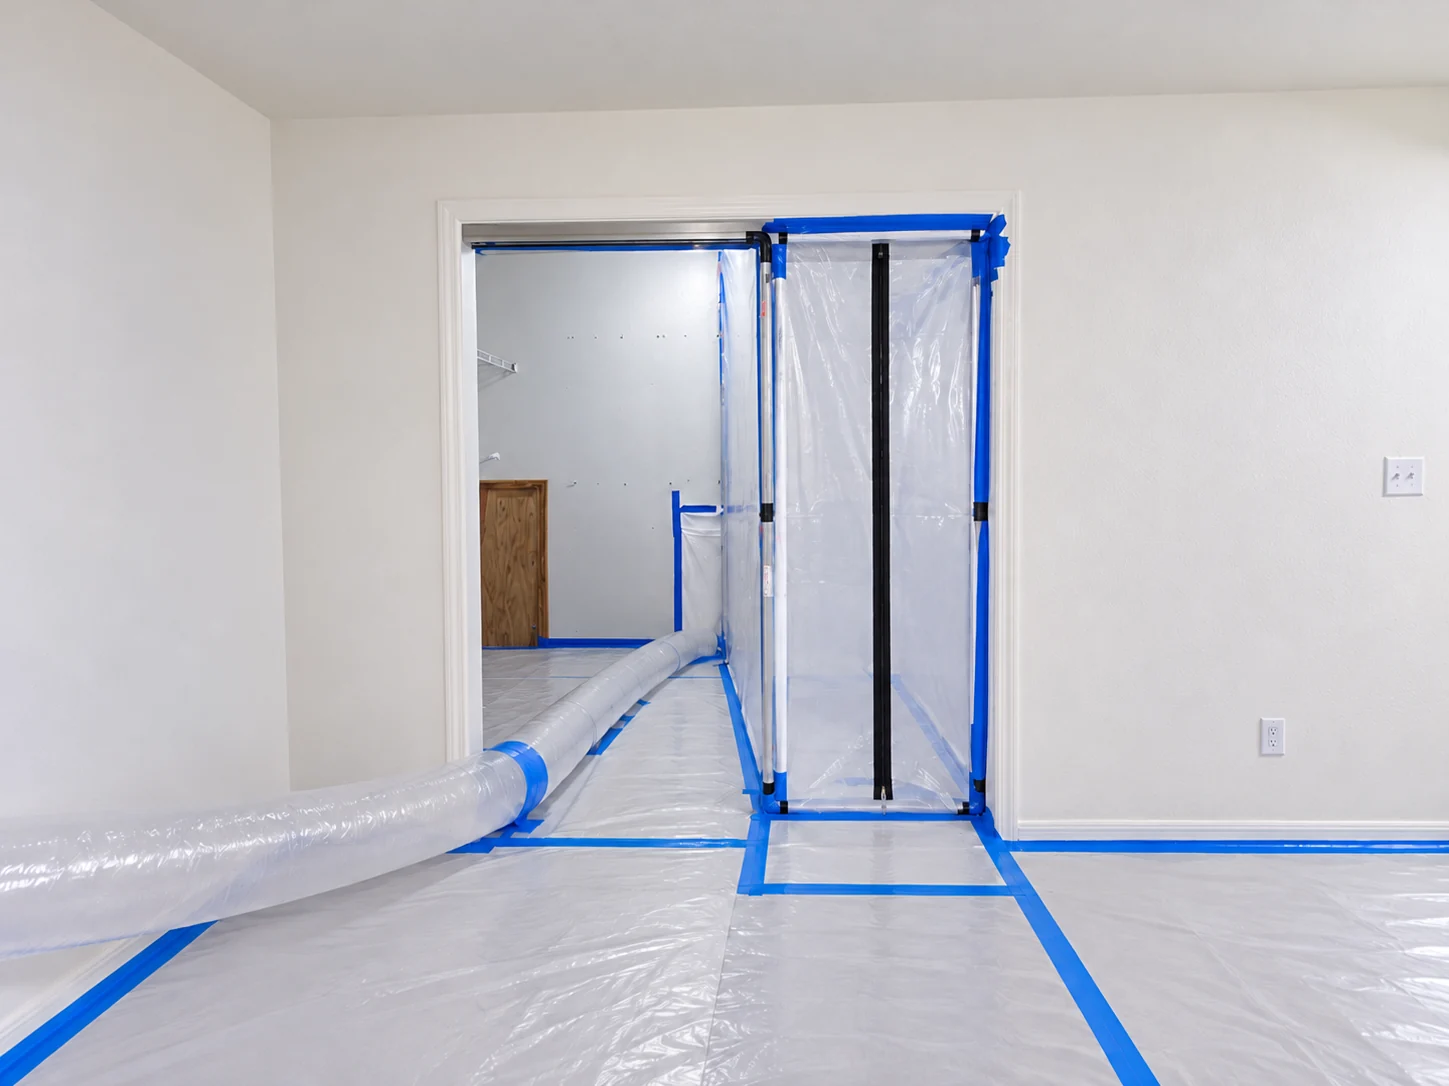
Containment from the room
A room-wide view of the closet barrier and floor protection.
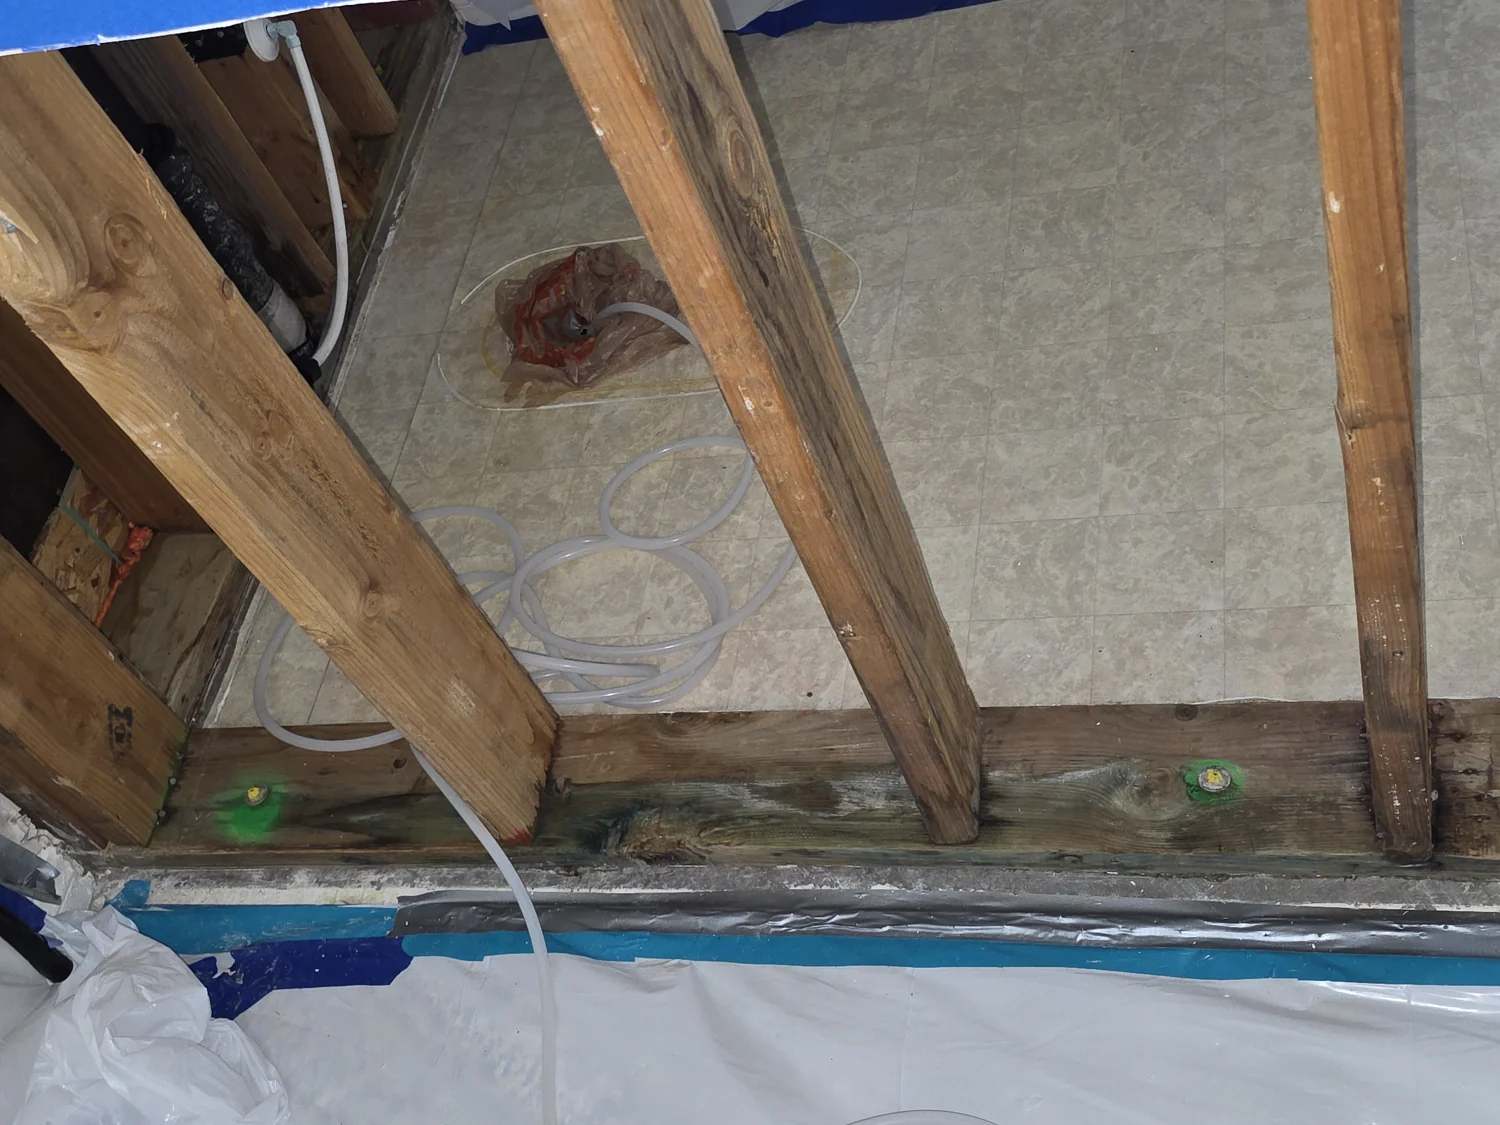
Opened lower wall
The lower wall opened to expose the framing and wall cavity.
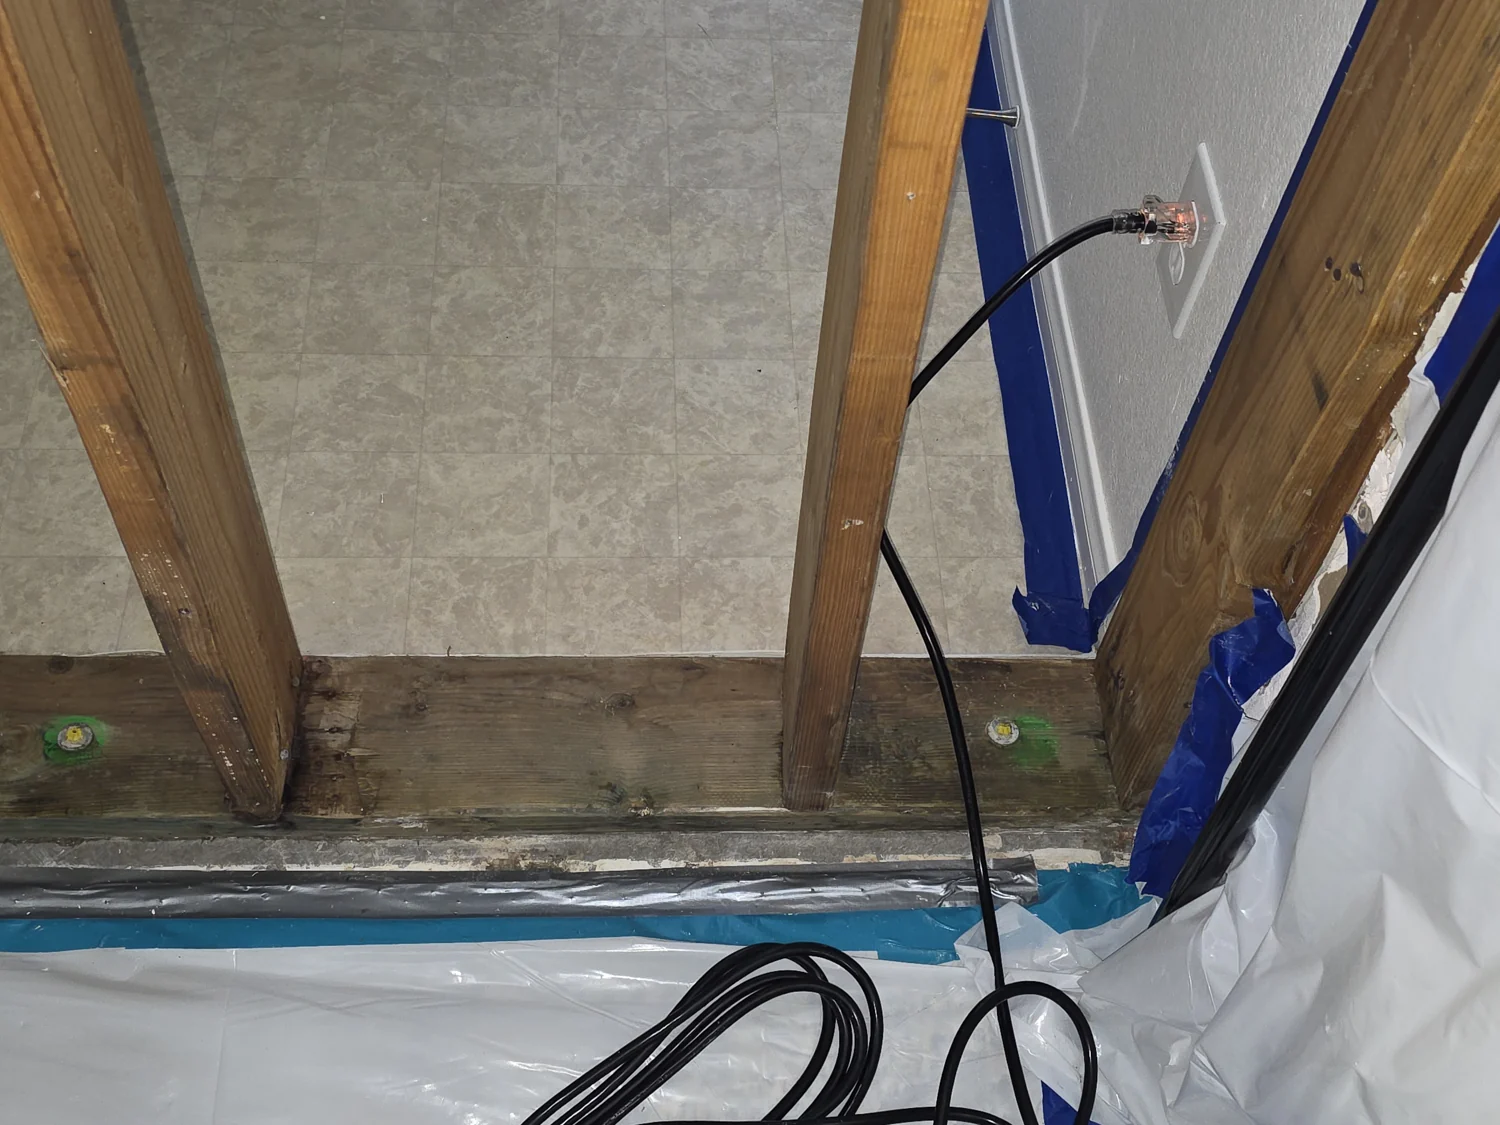
Access to concealed surfaces
Exposed framing and lower wall surfaces during removal work.
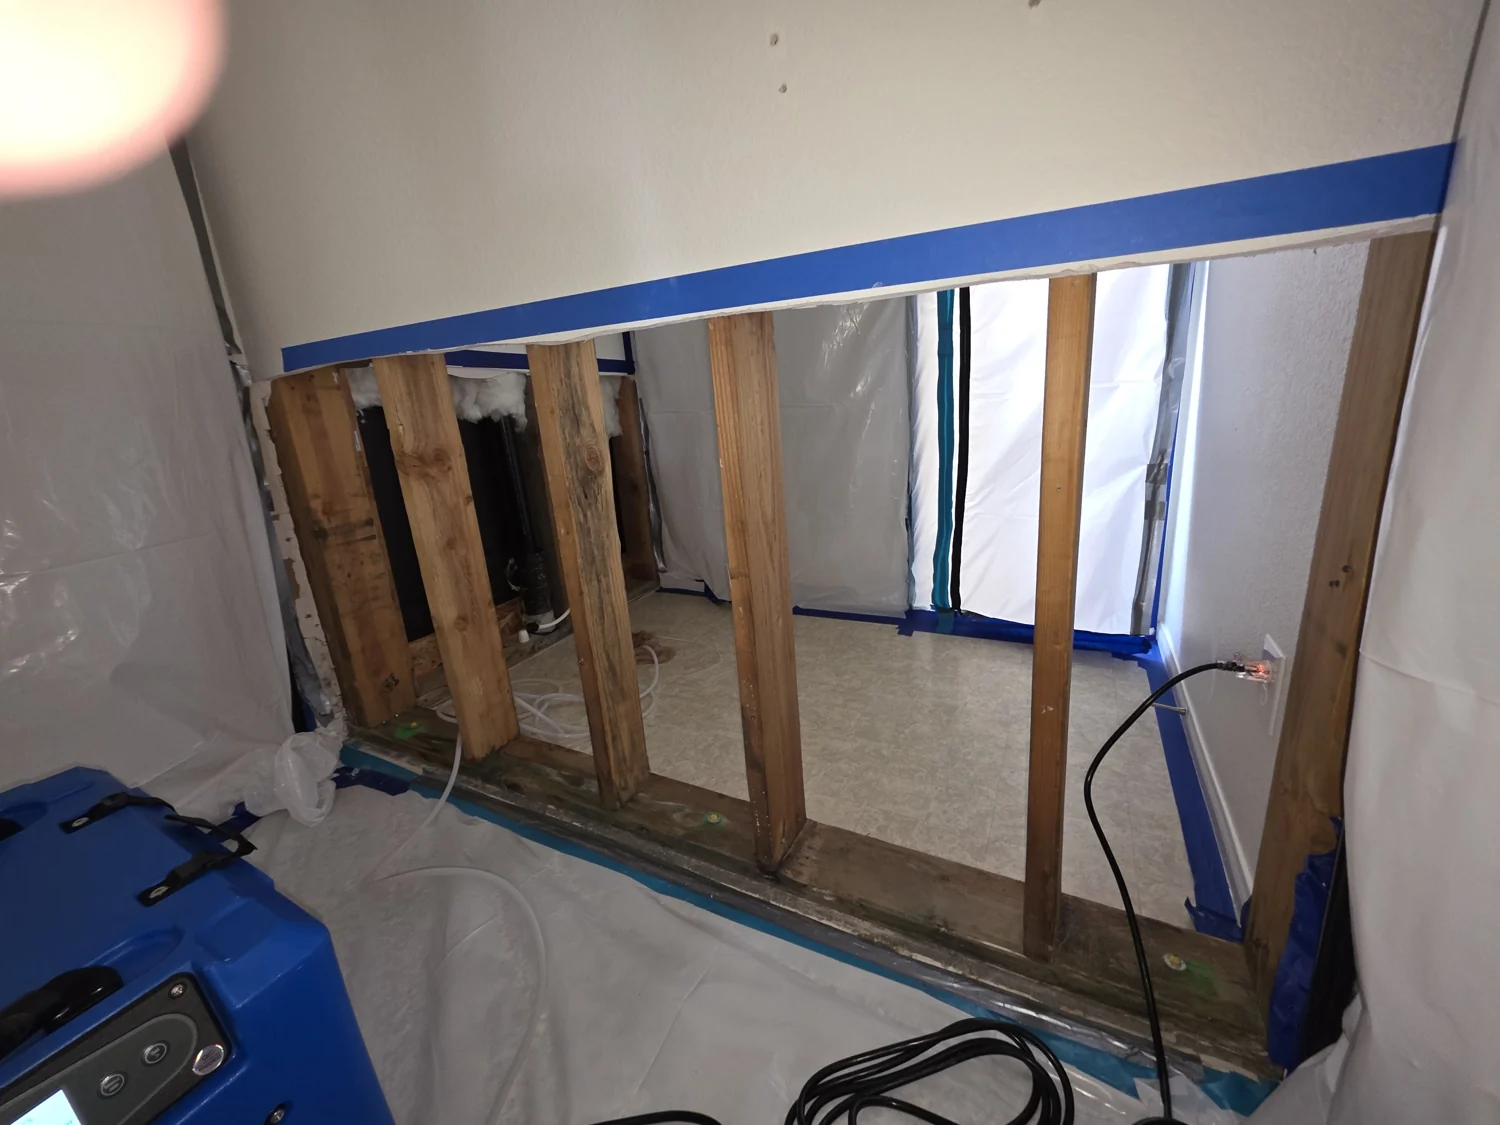
Wall access and equipment
The opened wall and equipment within the protected work area.
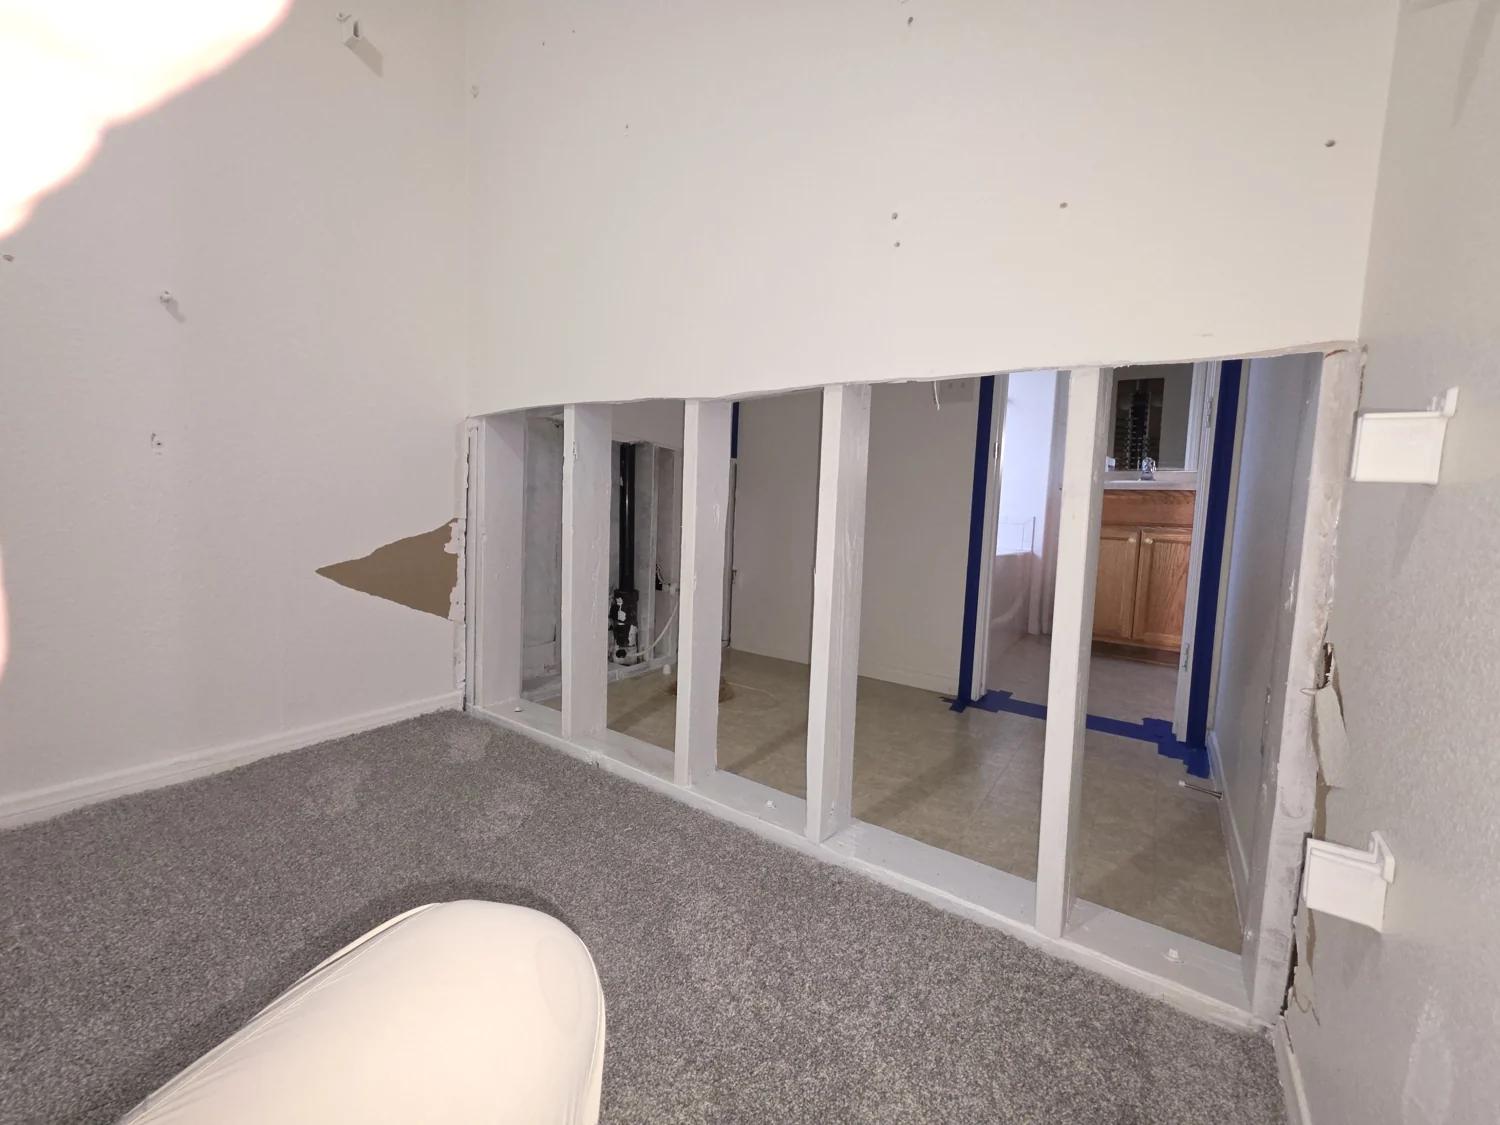
Framing before reconstruction
The exposed lower-wall framing at the transition to reconstruction.
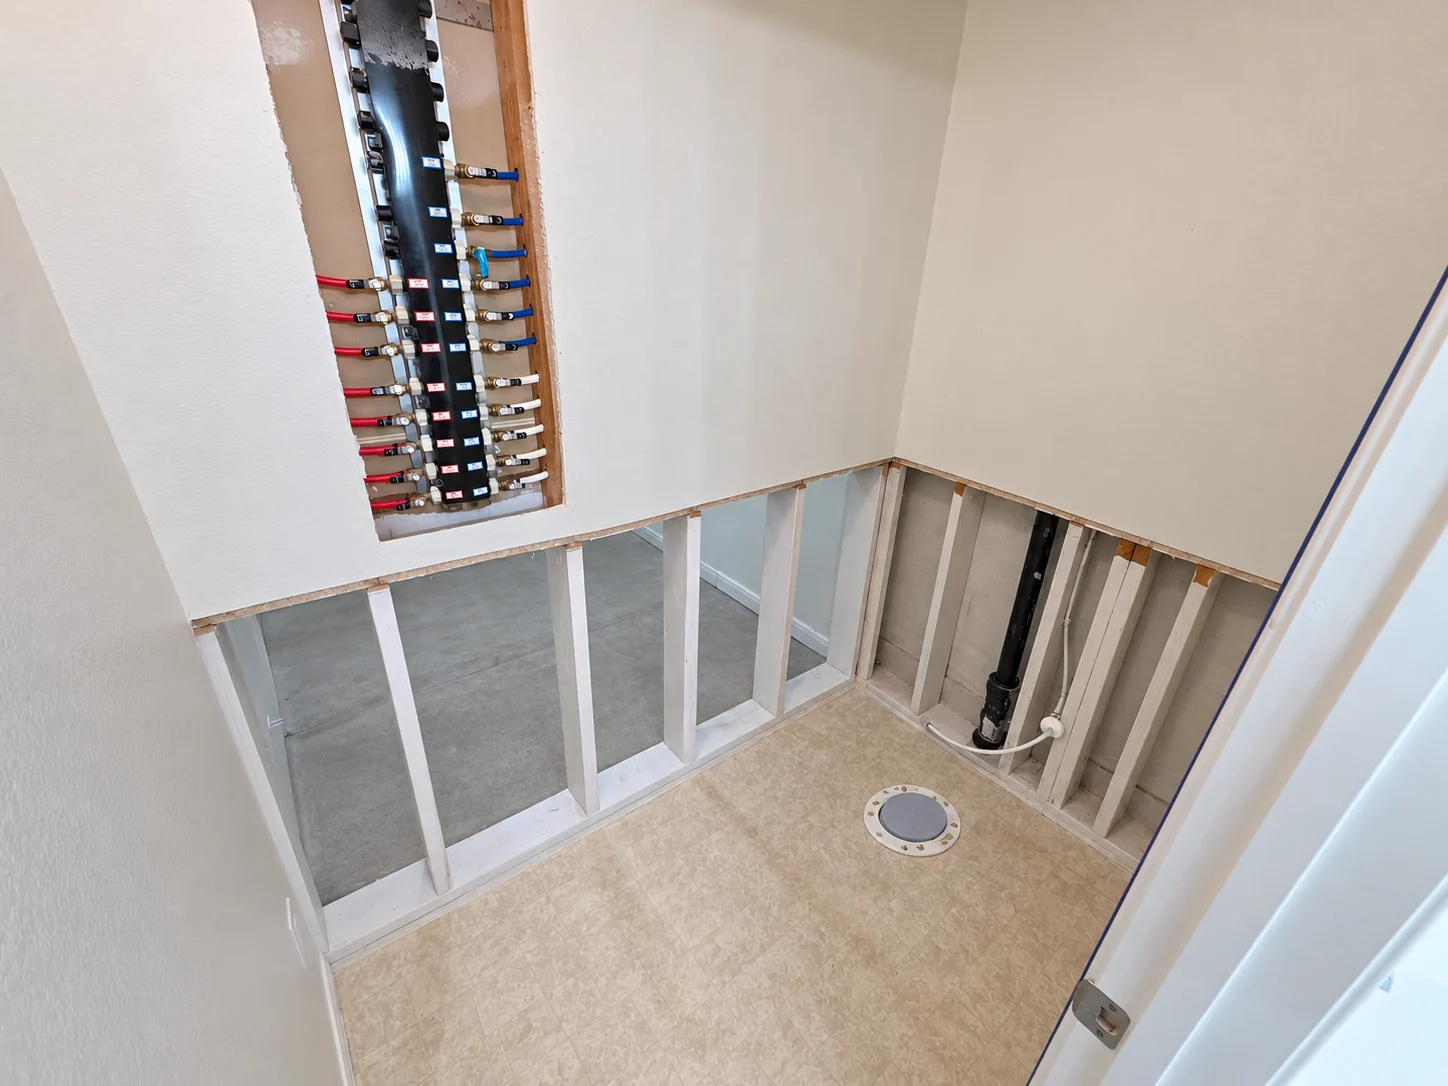
Utility closet wall access
The opened utility closet walls, plumbing connections and electrical panel.
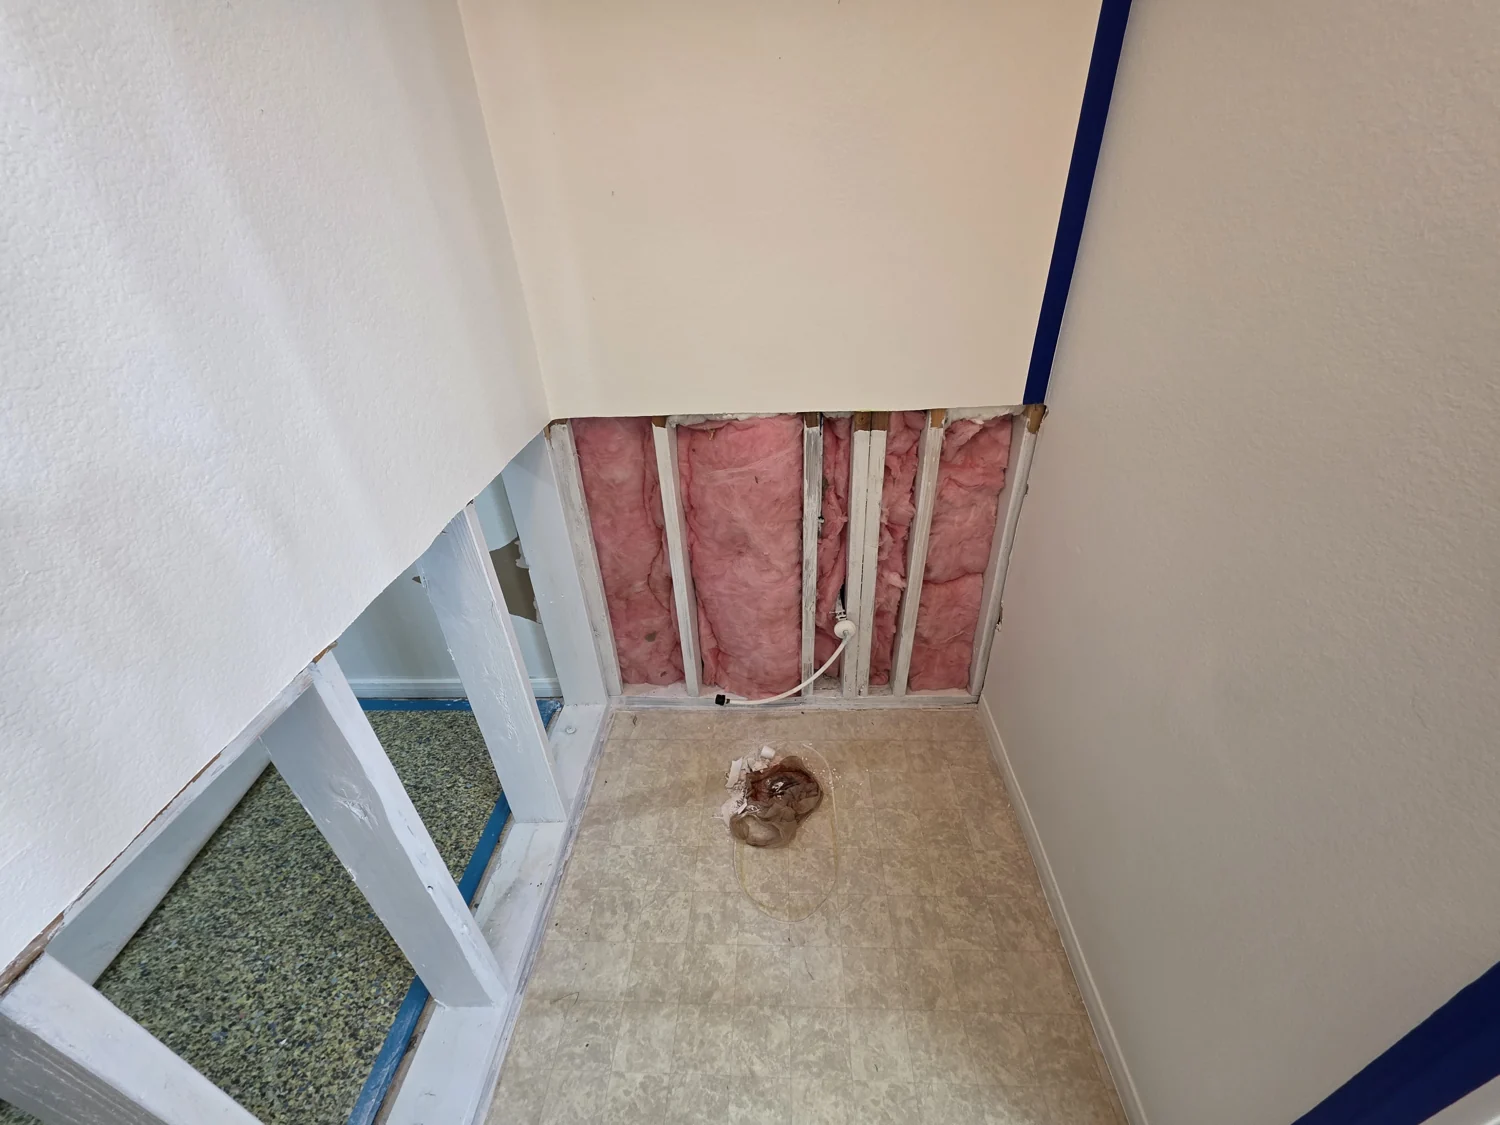
Preparing the wall cavities
Replacement insulation fitted into the opened wall cavities.
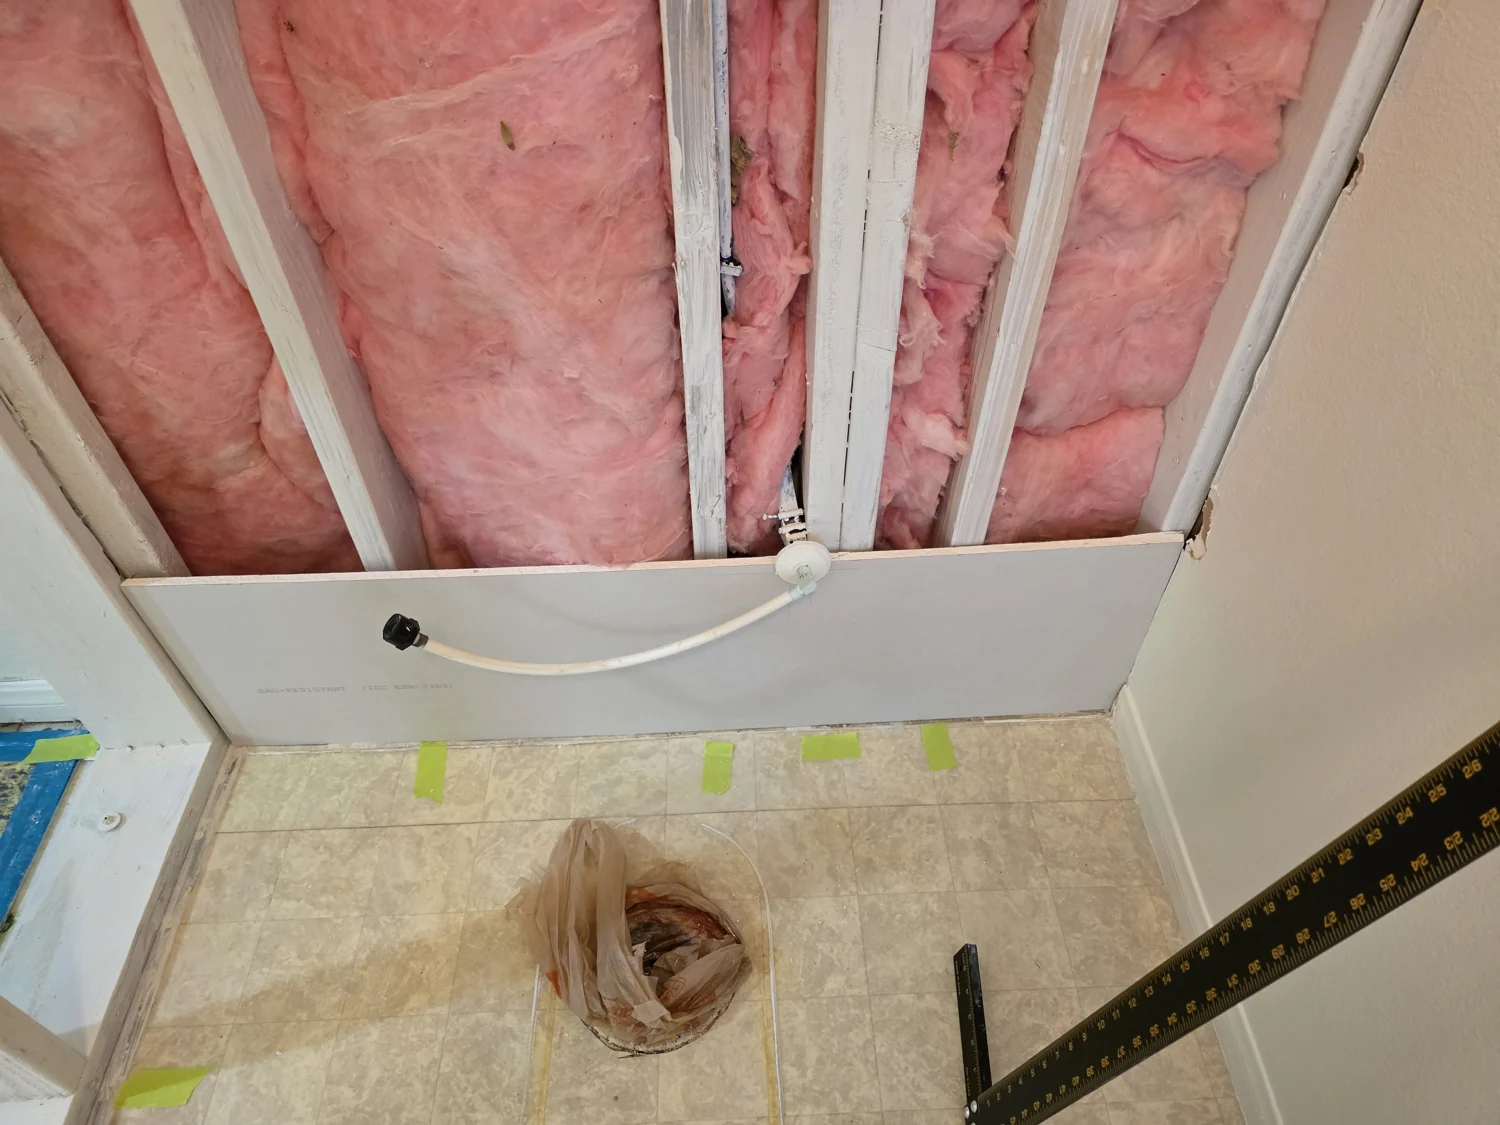
Insulation and lower-wall repair
Insulation above replacement wall material at the closet base.
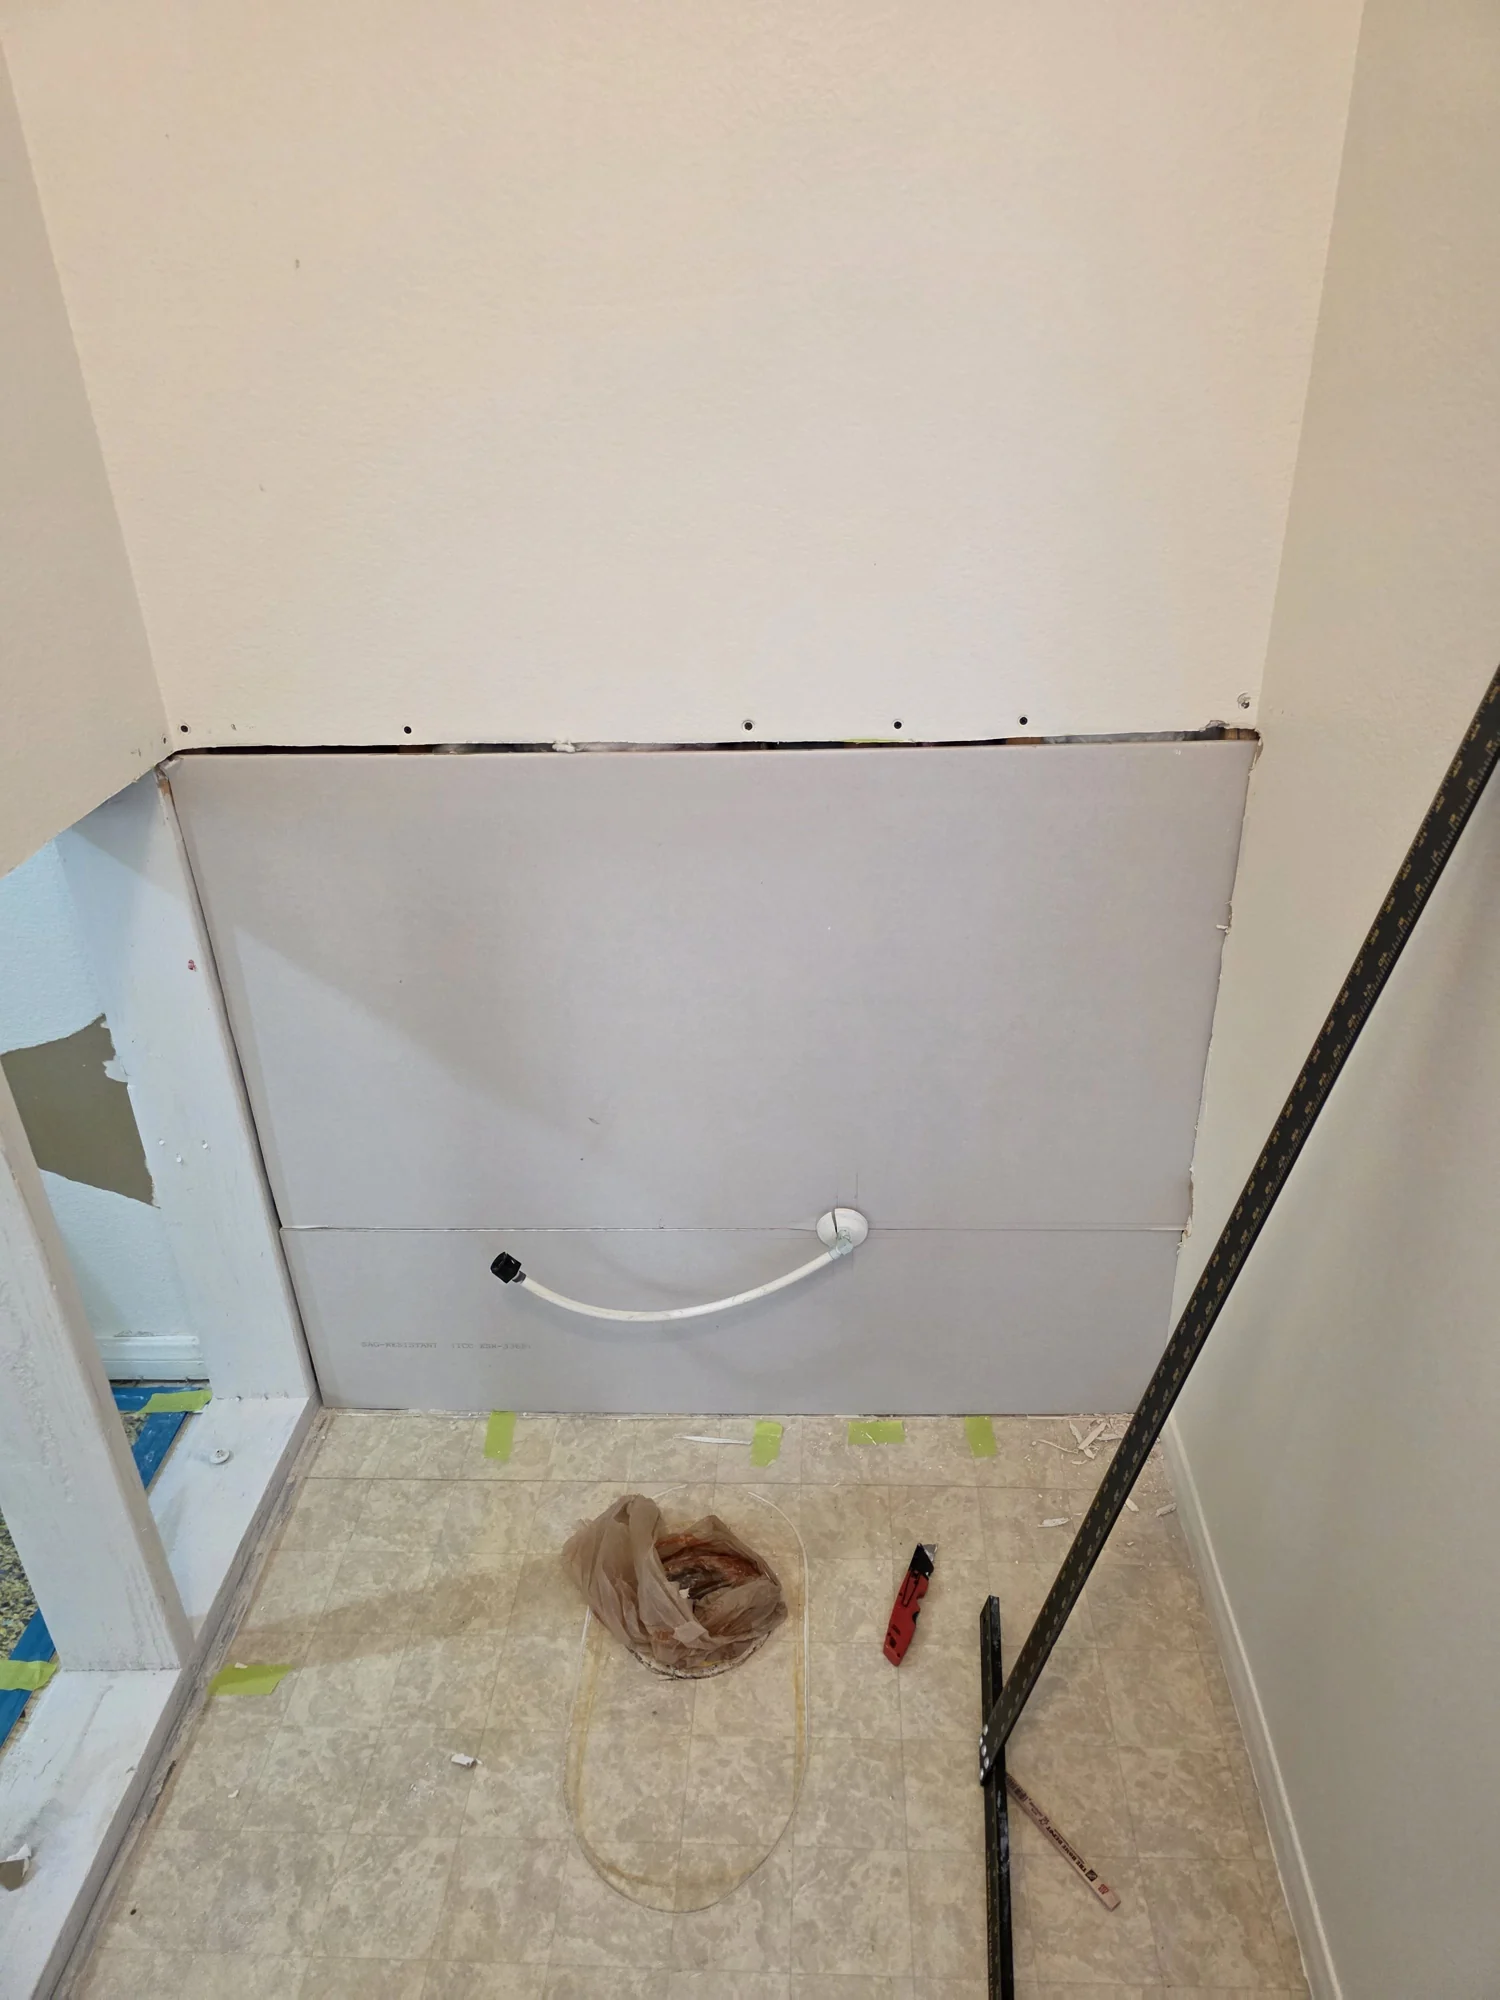
Fitting replacement drywall
Replacement drywall fitted around the existing wall connections.
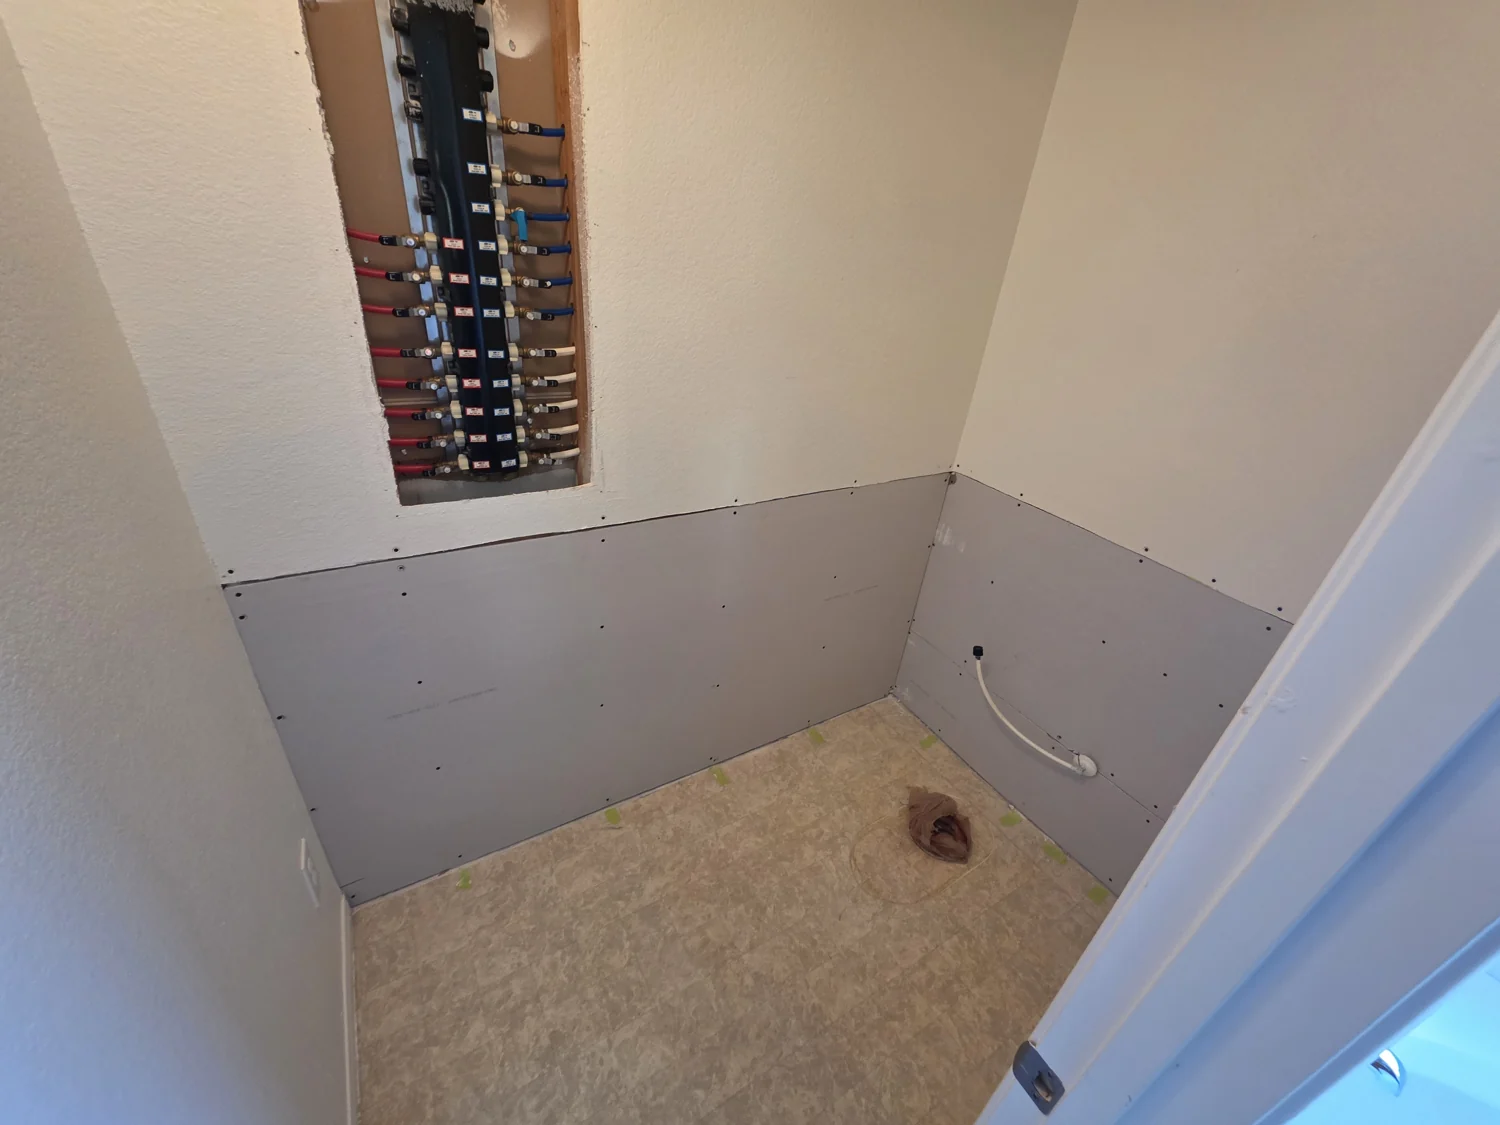
Drywall around the utility closet
Replacement wall sections fitted beneath the electrical panel.
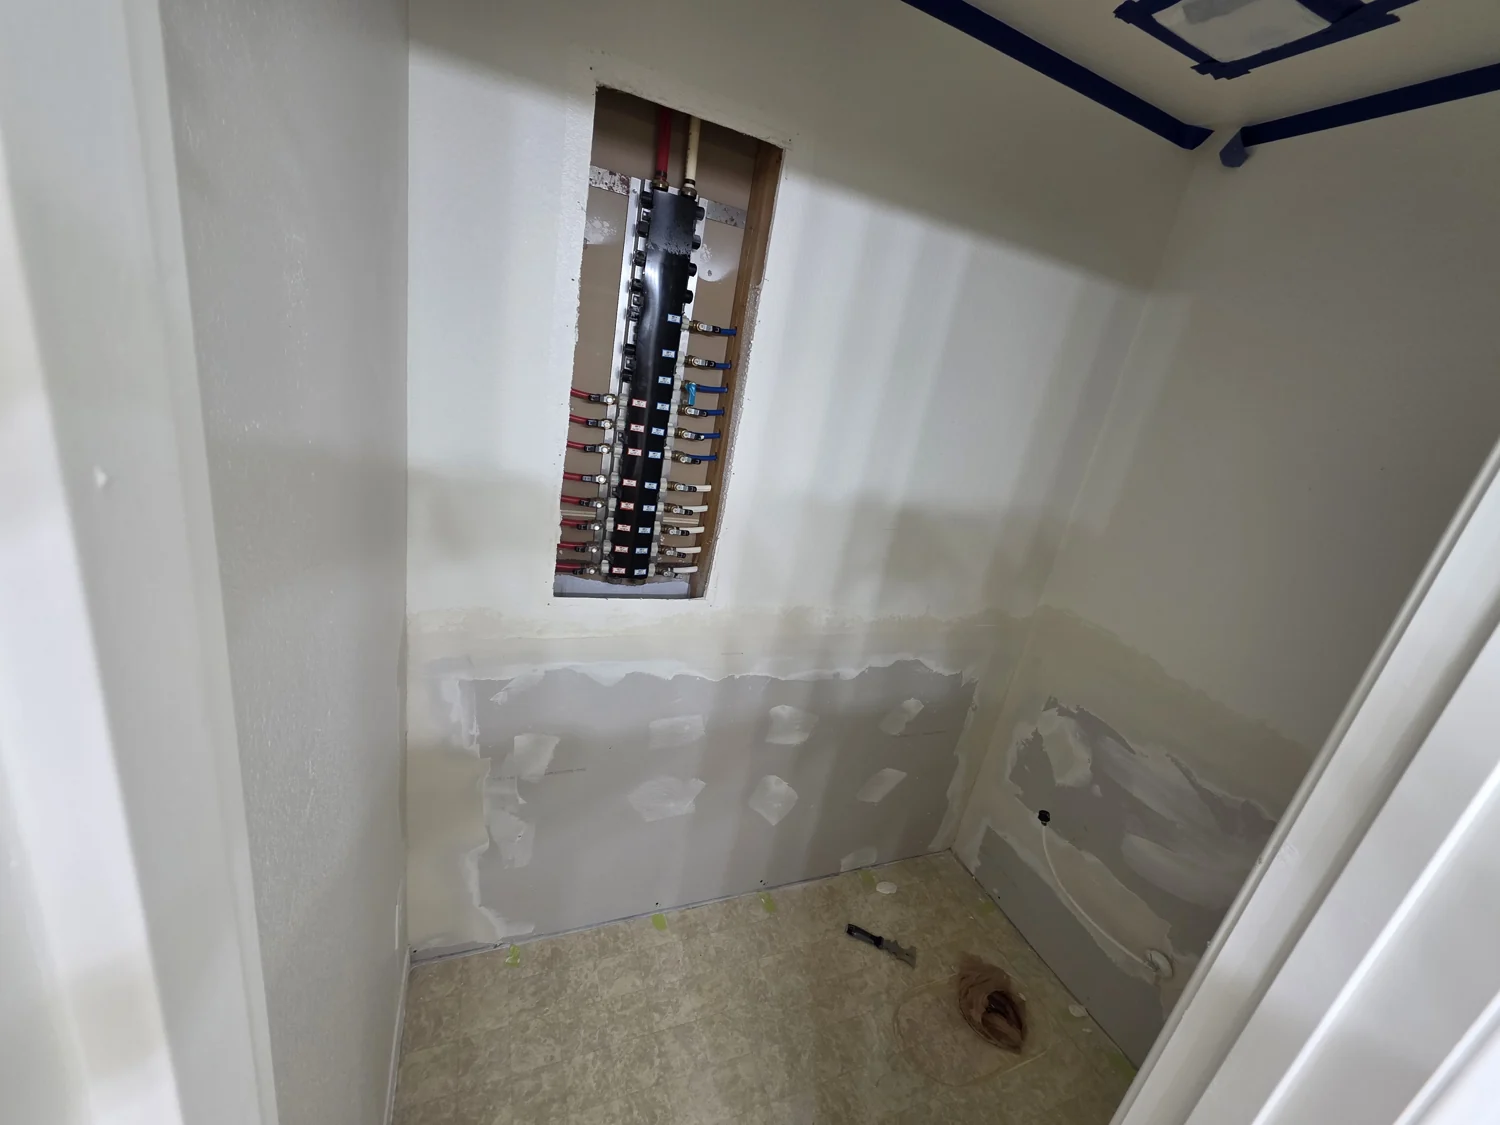
Joint finishing in progress
Joint compound applied along the utility closet wall repairs.
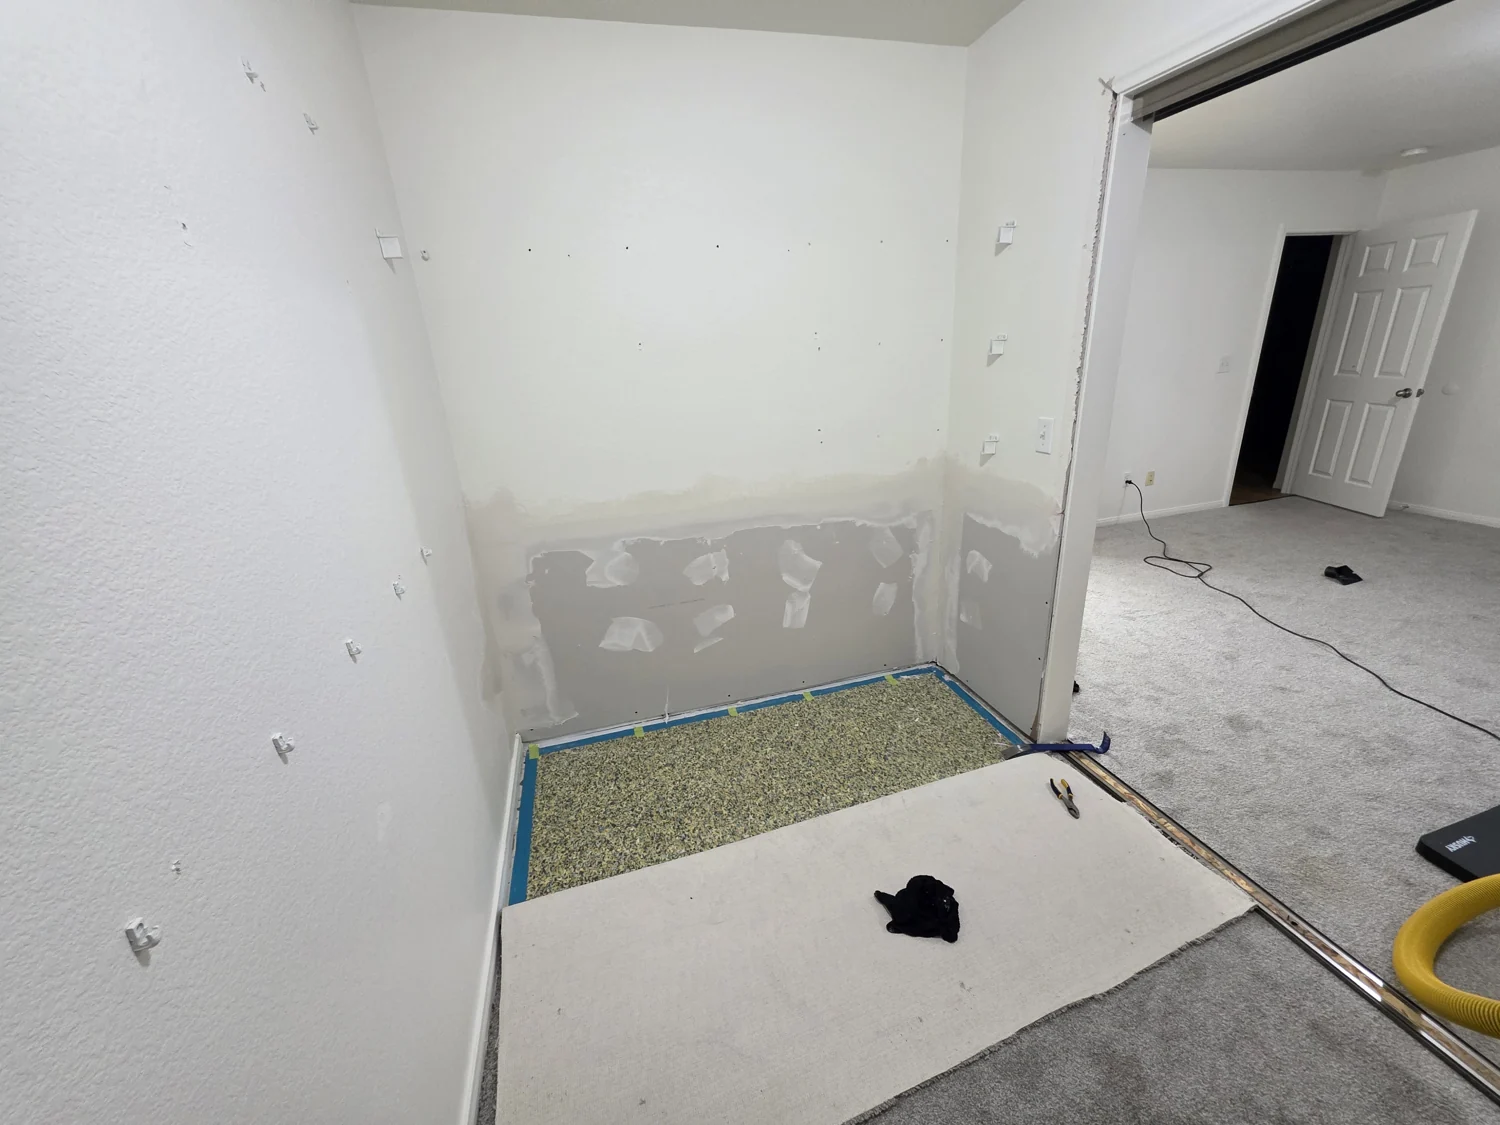
Finishing the closet walls
Drywall seams and fastener points covered before the finish coats.
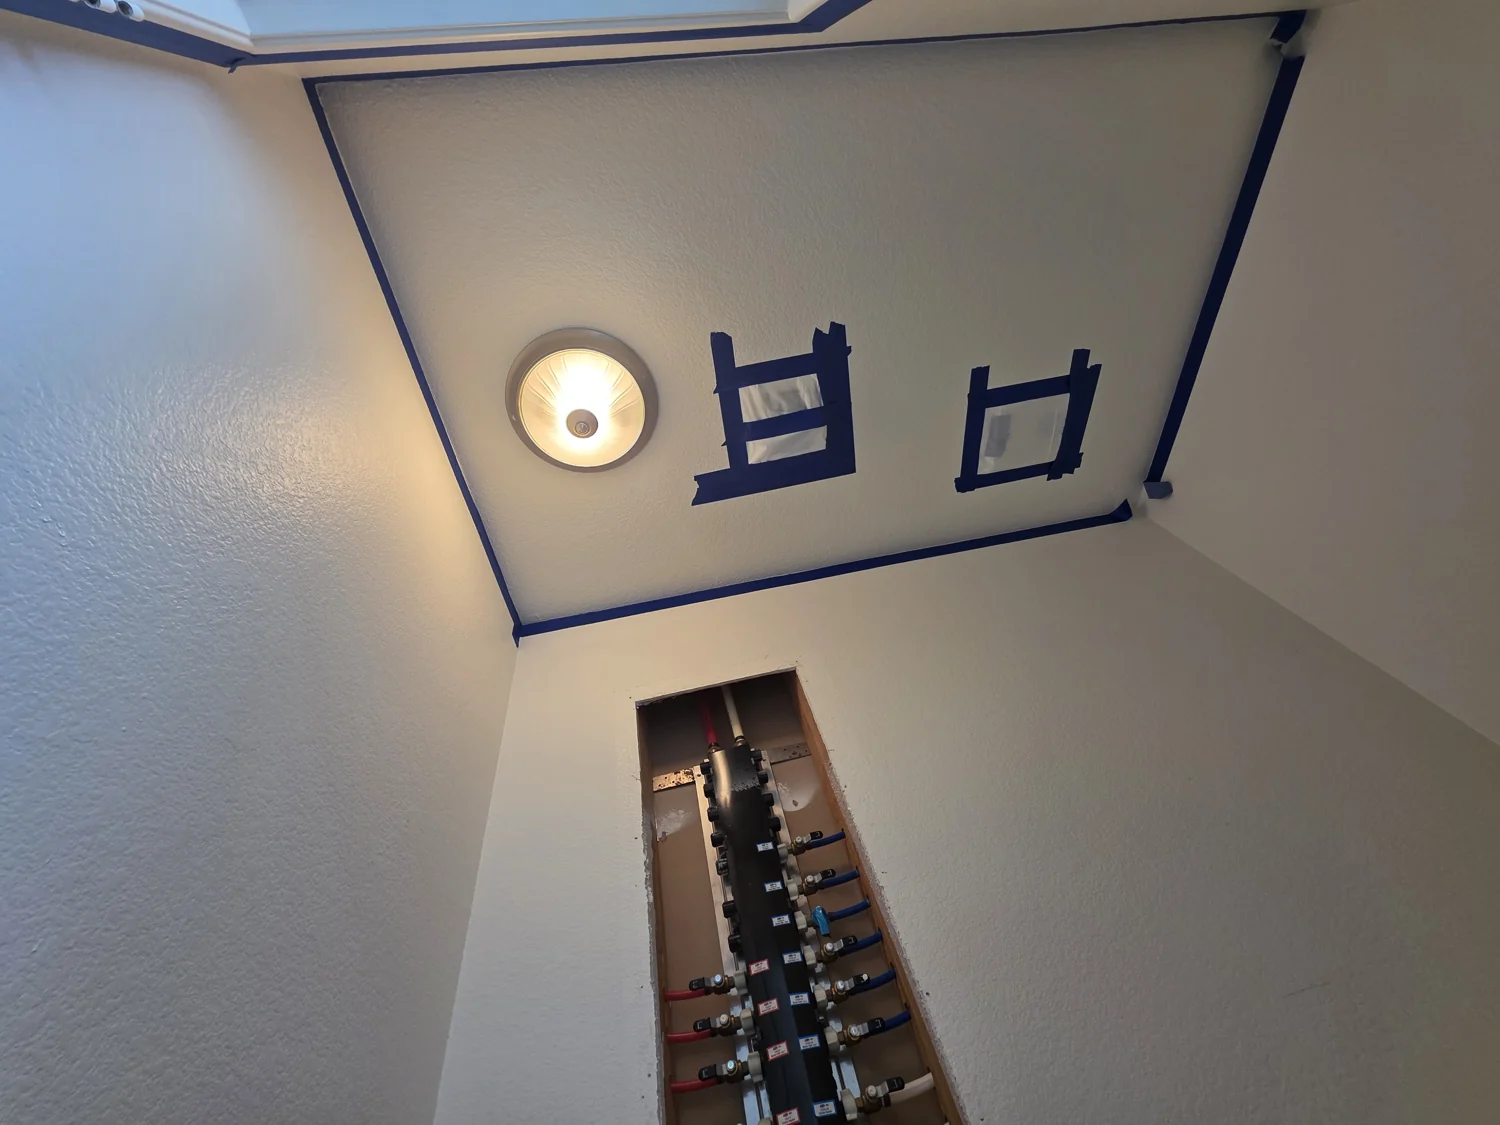
Ceiling preparation
Masking around the ceiling light and vents during finish preparation.
Wall-finishing walkthrough
A video walkthrough of the wall and ceiling finishing work.
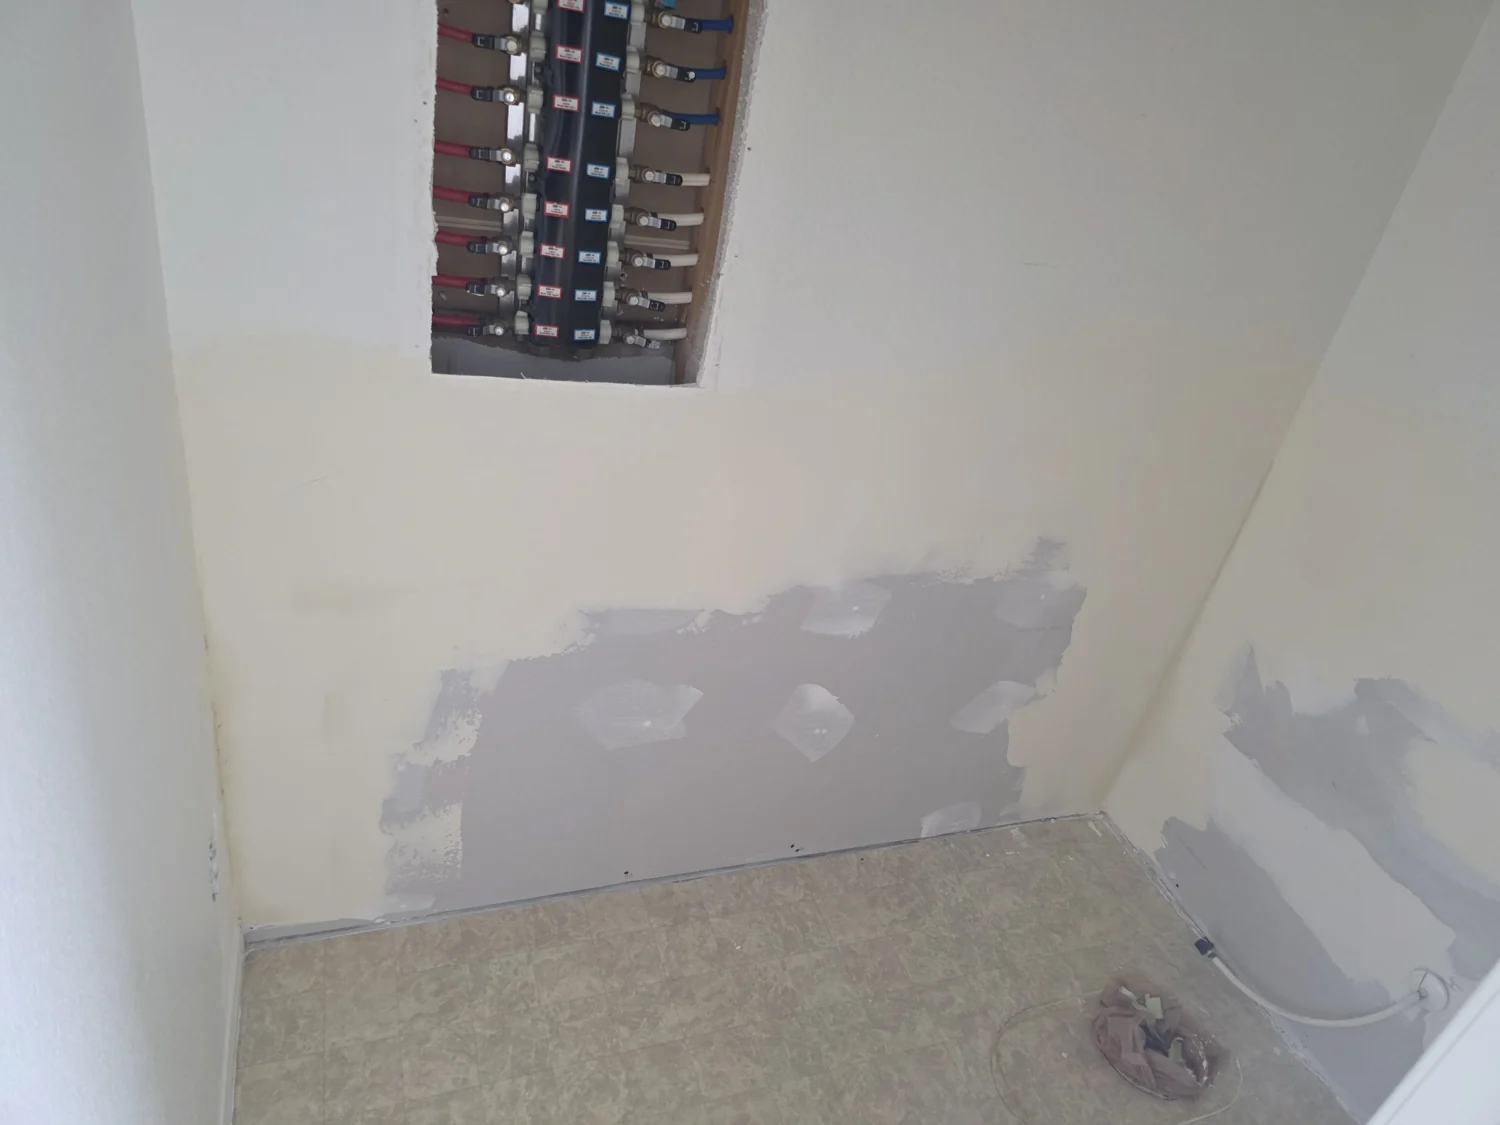
Wall repair overview
A wider view of the patched wall sections before painting.
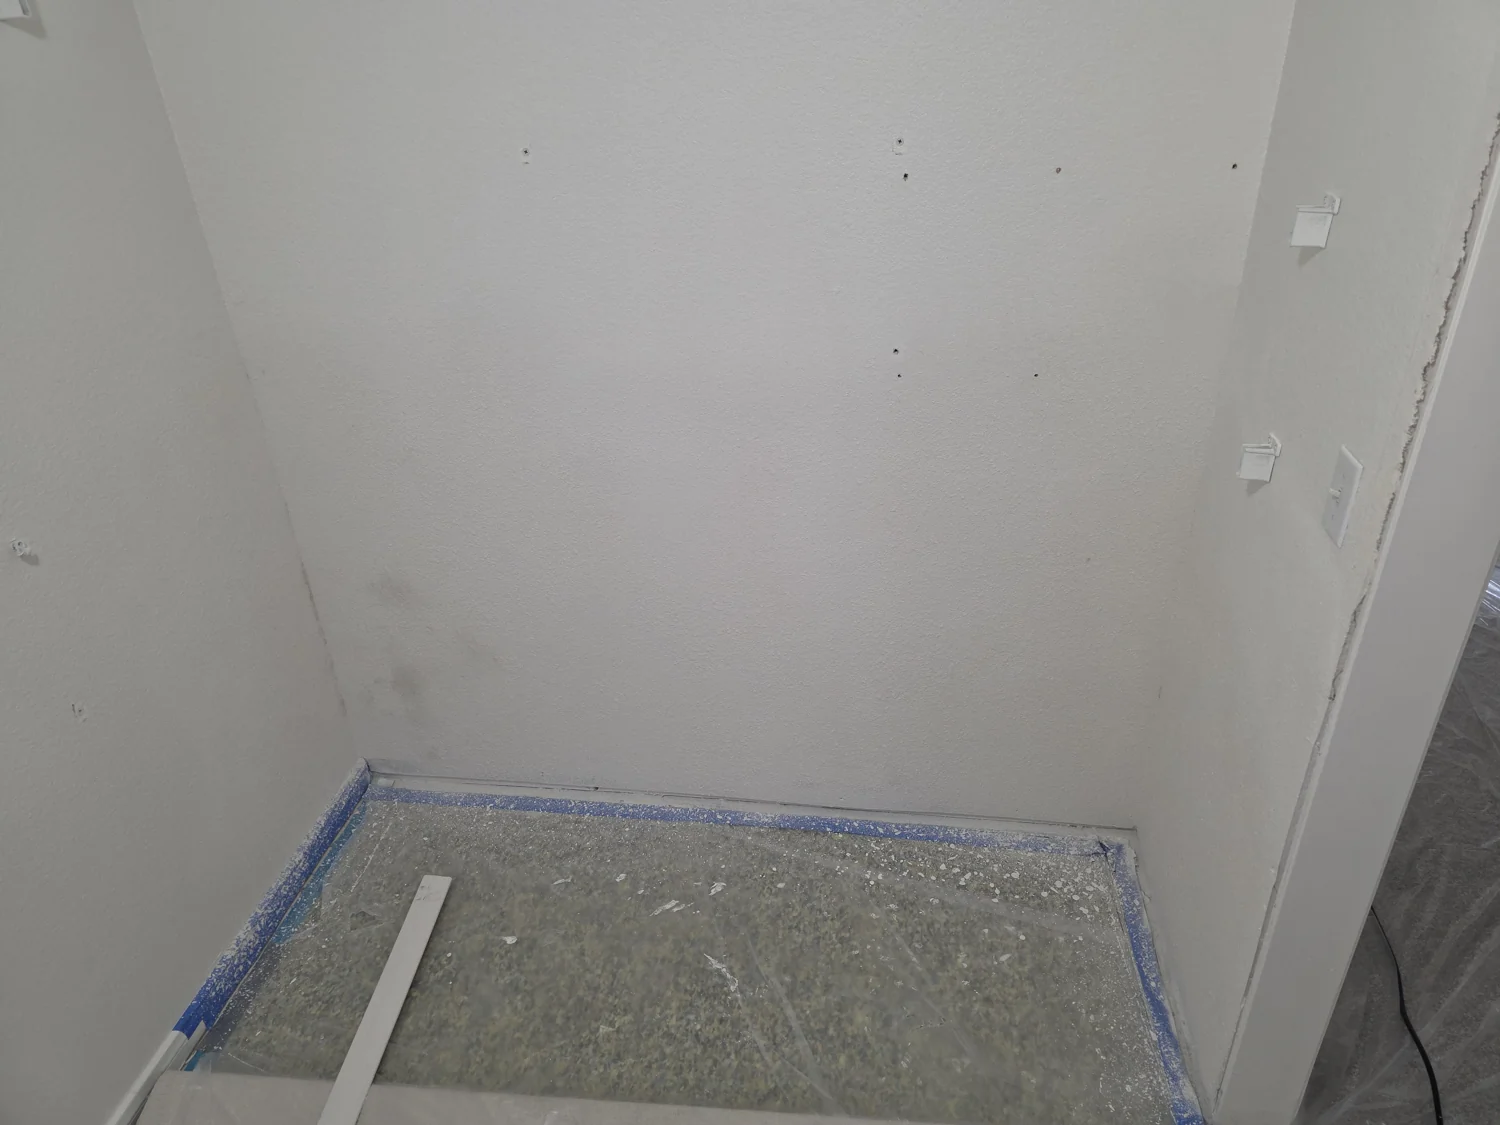
Closet wall preparation
The closet walls during final surface preparation.
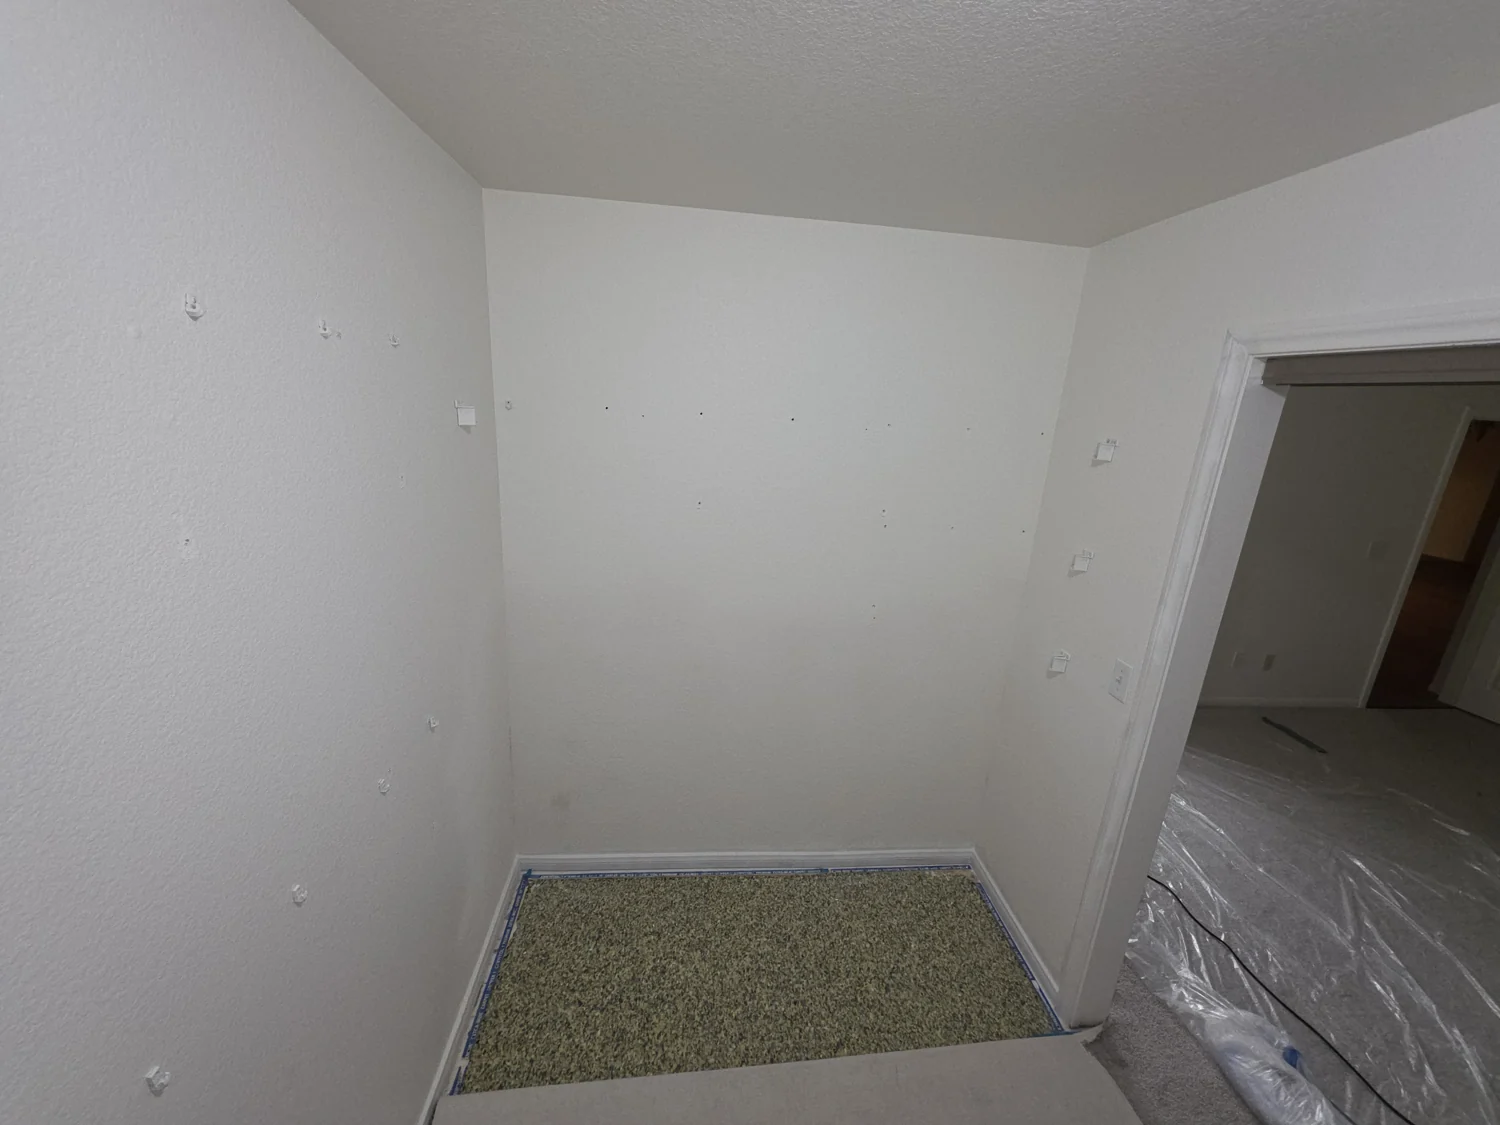
Painted closet walls
The closet walls painted while the floor remains protected.
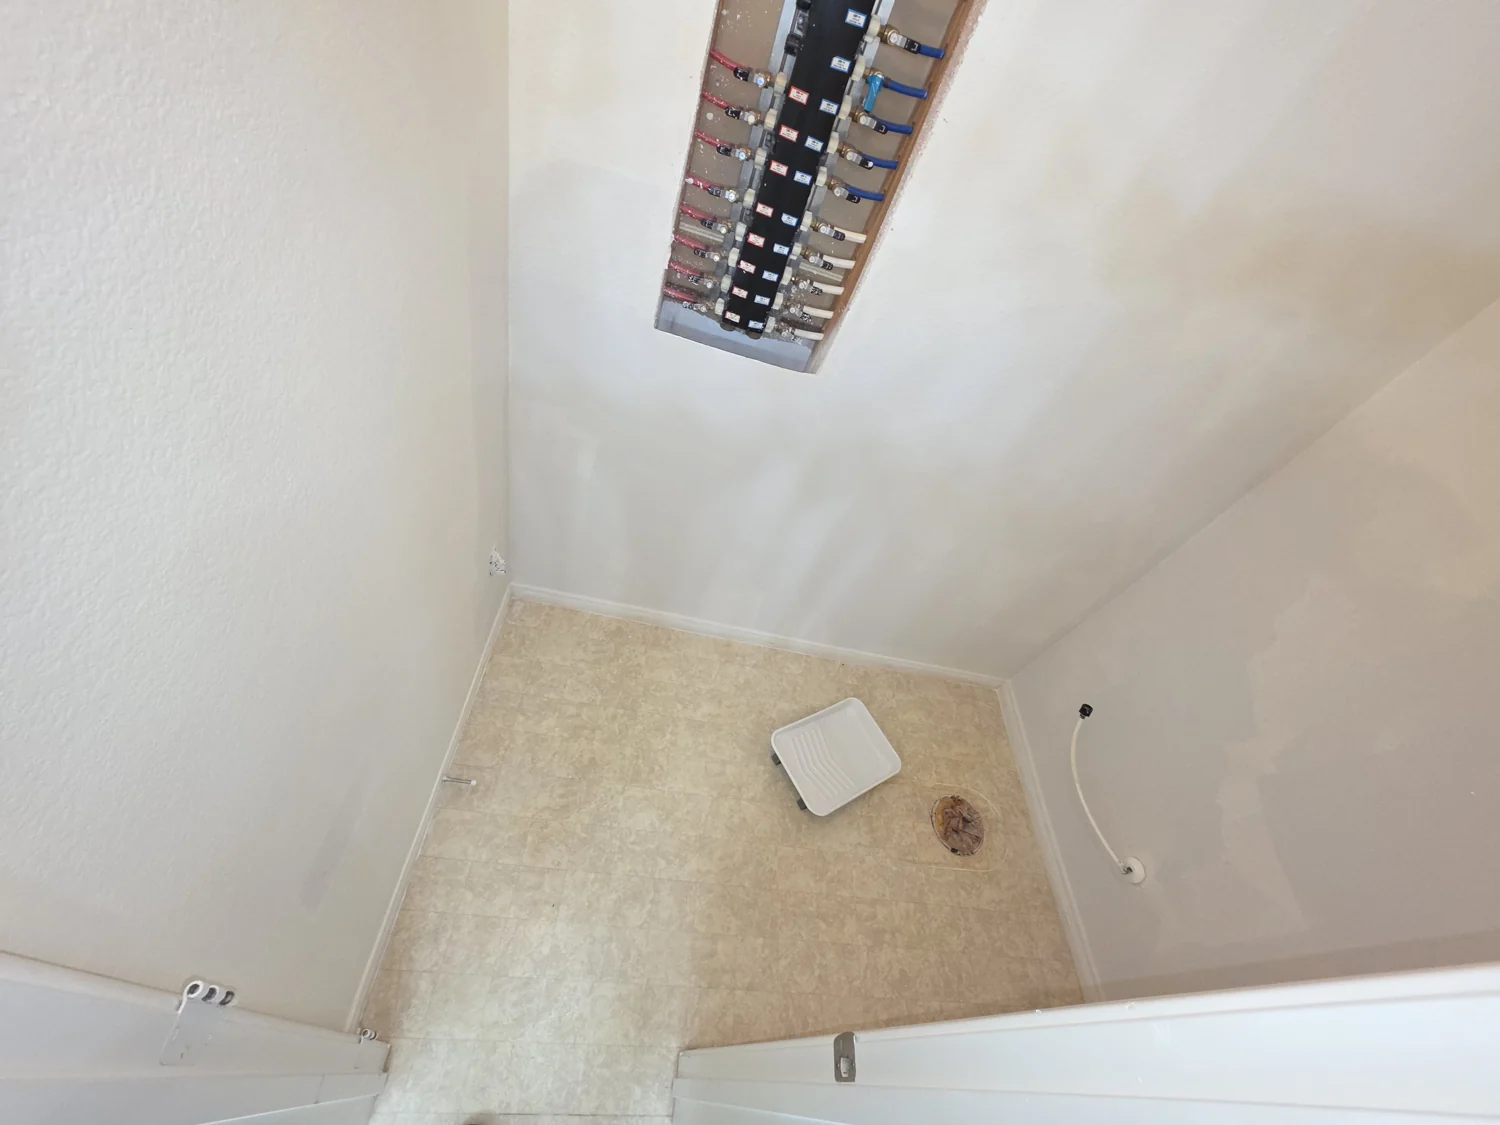
Utility closet finish work
Wall finishing beneath the electrical panel, with the closet floor protected.
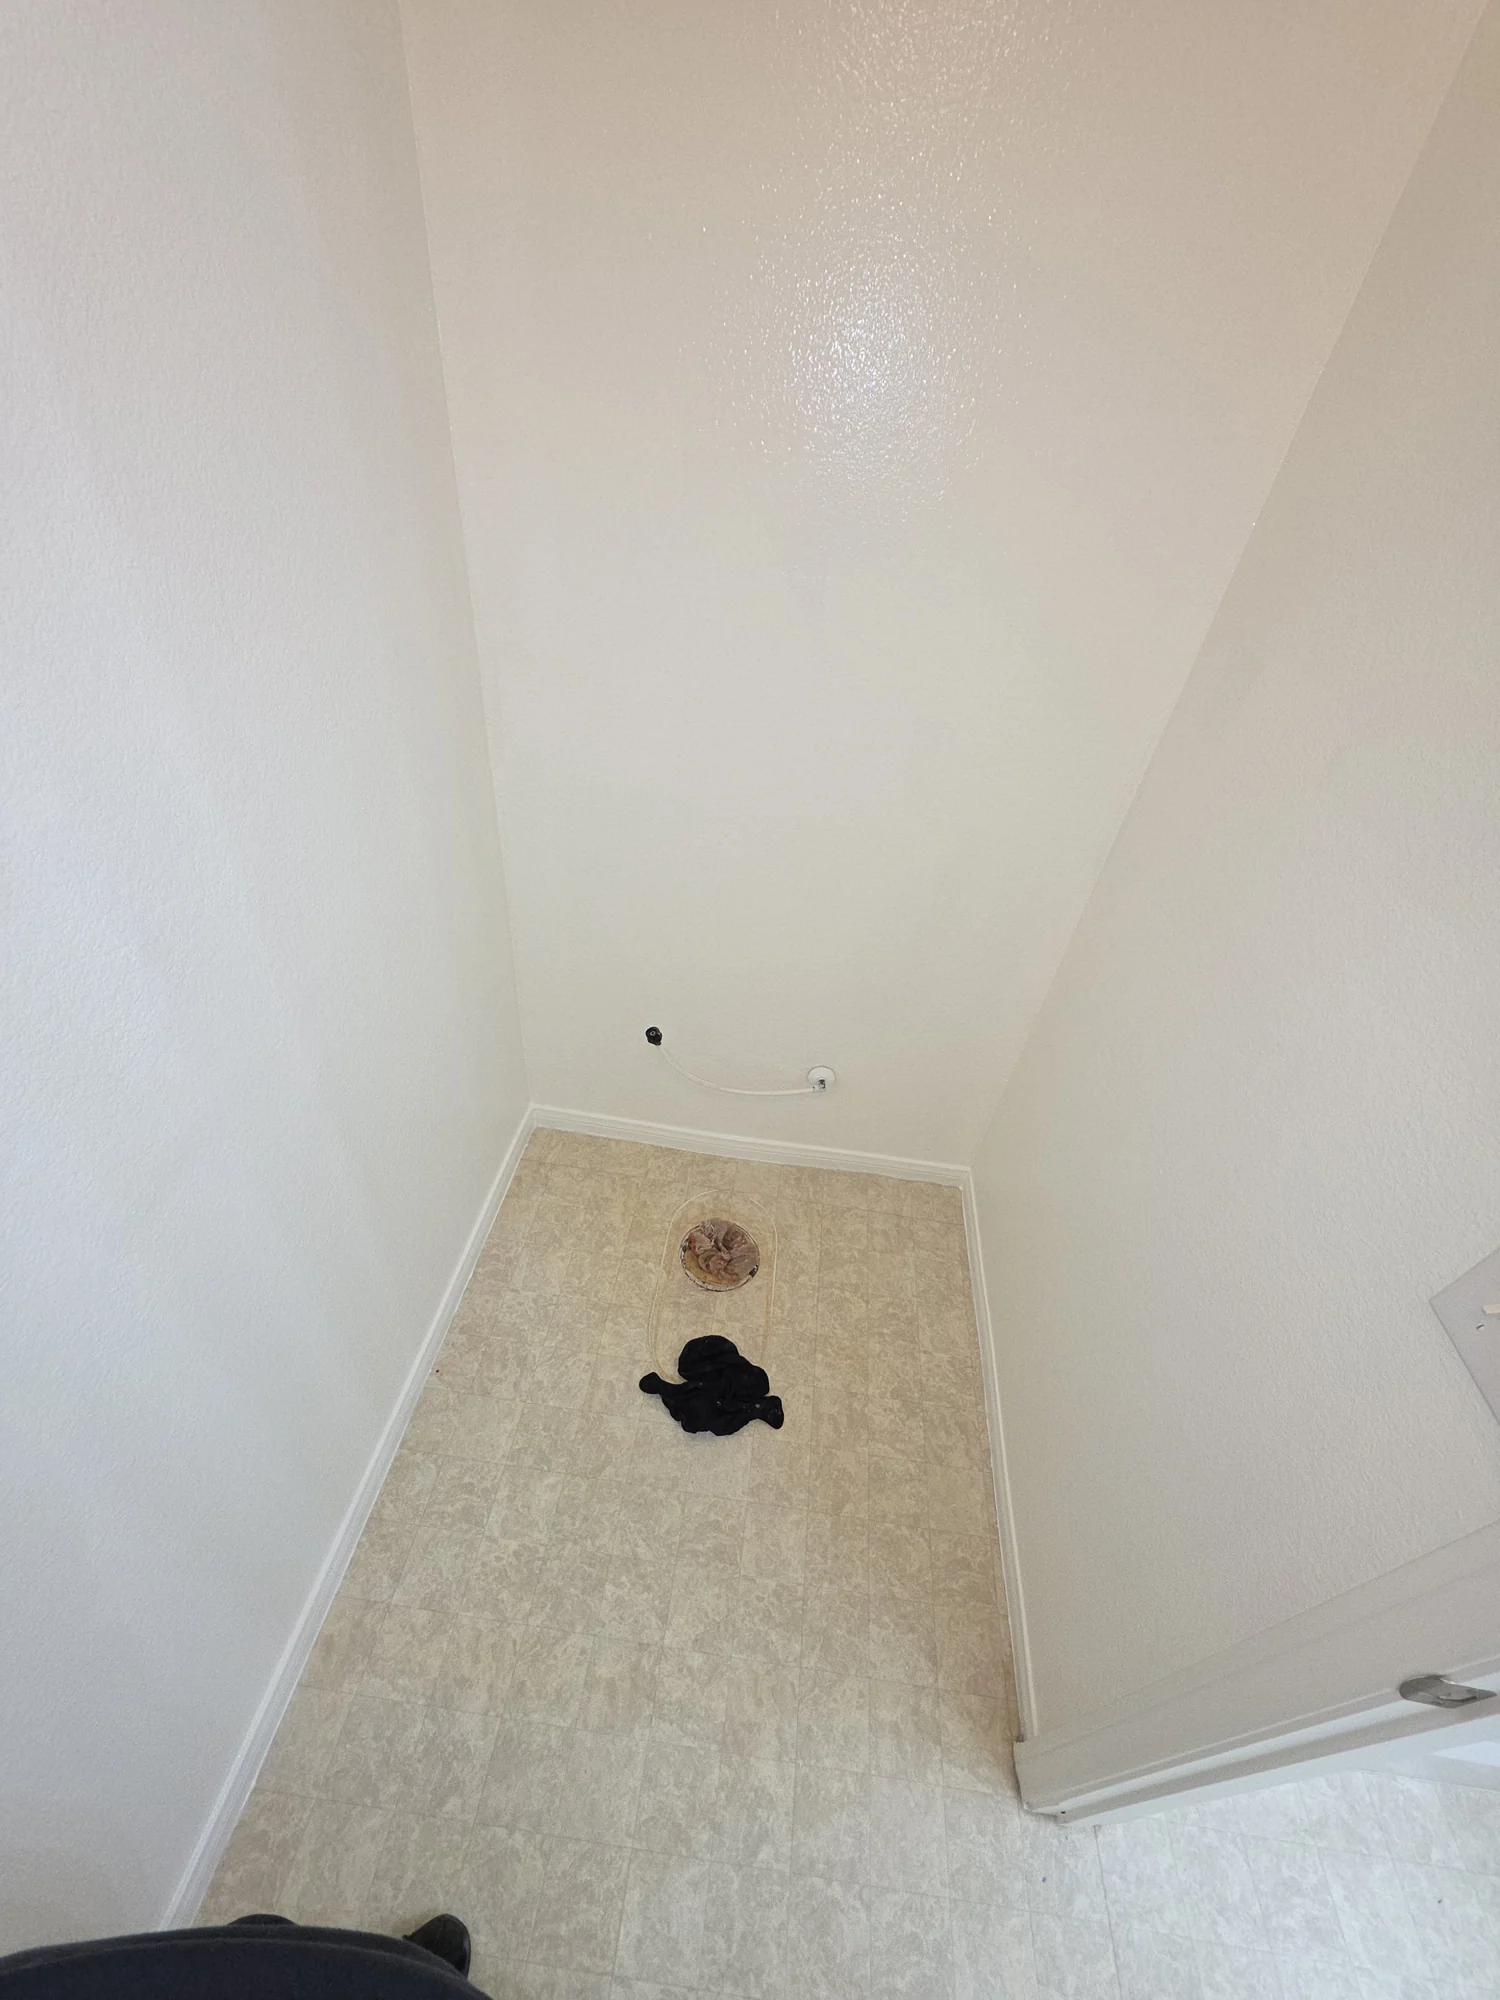
Closet finish details
A closer view of the wall finish and protected floor area.
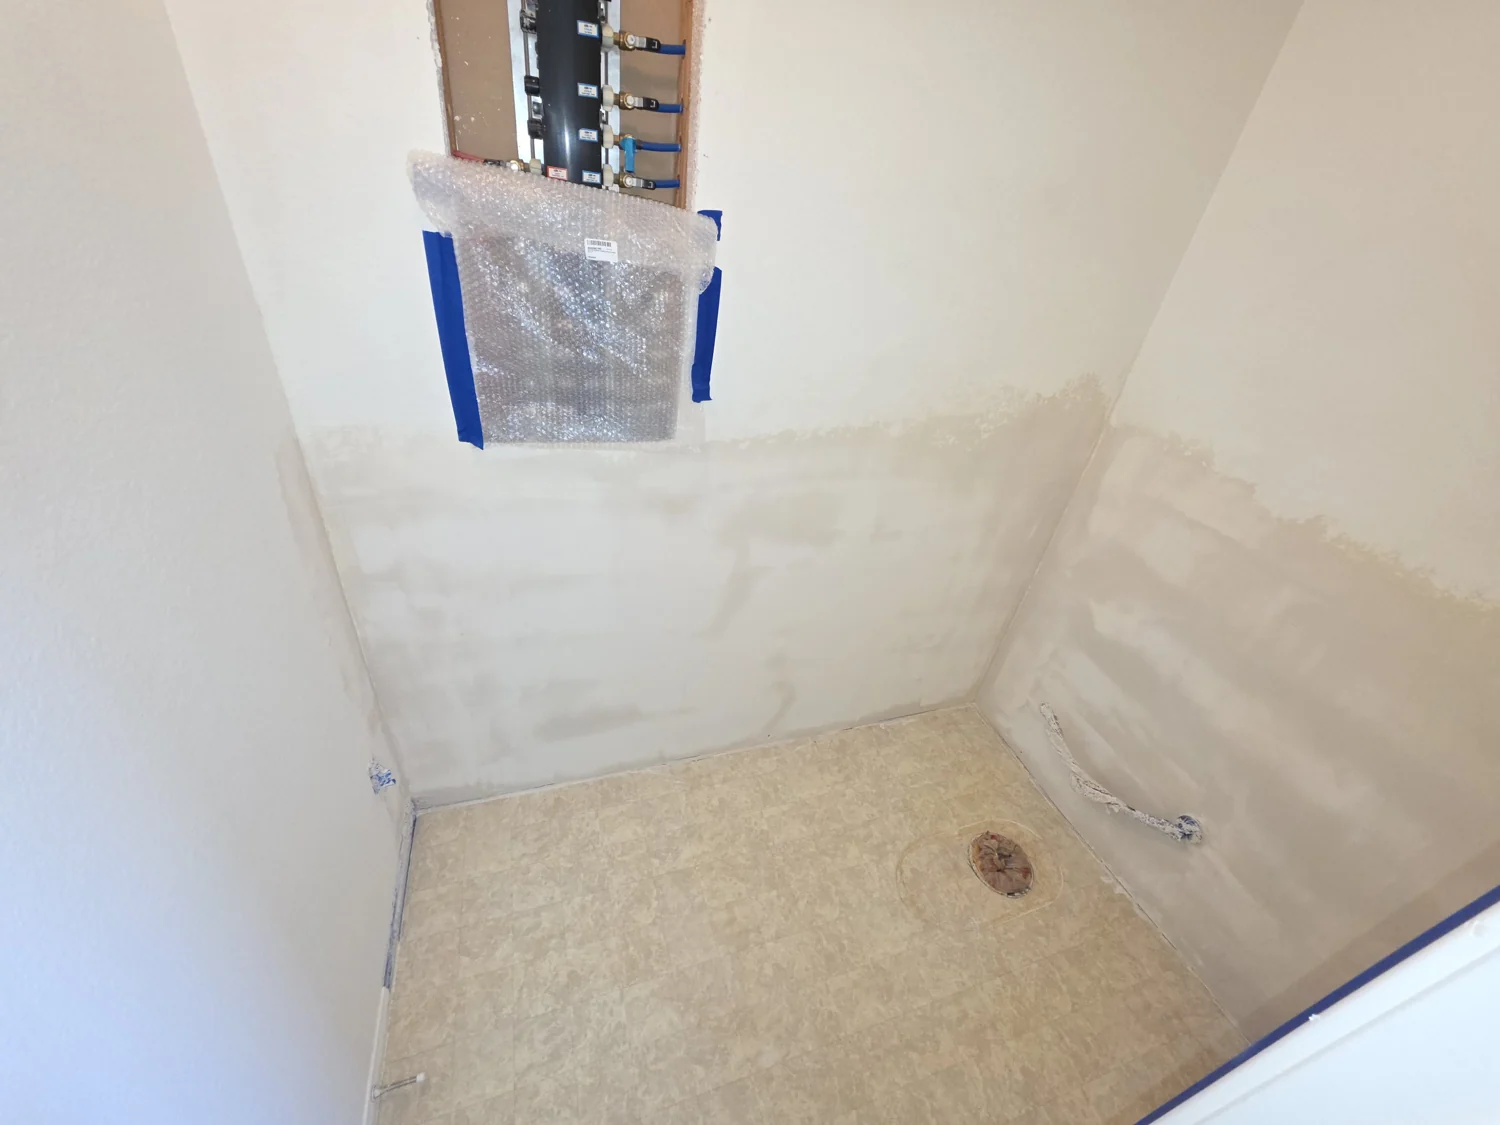
Finishing the utility closet
The utility closet wall surfaces during finishing work.
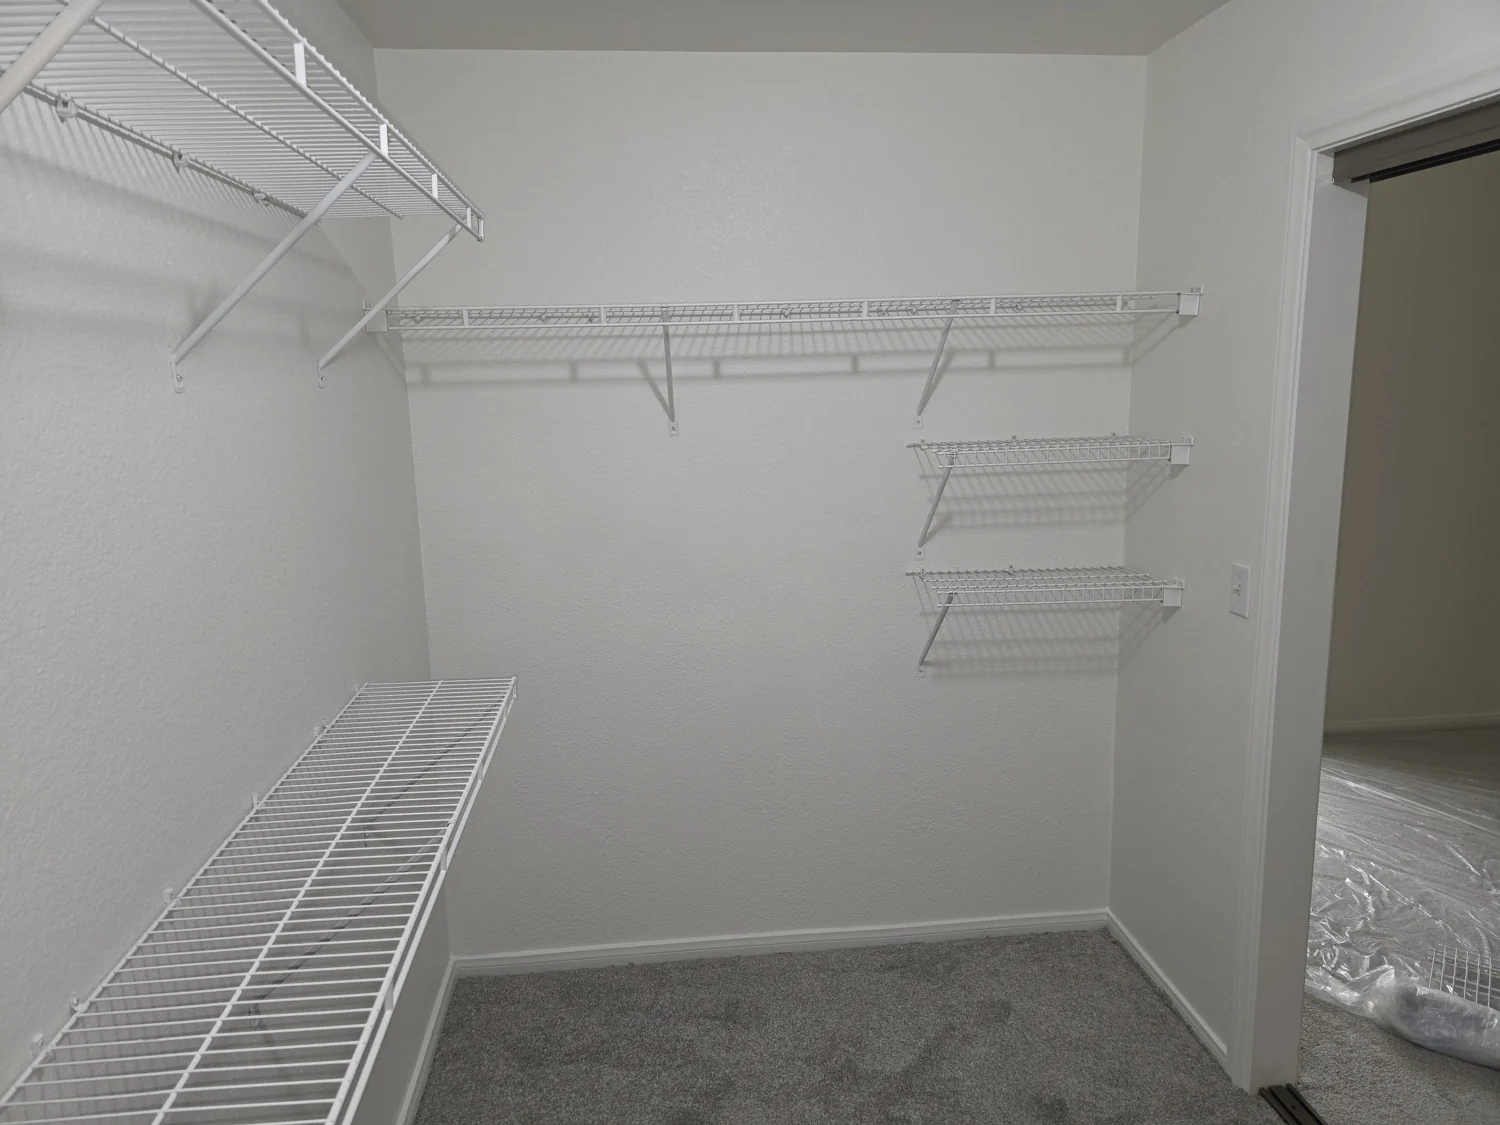
Shelving reinstalled
Wire shelving back in place in the finished closet.
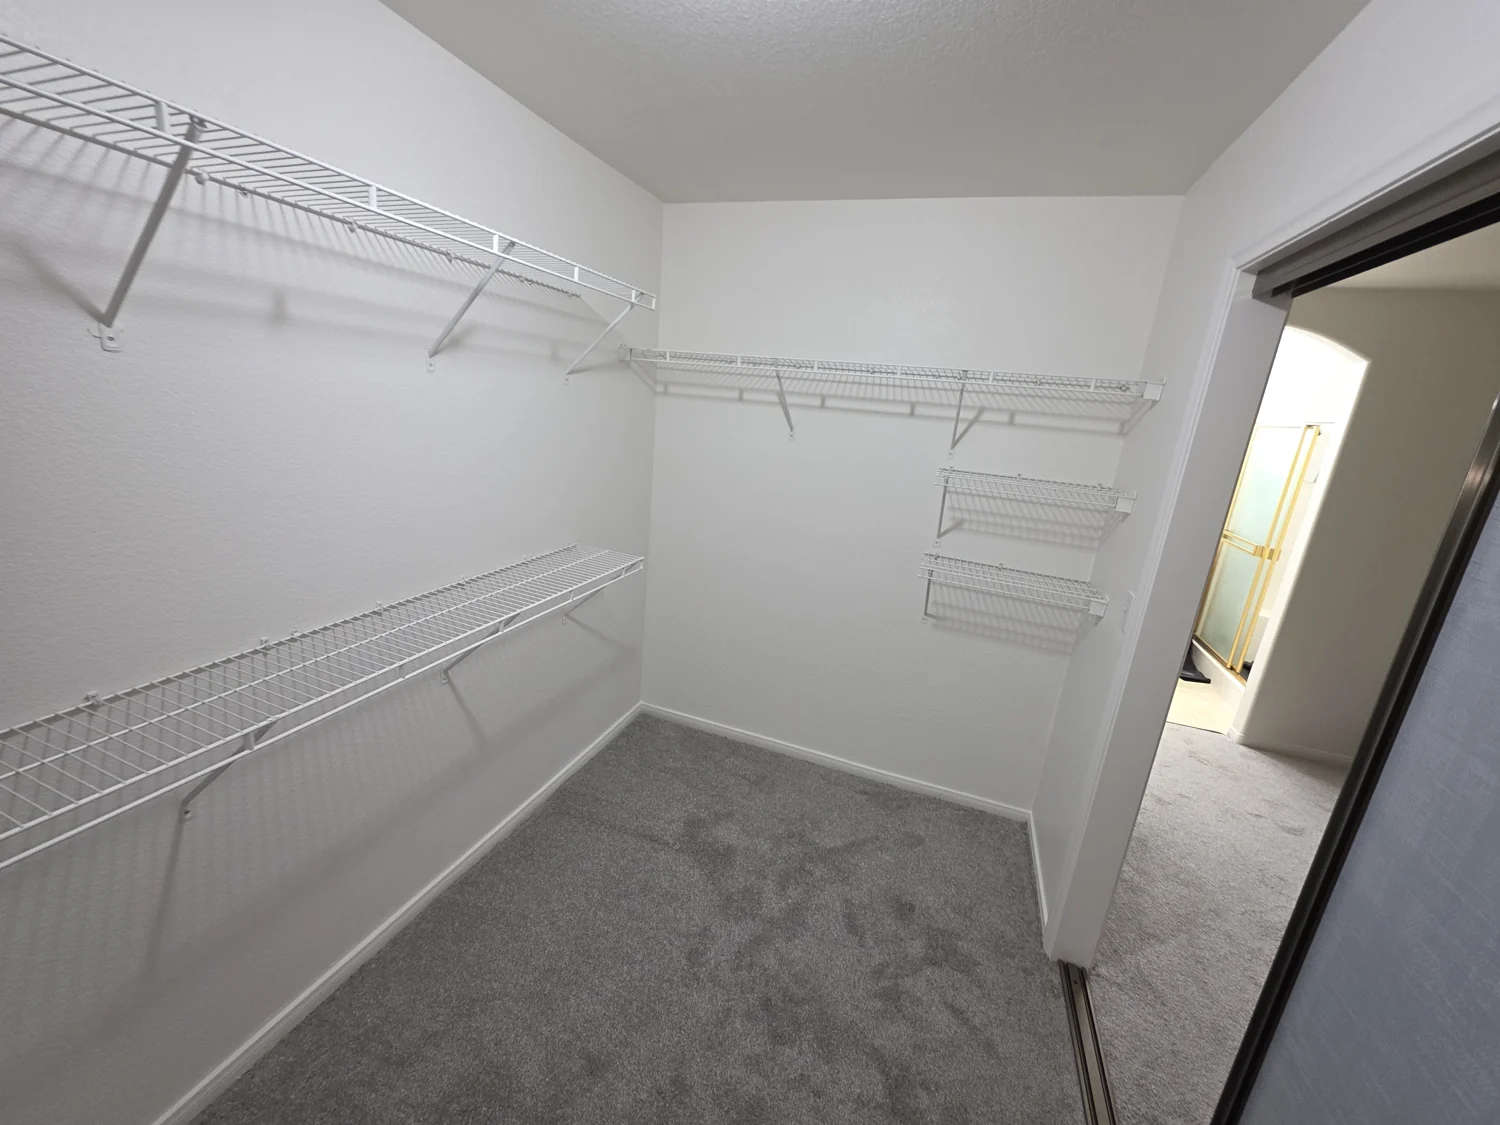
Completed closet
The finished closet with shelving reinstalled and the floor uncovered.
HAVE A SIMILAR PROPERTY CONCERN?